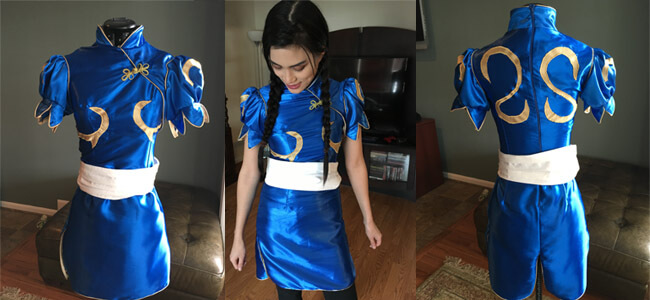
Make Your Own: Chun Li from Street Fighter
Skill Level: Novice
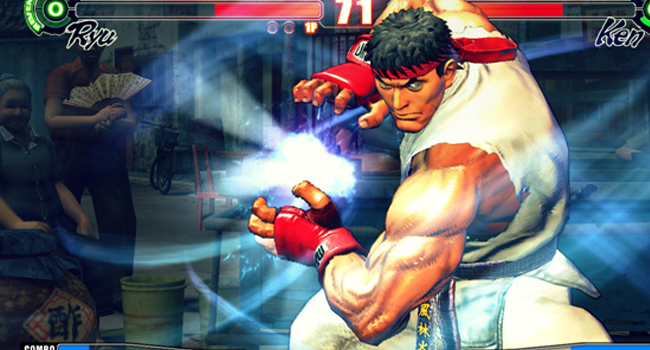
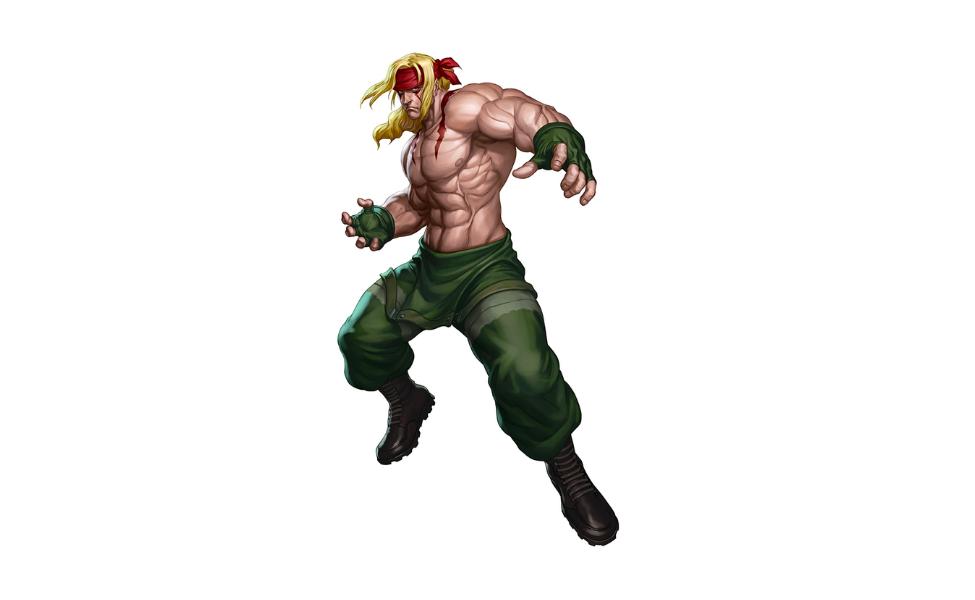
This is a detailed, step-by-step guide to help you create your own Chun Li costume from Capcom’s Street Fighter with sewing and fabrication. For the easy version of a Chun Li costume, visit this guide.
Dress and Bun Cover Tutorial
This dress was made for a US size XS or S. Please add or subtract fabric as needed.
Supplies:
- Dress pattern
- 1 ½ Blue cotton or satin
- 1 yd gold or yellow cotton or satin
- ¾ yd white cotton or satin
- Thread
- Gold or yellow embroidery thread
- ½ yd white cotton drawstring
- 4 ½ yds piping material (to create piping)
- ½ yd lightweight fusible interfacing
- 1 Chinese-style frog closure in Gold
- 1 roll of Heat-n-Bond
- 2-3 large sew-on snaps
- 18” zipper (optional)
Tools:
- Sewing machine with zigzag stitch capability, fitted with a regular needle
- Iron
- Ironing board
- Gridded quilted ruler
- French curve (optional)
- Fabric marking tools
- Straight pins
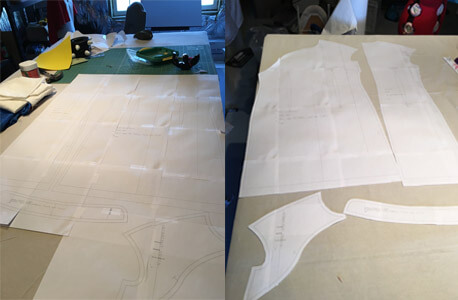
PATTERN: Print pattern to your size. I chose to trim off about an inch on the shoulder seam and blend into my armhole, which I recommend you do as well. Measure along this newly created armhole length. Use the following tutorial to create your sleeve pattern: http://www.danamadeit.com/2008/07/tutorial-puffed-sleeves.html. Once you have created this sleeve, measure along hem of sleeve to determine width of sleeve hem. Create individual diamond shapes that measure this length when added together. This will create our lower sleeve piece. IF YOU’RE INSERTING A ZIPPER: Take your collar pattern, and fold in half. Cut, and add 1/2″ inch on either side of the back edge where you cut it.
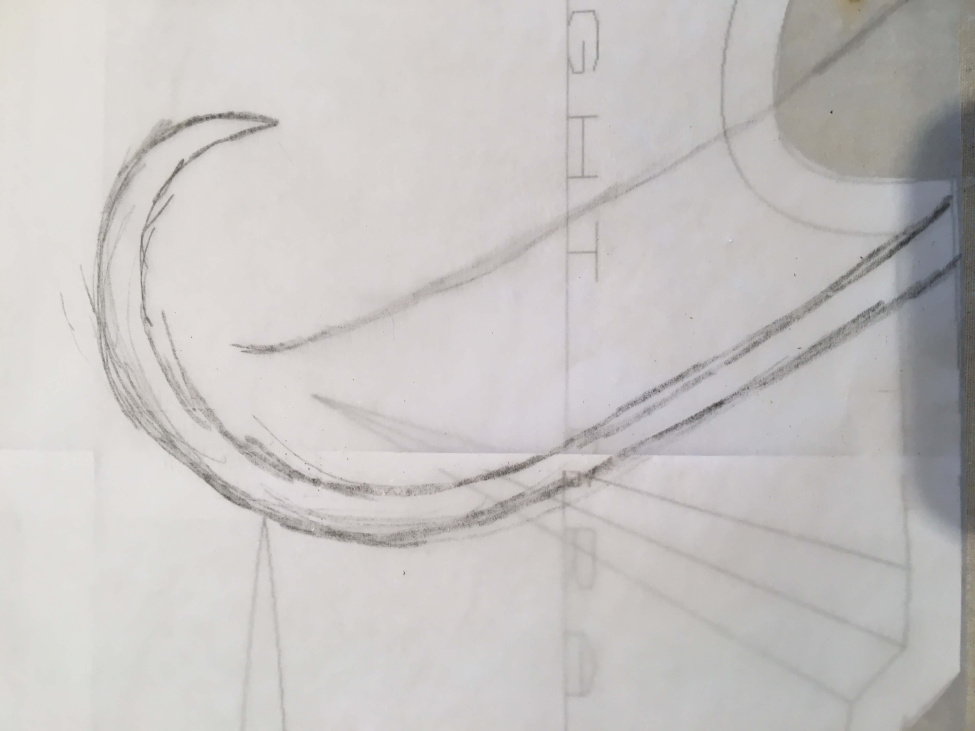
Taking tracing paper or printer paper, lay paper over pattern, and draw your gold detail pieces. Add 1/8”-1/4” seam allowance to this.
CUTTING: Cut all dress pieces according to pattern instructions. Make sure to mark your notches and darts. Cut interfacing pieces for collar and fuse if using fusible interfacing.
Cut two circles, 1 ½ inch by 2 times the circumference of your circles, 2 3 1/4” x 18” strips, 4 4”x4” squares and 4 1 1/2” x 9” strips out of your white fabric.
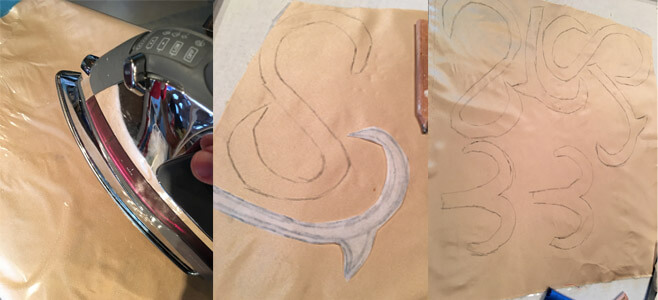
Iron your heat n bond to a small section of gold/yellow fabric, then cut out your design pieces.
SEWING:
NOTE: I determined I needed to insert a zipper after I took the dress in. I also had sewn the opening flap on the front to the dress. Depending on how tight/loose you want this fit, you can apply these to your garment as well.
DRESS:
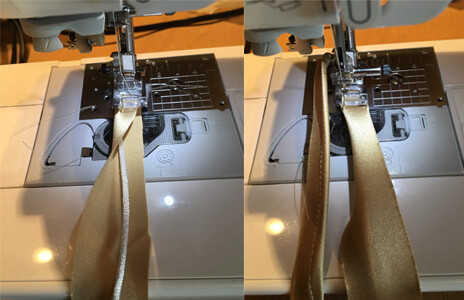
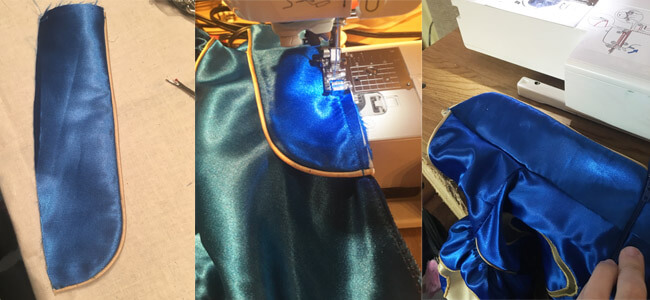
Create your own piping by cutting 1” bias strips (I used about 2-3 strips) of your gold/ yellow fabric. Attach strips at ends. Run your cording through the middle, and encase. Sew as close to cording as possible. Sew your darts closed on dress.
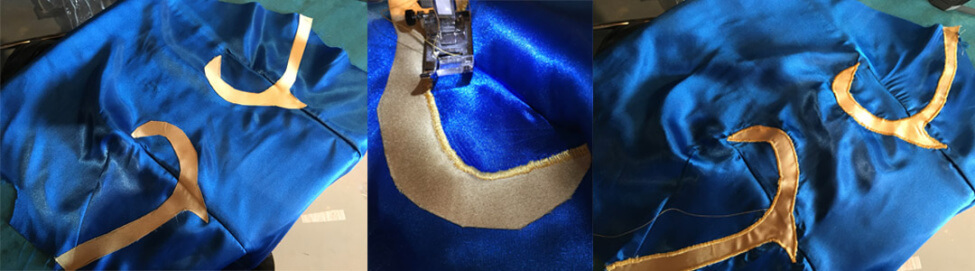
Take your gold applique pieces, and remove Heat n Bond backing. Place on front of dress, back of dress, and sleeve pieces and attach by ironing two pieces together. Using a zigzag stitch set to .1 or stitch setting right above 0 on your sewing machine, and satin stitch edges of appliques. This will give it the embroidered look without having to embroider it.
Using a ruler, measure up from your hem and determine height of side slits and back slit. Mark with chalk. Apply piping to side seams, hem, and back slit, stopping at chalk marking, and turning at corners. Apply piping to edge of your upper dress flap.
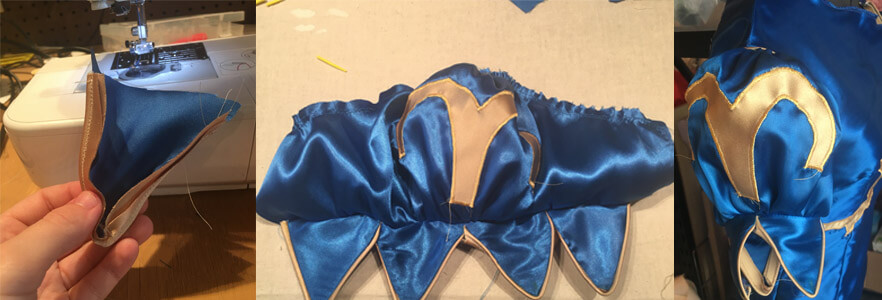
Gather sleeve at top and bottom. Apply piping to diamond pieces. Attach diamond shapes to the bottom of sleeves. Sew seams on sleeve together.
Apply piping to one of your collar piece. Sew both collar pieces together.
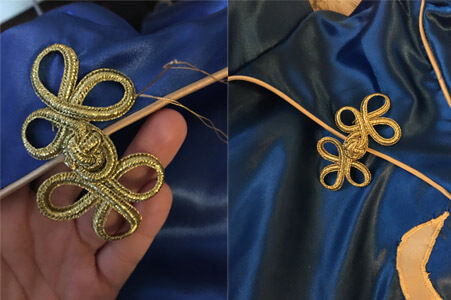
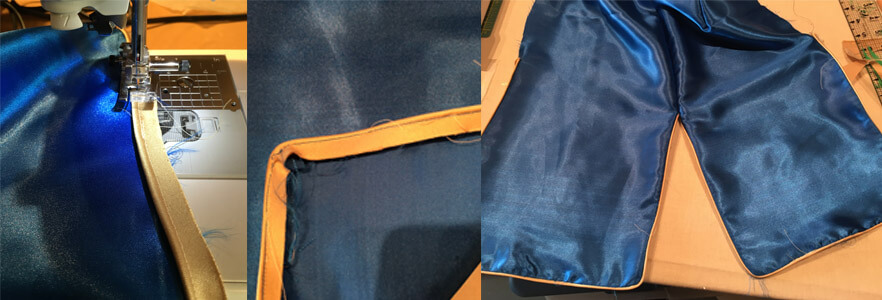
Sew side seams of dress together, leaving room for slits on the sides. Attach at shoulders. Apply piping into armhole. Attach sleeves. Attach collar. Sew in zipper if you are using one. Sew frog closure onto dress.
NOTE: Fit is everything! Try on your garment step by step to ensure a good fit. Press all seams open with an iron between each step. If you choose to serge your seams, do this between each step, or serge all pattern pieces before beginning construction.
Waistband:
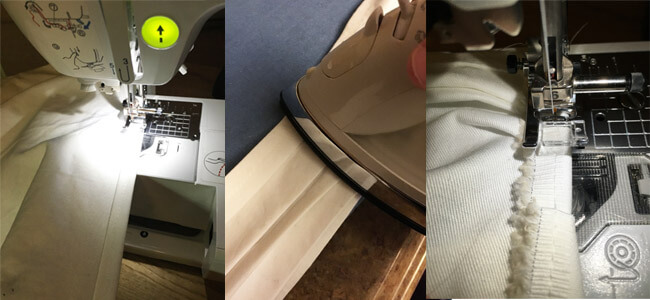
Take a piece of your white fabric as long as your waist + 2” by 1.75x the height you want it to be (example: 26” waist + 2 is 28 by 1.75 x times 4” is 7”). Sew top and bottom edges to create a clean edge. Taking a ruler and your iron, fold and pin pleats into your fabric. Press well with a steam iron. Baste edges, and turn under. Sew down edges. Add snaps on top and bottom edges to close.
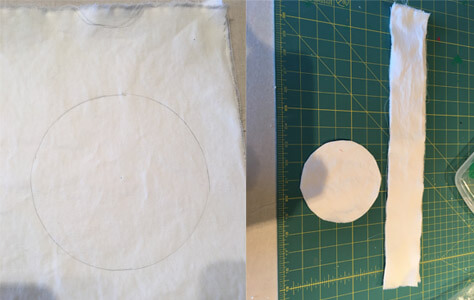
Bun covers:
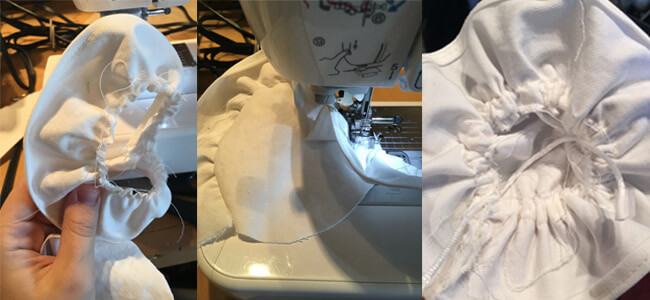
Hem your 1 ½” strips. Gather at the top. Attach to circles with a 1/4” to 1/2” seam allowance, depending on the width of your drawstring. Join at ends. Take your draw string, and encase in seam allowance, leaving ends where seam is open. Make sure to leave excess length to tighten draw string. This way you will be able to tighten it around your buns.
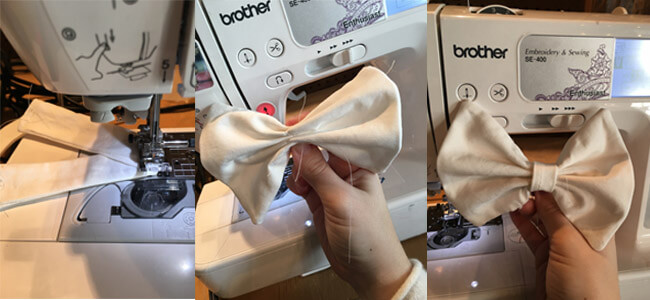
Sew two short pieces together. Criss cross over and tack in place. This will create the lower part of our bow. Take your long strips, fold in half, and sew together. Turn inside out and sew edges shut. Criss cross just like shorter bow pieces, and sew.Sew together your squares 2 at a time. Leave corner unsewn, and turn inside out. Hand sew corner closed. Gather center of squares to create bow shape. Take a scrap of fabric, to create your bow “knot”, and sew ends together.
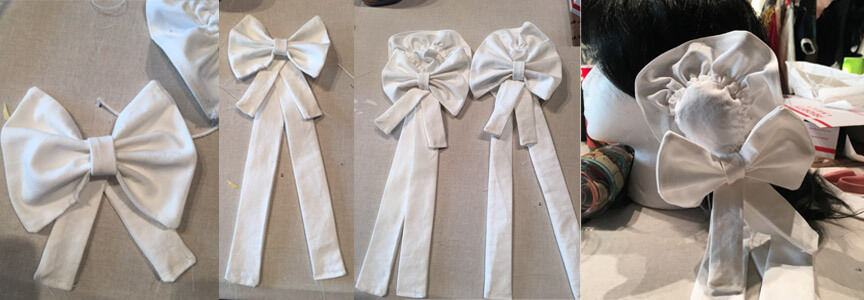
Sew all of your strips together to create the bow shape. Hand sew to your bun covers.
Note: If you find that your buns are a bit too thick to drawstring around, you can sew or glue in jaw hair clips.
Bracelet Tutorial
Supplies:
- 4 6”x1” Smooth foam discs
- 2 packs small foam cones (about 6 in a pack)
- 1 sheet of worbla
- Bamboo skewers
- Super 77
- Wood glue
- Mod Podge
- Gesso
- Flat white spray paint for primer
- Plastidip spray in black and white
Tools:
- Compass or drinking glass
- Foam saw
- Scissors
- Heat gun
- Ruler
- Pencil
- Fine grit sandpaper (220 or higher)
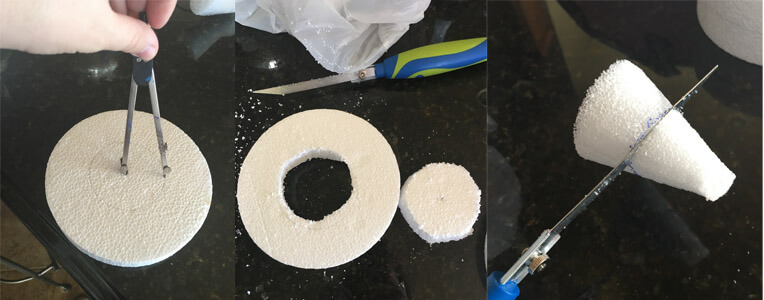
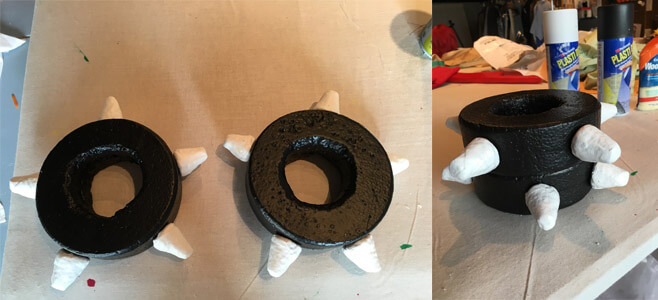
Take your 6” foam discs, and using your ruler, mark a point at the center on each disc. Taking your compass or drinking glass, trace a circle in the center large enough to place your hand through. Take your foam saw and cut out this circle on each foam disc.
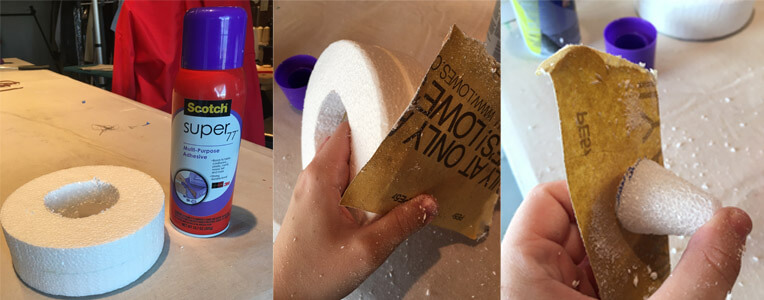
Spray one side of each disc with super 77, and attach 2 discs together. Allow to dry. Sand out rough edges to smooth. Take your small foam spikes, and cut down if necessary. Sand off bottoms to smooth and even them out.
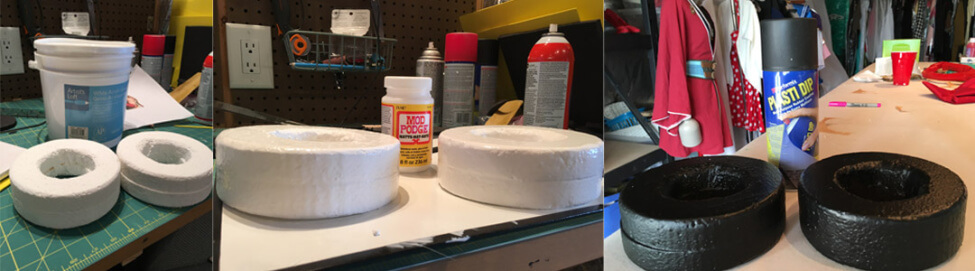
Coat with one coat of gesso thoroughly. Allow to dry, and apply two thin coats of Mod Podge, allowing for drying time in between. Make sure you get all of your foam covered, as your spray can destroy the foam if not adequately applied. Spray with black Plastidip, applying coats as needed, and allowing for drying time in between steps.
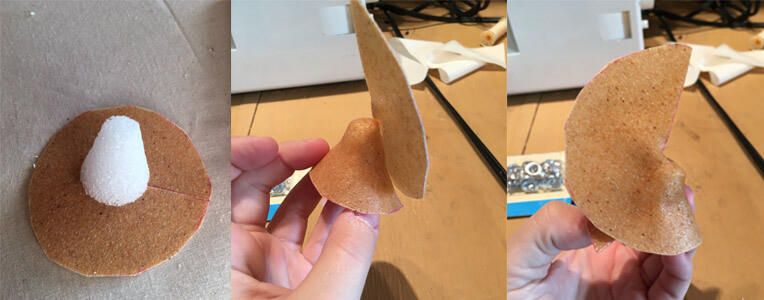
Take each individual cone, and trace a circle 3/4”-1” longer than all edges, and slice a slit to the middle. Don’t throw away any of your scraps, you can reuse them to fill in gaps if you need to!Heat your worbla circles thoroughly, and adhere to the spikes, wrapping as necessary. Worbla is a great material, because it’s completely flexible, and melts down into a putty! Take your time smoothing and blending lines, being careful to not overstretch the worbla.
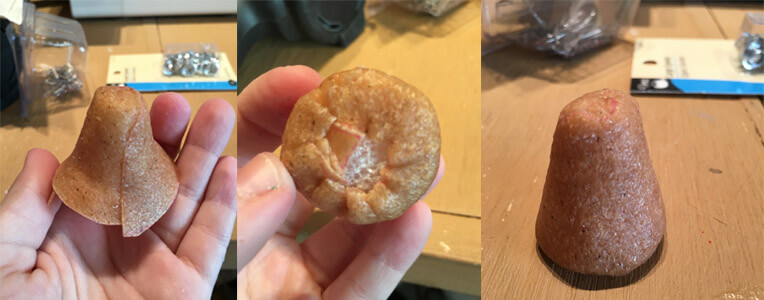
Tuck excess on bottom, leaving enough styrofoam exposed to insert a skewer on the bottom.
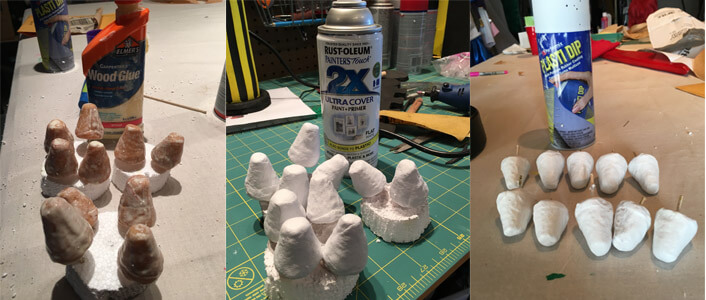
Take your skewers and cut them down into sections. Insert into your cones. Coat cones with one thin layer of wood glue to fill in gaps on worbla. You can use a paint brush, I just use my hands. Allow to dry. Take your flat white spray, and spray your cones with white spray paint. Allow to dry. Spray with white Plastidip, applying coats as needed, allowing for drying time in between coats.
Take your skewered ends, and poke them into your black foam discs. Once you’ve created your holes, remove skewer, add a small bead of wood glue to adhere, and reinsert. Repeat all the way around.
About the Author
Alexa O'Neill
Costume Designer and fabricator by day, Magical Girl crime fighter by night. Cosplay enthusiast extraordinaire .
Related Posts


One Comment
Leave a Comment
Stay connected. Don't miss out!
Get new costume guides in your inbox once a month.


thanks for this tutorial!!