Make Your Own: Anastasia
The Don Bluth classic “Anastasia” is a reimagination of the history of Grand Duchess Anastasia, youngest daughter of Tsar Nicholas II of Russia. Though whether or not she is a Disney princess is still hotly debated (especially now since Disney has bought 20th Century Fox), Anastasia has made a name for herself outside the realm of Disney.
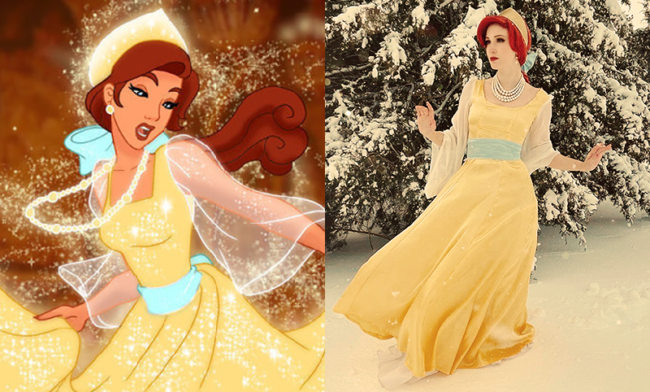
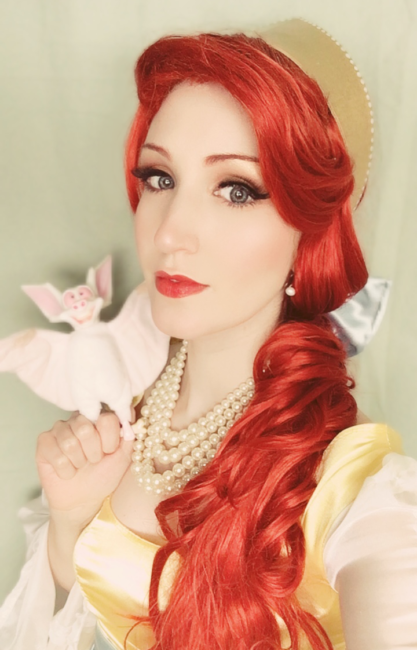
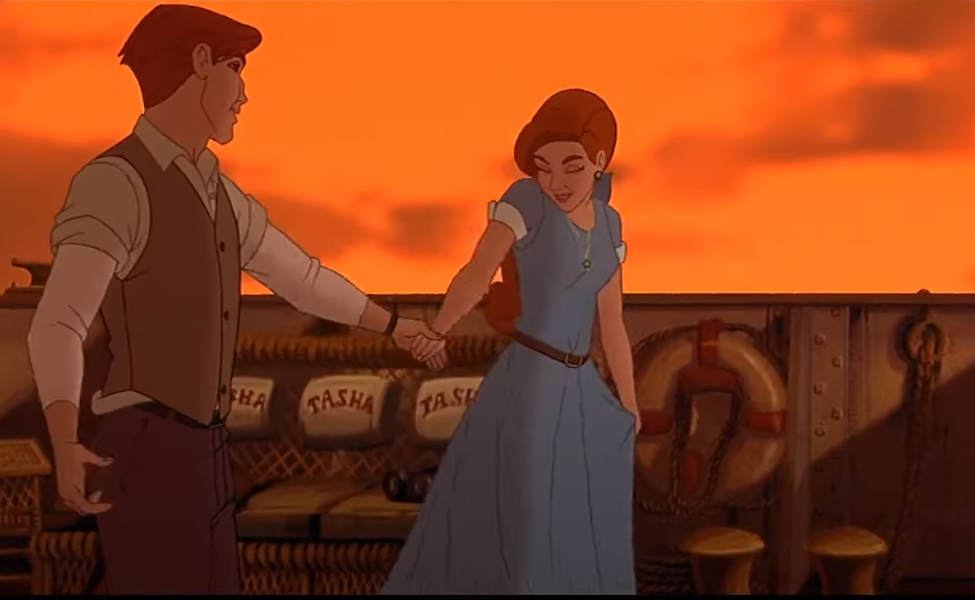
In this tutorial we will be exploring how to make the yellow Once Upon a December dress that Anastasia (or “Anya”, as she is called in the film) wears during one of the film’s most memorable moments.
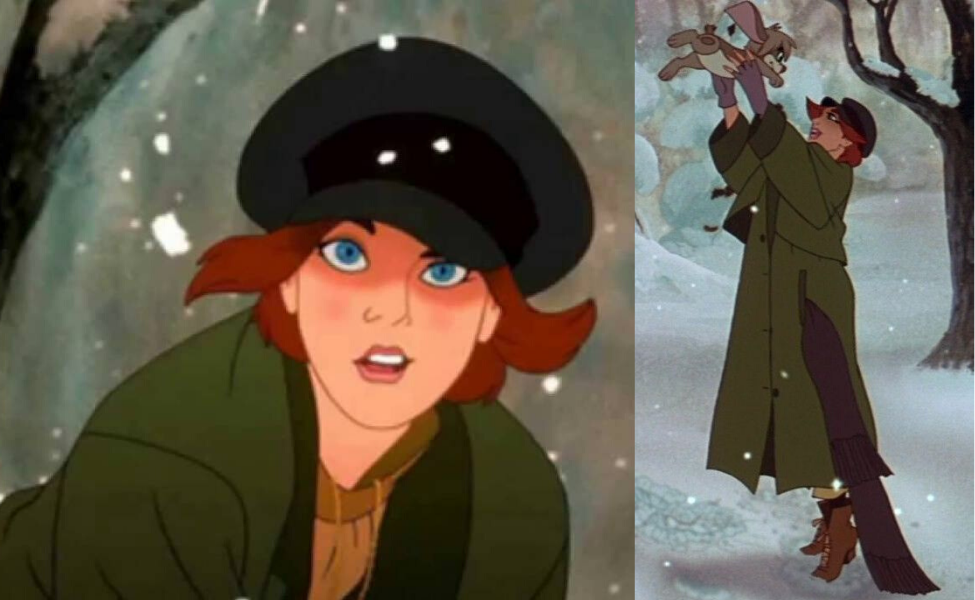
This is a great tutorial for beginner cosplayers who are new to dressmaking, or for intermediate cosplayers looking for a beautiful yet simple way to recreate a screen-accurate representation of this dress. Be sure to also check out our undercover Anya costume and Anya from Anastasia the musical!
You will need:
- Simplicity Pattern 1045
- Pinking shears
- 6 to 7 yards of yellow/gold satin fabric (depending on your size)
- 1 yard of baby blue satin fabric
- 4 yards of white chiffon fabric
- 1 yard Pellon 721 interfacing
- 1 yard lightweight interfacing
- Yellow/gold all-purpose thread
- Light blue all-purpose thread
- White thread
- Disappearing ink pen
- Gold glitter fabric spray
- Yellow 20 inch invisible zipper
- Sharp machine needles
- Craft foam (about 3mm thick)
- PlastiDip
- Metallic gold spray paint
- White 3d fabric puff paint
- Glossy clear sealer
- ¼ inch elastic
- Gold paper fasteners
- Sew-in velcro
- Hair clip backing
- E6000 glue
- Ankle-length petticoat
- Pearl earrings and necklace
STEP ONE:
For Anastasia’s dress, we will actually be using the same base pattern from my Maid Marian cosplay; Simplicity pattern 1045, but with fewer adjustments. First off, make sure to cut your pattern pieces out using pinking shears, so that your satin fabric does not fray while you’re trying to work with it. This includes the chiffon fabric as well.
Cut your pattern pieces out accordingly, including your interfacing pieces. (Use the lightweight interfacing for your dress pieces, not the Pellon 721). Use your yellow/gold fabric for the dress pieces, and your white chiffon for the sleeve pieces. (Do not bother cutting out the pattern piece that goes along the edge of the neck, as we will not be using that piece.)
STEP TWO:
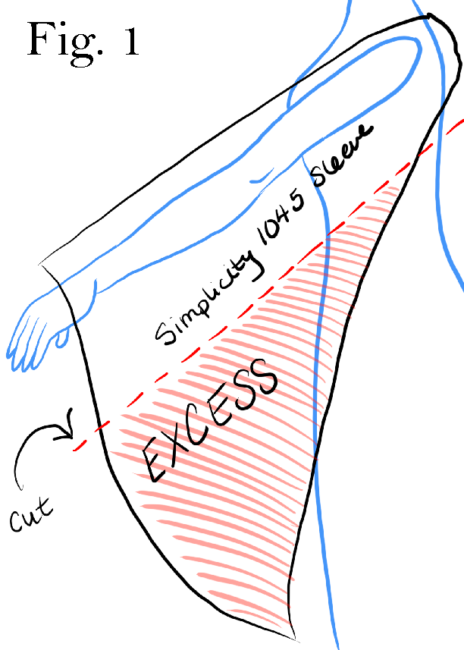
After you have your sleeve pieces cut out, sew your 2 sleeve pieces for each sleeve together down the top seam only. Then lay your sleeves on top of one another and make a guideline using your invisible marker for where you will be cutting the excess fabric off the bottom, as shown:
STEP THREE:
Once your sleeves have been altered accordingly, finish sewing them together, then hem them at the bottom edge. Next, iron your fusible interfacing pieces to their corresponding pattern pieces, then attach all your dress pieces together.
STEP FOUR:
Install your 20 inch zipper to the back of the dress, then finish off the dress by sewing the last seam down the back. Hem the neckline and the bottom of the dress. Sew the sleeves in accordingly. For a subtle glitter to your cosplay, spray a layer of your gold glitter fabric spray once over your completed dress. You’ve now completed the main costume piece! To make your dress extra poofy, wear it over the ankle-length petticoat.
STEP FIVE:
Time to move on to the blue belt. Simply measure your waist and cut a strip of baby blue fabric, about 5 inches thick, that is the measurement of your waist plus a few inches. Hem all the edges of your belt, then install your sew-in Velcro to the ends.
STEP SIX:
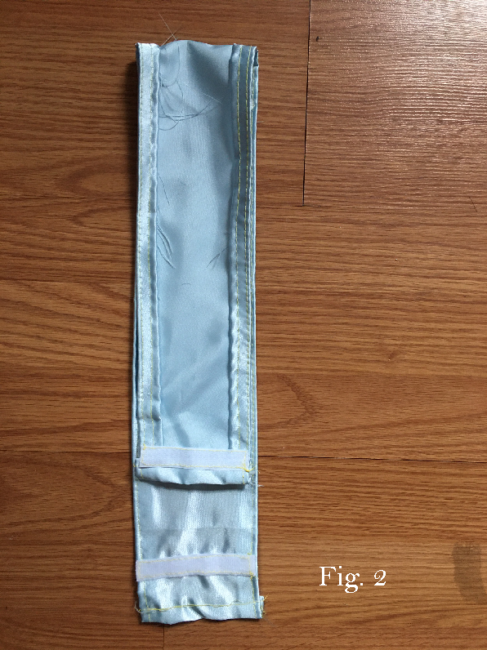
For the back bow, cut out a piece of your Pellon 721 interfacing that is about 8 inches tall and 12 inches long. Cut out 2 pieces of blue fabric that are the same size. Attach your interfacing to the wrong side of one blue piece, then sew the other blue piece to the opposite side of that piece (right sides together), leaving one side open. Flip your square inside out using that opening, then stitch the opening shut.
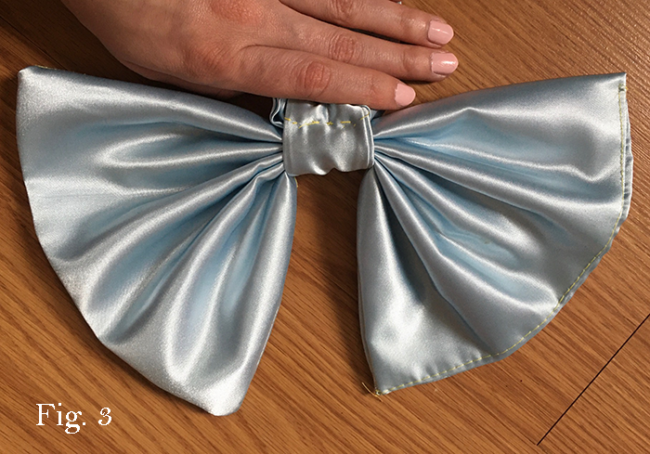
Now, cut out a thin strip of fabric about 4 inches thick by 4 inches long. Fold it over, right sides together, so that it is 2 inches thick by 4 inches long, and sew along that one edge. Flip it inside out, fold the raw edges inward over themselves, and sew the openings shut. Cinch your bow down the middle, then wrap your small strip around it and sew it closed.
STEP SEVEN:
Cut another strip of blue fabric, 48 inches by 8 inches. This will be your bow’s tail. Fold it over, right sides together, so that it is 48 inches by 4 inches. Sew down the edge, flip inside out, then sew the ends shut. Feed this strip through the small strip that is cinching your bow in the middle, and feel free to secure it with a small hand stitched anchor.
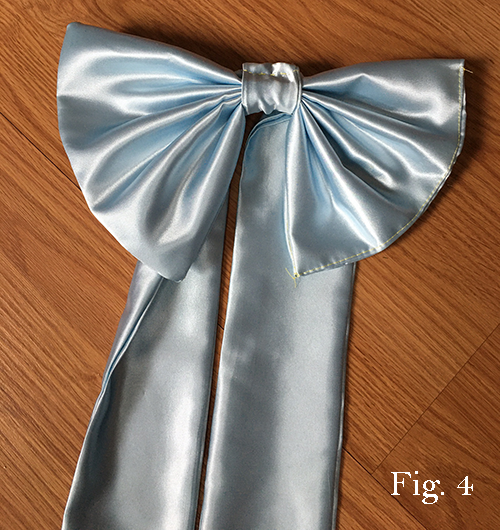
You can secure your bow to your belt using a dab of glue, or a safety pin.
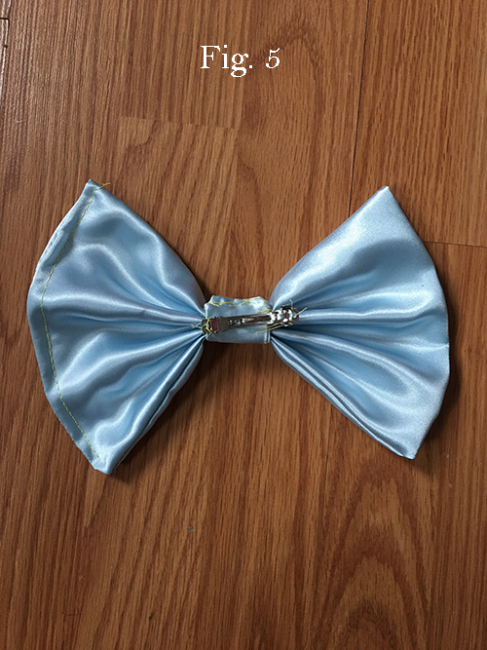
STEP EIGHT:
Make your blue hair bow in the same way you made your back bow, except slightly smaller (about 6 inches tall by 10 inches wide) including the Pellon 721 craft interfacing. When you’ve finished the smaller bow, glue your hair clip backing to the back of it.
STEP NINE:
For your crown, cut out a piece of your craft foam that is about this shape:
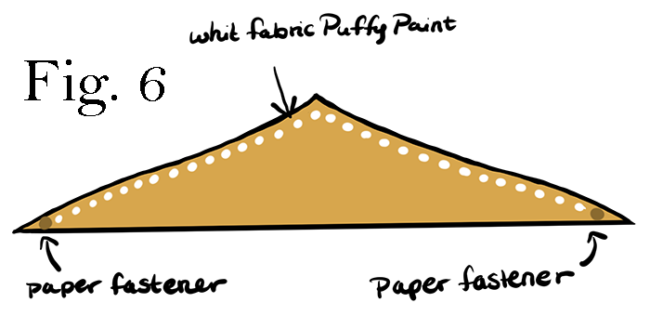
The length of your crown will vary depending on the shape of your head. (Mine is about 18 inches long, not including the strip of elastic.) Once your piece is cut, spray both sides with a layer of PlastiDip. Once the PlastiDip has dried completely, cover it with a few layers of metallic gold spray paint. Then, take your white puffy fabric paint and embellish the top edges with small dots. Finish your crown off with a layer of glossy sealer.
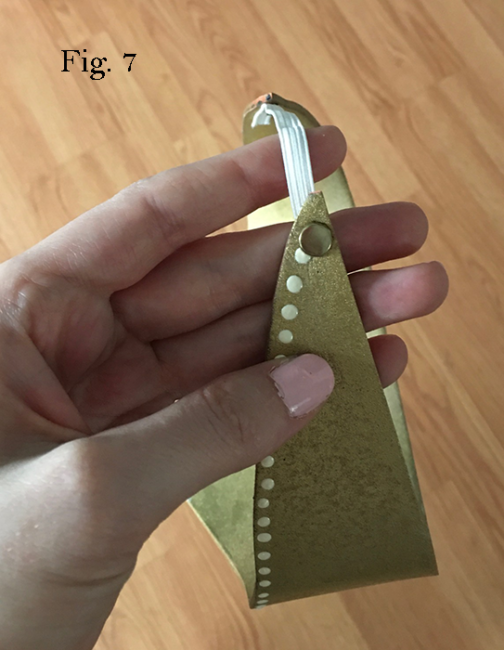
STEP TEN:
Finally, cut a small strip of elastic and attach it to the ends using a pair of gold paper fasteners.
And with that, you’re all finished and ready to dance through the halls of The Winter Palace!

(For a quick demo on how I did my make up for this cosplay, check out my speed-through video on YouTube!)
About the Author
Diomira Keane
Cosplayer, artist, cat-lover, party princess extraordinaire.

There are no comments yet, add one below.
Stay connected. Don't miss out!
Get new costume guides in your inbox once a month.


Leave a Comment