Make Your Own: Gibbs’ Coffee Cup from NCIS

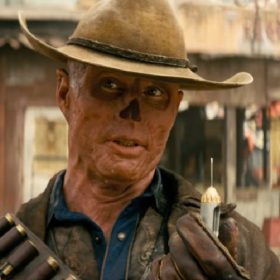
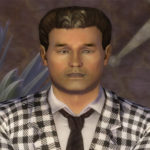
Leroy Jethro Gibbs (played by Mark Harmon) is a gruff, hard-boiled NCIS Special Agent with a heart of gold. Despite his prickly exterior, Gibbs develops a strong, almost fatherly bond with several members of his team, especially forensic scientist Abby Sciuto. Gibbs is rarely seen without a cup of piping hot black coffee in hand, and if you happen upon him without one, you’d better run.
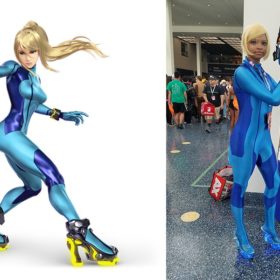
Today, we’re recreating a cup of Gibbs’ “Hot Fresh Coffee” (which bears an uncanny resemblance to Starbucks, not unlike the ZNN News they regularly watch in the show), so that we’re all spared a slap upside the head. More realistically, you can also use it with our Leroy Jethro Gibbs costume guide.
Materials Needed:
- Reusable white plastic insulated cup
- Dishwasher-safe Mod Podge
- Hot water and soap
- Alcohol wipes (optional)
- Printable decals (see below)
Directions:
Printable decals
For today’s craft, we’ll be designing a printable decal that we’ll attach to the coffee cup with dishwasher-safe Mod Podge. We’ll be using Canva.com and MockoFUN, free online graphic design programs, to create our decal.
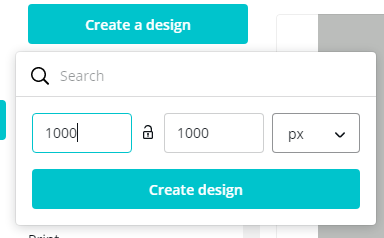
I started out by generating a square design canvas of 1000 pixels by 1000 pixels. That should give us decent image quality, to save the least.
To the left of your Canva workspace, you’ll see a list of icons with different tools and collections of resources. We’ll be using the Elements, primarily.
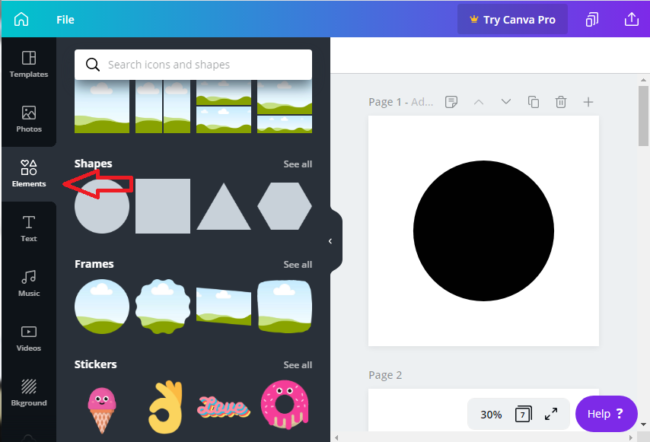
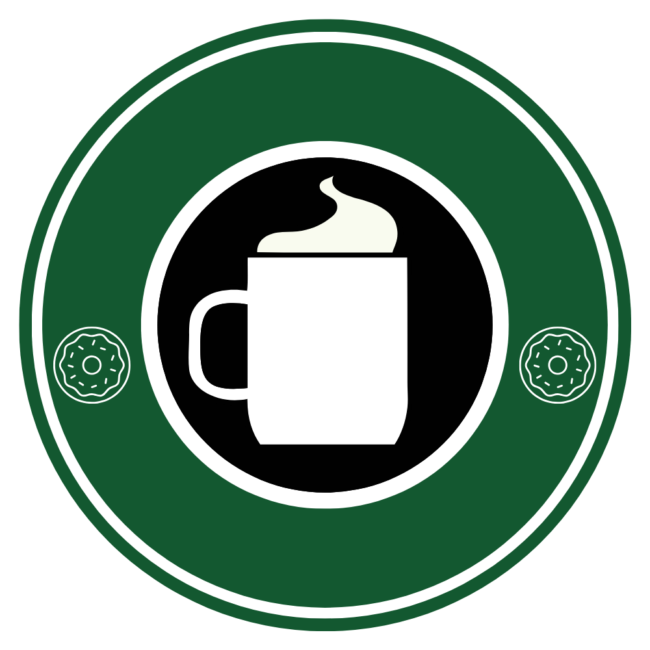
Go into Elements and find the Shapes collection. Select a circle, color it black, and place it in the center of your design.
Search the Elements collection for a coffee mug. There are a variety of free and premium graphics, but this free graphic looked enough like the reference image that it works in a pinch.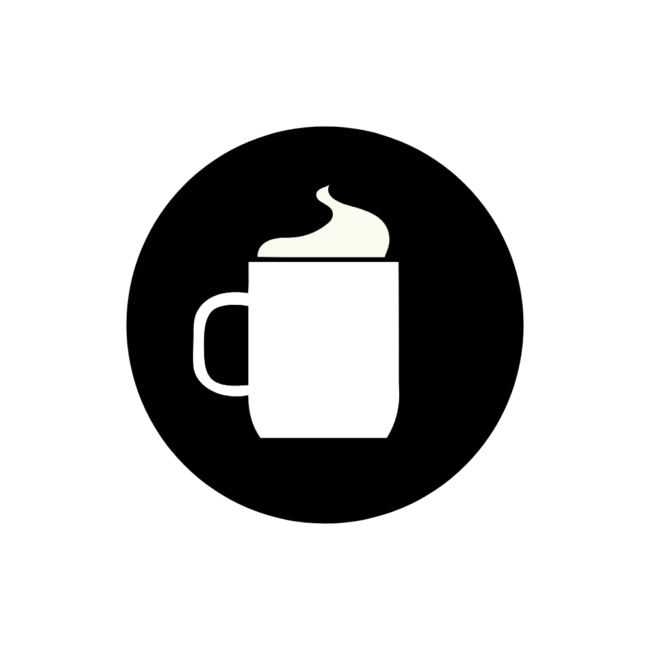
Add a white circle slightly larger than the black circle, and place it behind the black one. Do the same with a much larger green and white circles that match the color scheme of Starbu– um, Hot Fresh Coffee.
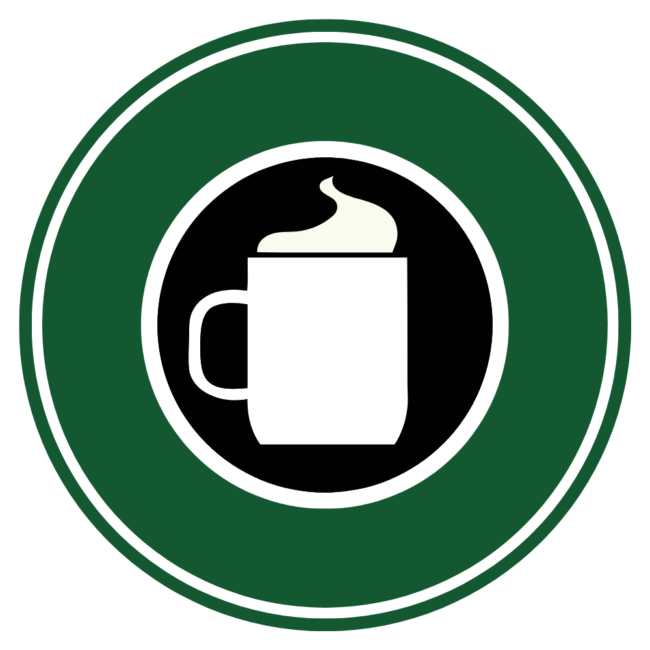
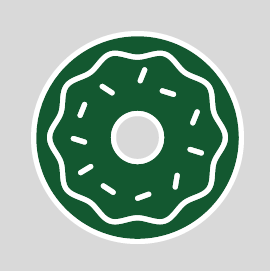
There are two little doughnut graphics on either side of the logo, in approximately the 3:00 and 9:00 positions of the circle’s outer ring. I found a free graphic of a doughnut by searching in the Elements tab, and recolored it to match. Any outlines were colored white, and interior colors were colored green.
Like so:
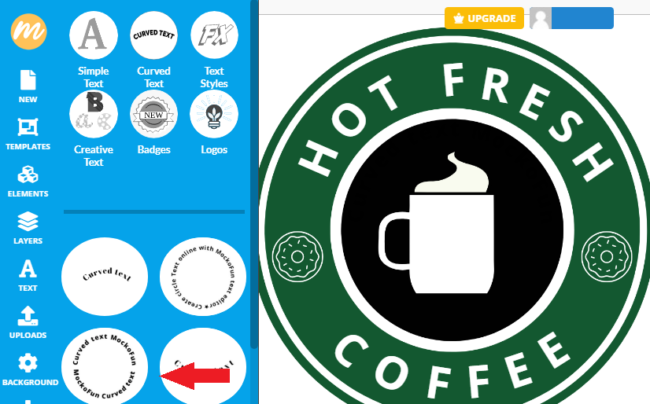
And that’s really all we can do with Canva. At this point, download the design as a .PNG image, and head on over to MockoFUN.com. The site is free to use with attribution, so consider this acknowledgement of its usage.
I spent way too much time looking for a site where I could easily manipulate text on a curved path for free. We’d be here all day if I tried to put my limited understanding of how to do it on GIMP (an open-source Photoshop alternative with a steep learning curve) into cogent, coherent words. Fortunately, MockoFUN currently offers this capability for free.
I created a design sized the same as our previous one on Canva, uploaded our Canva design-in-progress, and followed this tutorial to add curved text to our design.
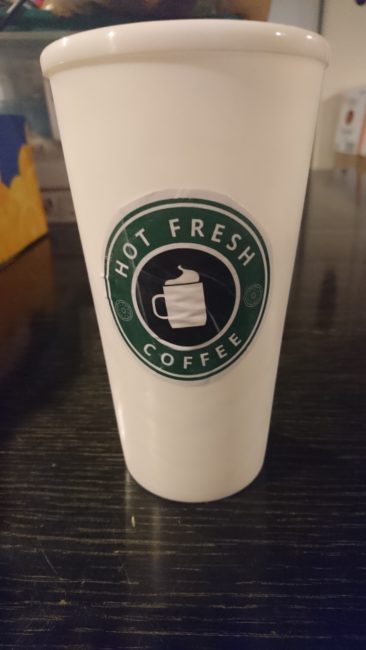
Finally, I saved out the design, made some final adjustments, and this is what I came up with:
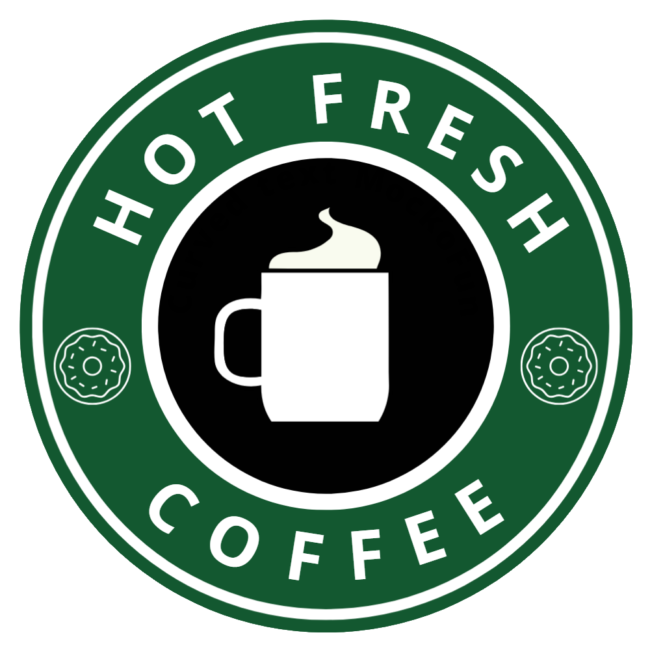
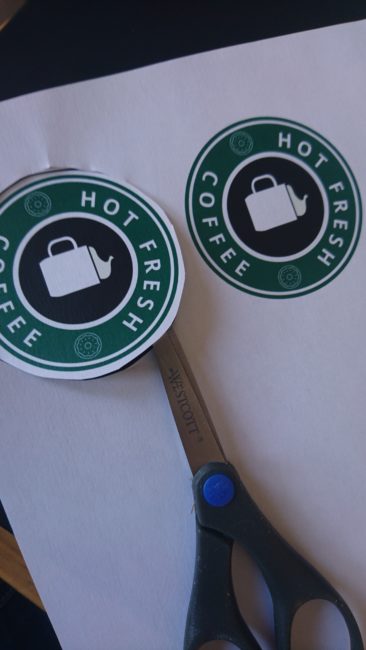
I printed two copies of the decal at “wallet size,” cut them out, and now I’m ready to begin applying them to the cup.
Decoupage the decals
To attach the printables to the cup, we’re going to decoupage them using Dishwasher-Safe Mod Podge. To learn more about this special kind of Mod Podge, I recommend reading this page about safely applying it to your projects.
A couple of points to keep in mind:
- Don’t apply the Mod Podge where it’ll come in direct contact with food/lips.
- It will take 28 days for the formula to completely cure to dishwasher-safe-ness. This is not recommended for con-crunching.
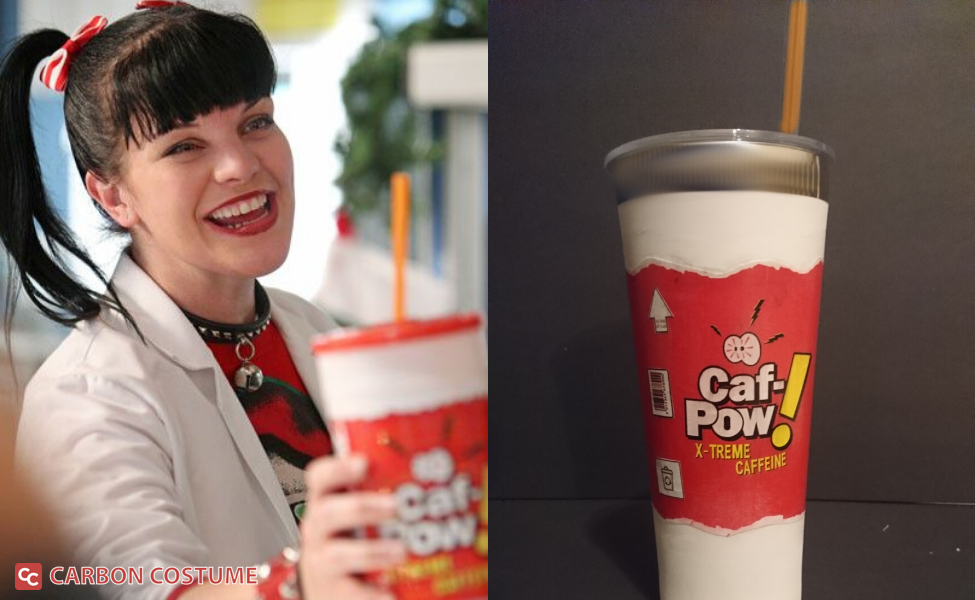
As noted above, I printed out two “wallet-sized” decals. Last time I worked with printables and Mod Podge on Abby Sciuto’s Caf Pow cup, I didn’t wait enough time for the printer ink to dry on the pages, and the ink ran slightly when I started decoupaging. This time, I let the pagesit for a while.
After that, I cut out the decals, leaving a small allowance of space around each one.
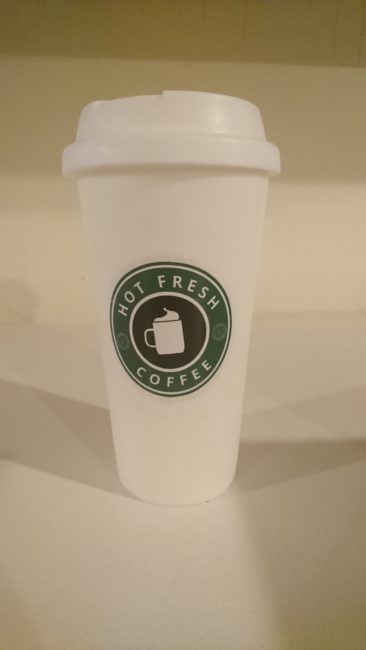
To prep the plastic coffee cup, clean it rigorously with hot water and soap, and/or rubbing alcohol on a cotton pad. Mix up the Mod Podge and brush a thin layer on both the tumbler and the underside of the printable.
Afterwards, apply another two or three more coats, waiting a couple hours in between each one. Remember to let the finished product cure for 28 days, at least before using and washing it, and your coffee cup is set. Grab your gear!
About the Author
Allison

There are no comments yet, add one below.
Stay connected. Don't miss out!
Get new costume guides in your inbox once a month.


Leave a Comment