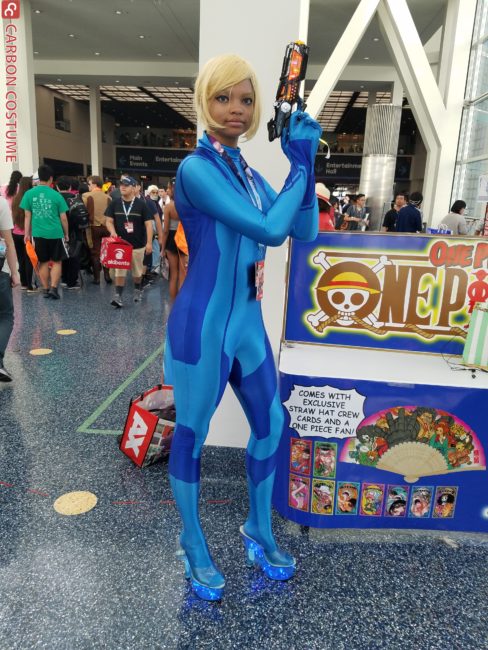
Make Your Own: Zero Suit Samus Rocket Heels
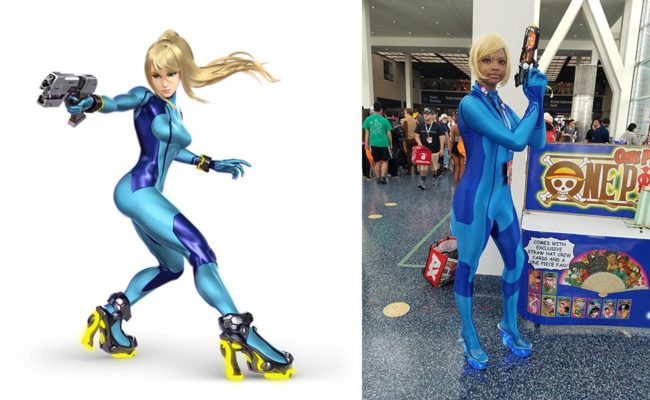
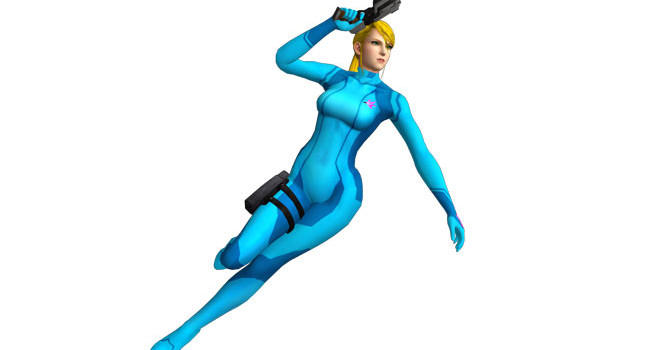
Zero Suit Samus’s costume is pretty simple: 1. full body suit. 2. gun. 3. wig. I consider Zero Suit to be one of the best starter cosplays for this reason. (See our Zero Suit Samus costume guide here.) However, I did have a dilemma. How would I make the rocket heels that Samus uses to annihilate her enemies? I had a few options and decided to go with her Varia suit model.
Things You’ll Need
- Power Drill
- Can of blue glass spray paint
- Pleaser platform heels (or any clear platform heel you can manage)
- Blue fairy lights
- Paper clip
- Hot glue gun (or any strong glue that sticks to plastic)
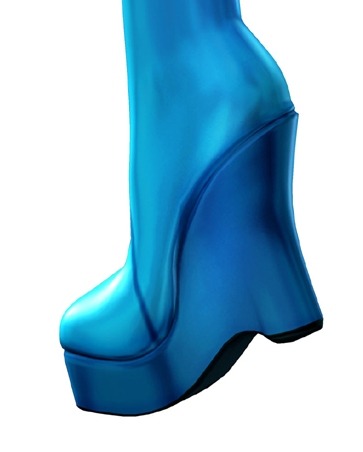
Step 1: Pick Your Shoe
The most important thing before you start drilling is figuring out how thick and strong the plastic in your platform is. If you don’t do this part, there’s a chance you could ruin your shoe. I bought my shoes from Pleaser shoes and they were really sturdy. So sturdy, that I had to figure out where I COULD drill.
Once you’re sure of the security of your shoe, figure out where you want to put the holes for the fairy lights. I put my fairy light holes on the inside of the middle of my shoe. This stopped it from getting in my way while walking (whenever I could walk in them).

Step 2: Drill
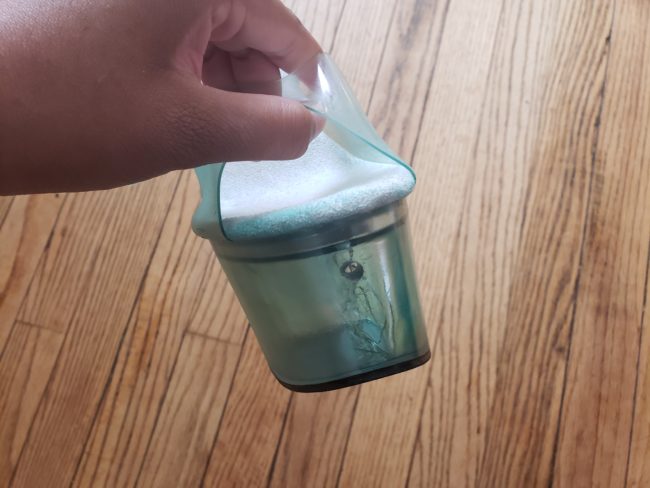
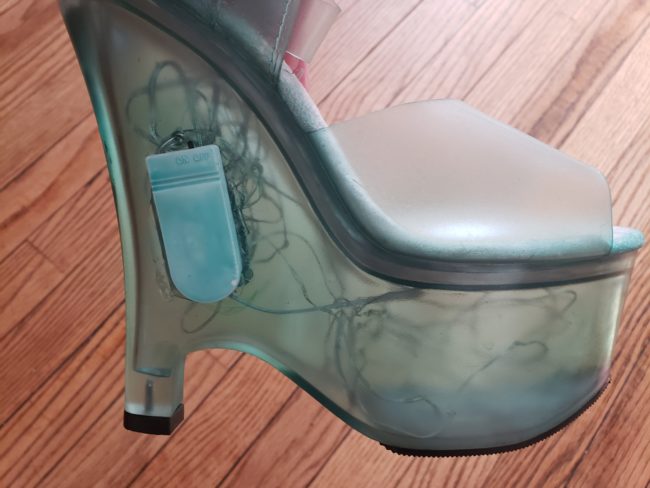
Depending on your shoe, you may one to drill anywhere between 1 and 3 holes. Because my platform was so large, I had to drill 3 holes; One for one set of lights, a second for a second set of lights, and a third to push in a paperclip so I could spread the lights out within the shoe. As far as the size of the hole, you can drill as large of a hole as you think you’d need to put your fairy lights in. I placed my first two holes through the thinnest area of the shoe, which was between the heel and the ball of the foot. The third was through the front toe area.
Step 3: Spray Paint
I chose to drill before the spray paint just because I wasn’t sure if the paint would chip or not. This step is something to judge by eye more than by instruction. Spray the plastic part of your shoe until it reaches the darkness you like. I kept mine pretty transparent because I liked the effect.
Also spray the battery casings of of your fairy lights so they blend in a little better.
Step 4: Fairy Lights
Once your paint is dry, insert the line of fairy lights into your shoe. If you get the same shoe I did, then you’ll need to use that paper clip to spread the lights out evenly. Once you’re satisfied with how the lights are placed, glue the battery casings with the screws OUT. I glued them with the screws IN so when the lights went out, I had to somehow chip the glue off to reach the battery.
With this, you’re done! Feel free to strut your cool glowy shoes at any place you so desire! Fair warning, they’re hard to walk in. Don’t hurt yourself. Practice before you leave the house.
About the Author
Otto
Hello! I'm Otto and I've been making costumes and cosplaying for about 3 years now.
Related Posts


There are no comments yet, add one below.
Stay connected. Don't miss out!
Get new costume guides in your inbox once a month.


Leave a Comment