Make Your Own: No-Sew Quick, Easy Bunny Ears
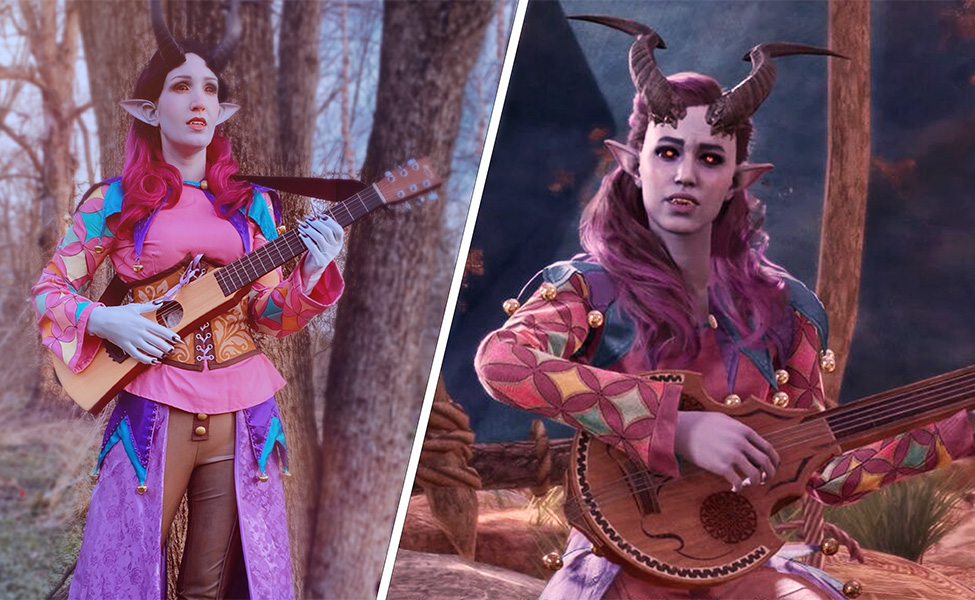
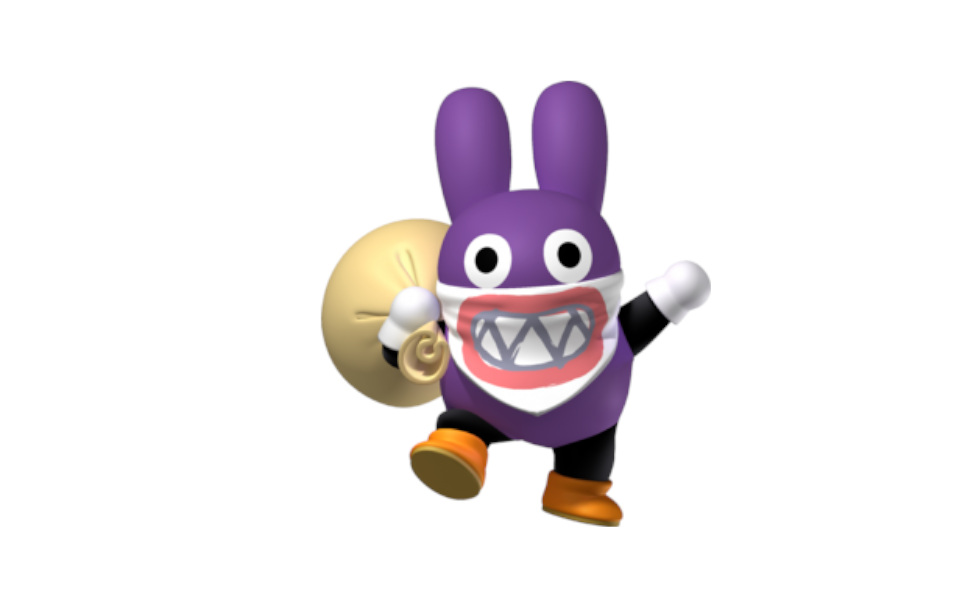
Step into spring with your own pair of bunny ears! Whether you seek a fun accessory for Easter or spring, or want to dress as a rabbit for Halloween or at a convention, this tutorial is for you! Need suggestions? Some bunny characters include Cream the Rabbit from Sonic, Babs Bunny from Looney Tunes, Judy Hopps from Zootopia, Roger Rabbit, and Hiro Mirko from My Hero Academia.
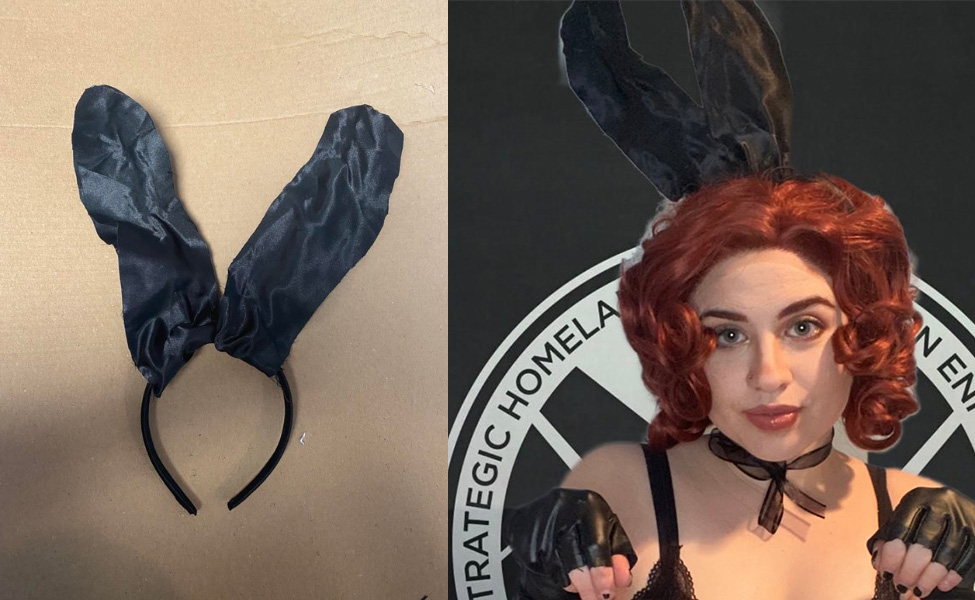
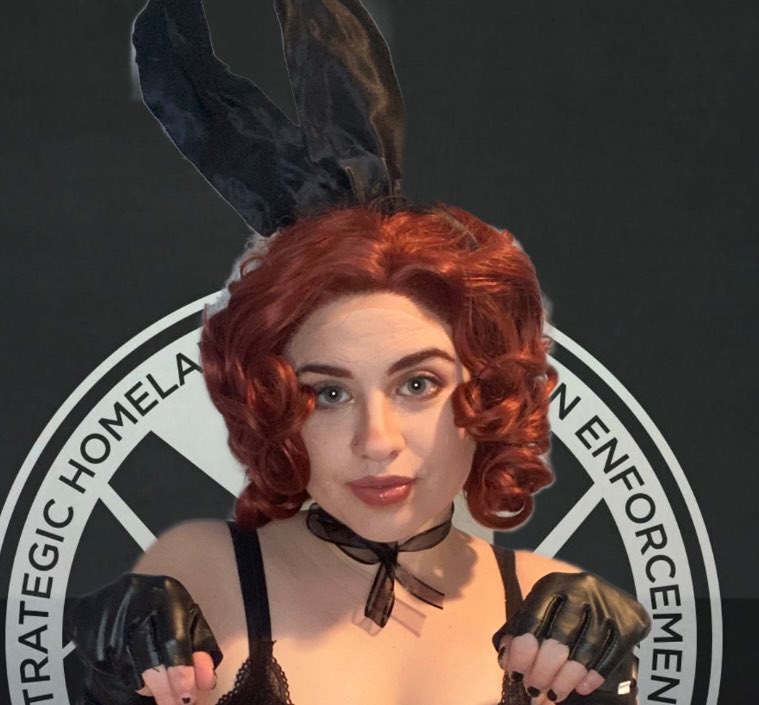
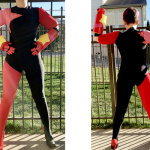
I made these bunny ears for a Playboy Bunny edition of Black Widow, which also somewhat resemble Ariana Grande in “Dangerous Woman.”
You only need five things to make these bunny ears, most of which you probably already own. I already had all of these materials in my craft box, so the total cost was zero dollars! This is a great tutorial to use your resources on hand and promote sustainable cosplay.
This tutorial is only seven easy steps with no sewing required. Most of the steps involve cutting or glueing, which everyone knows how to do with ease. I guarantee you can complete this tutorial in less than ten minutes!
Materials:
Step 1
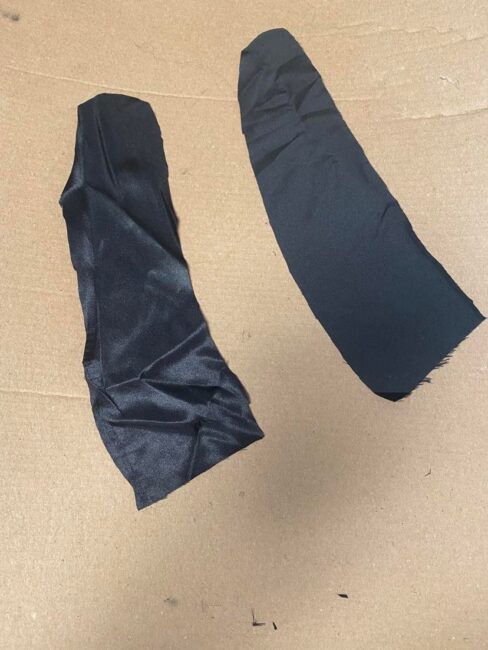
Cut out your fabric in the shape of an ear. I chose to use satin for the Playboy look, but you can use any type of fabric you wish. Felt will also work for this tutorial! You can use a stencil or draw a free hand outline to customize the shape and size of the ears. Or you can just go in with your scissors and shape as you go! I made my ear shape a little wider as opposed to longer.
Step 2
Now, cut out the same shape in reverse to make the other side of the ear. You can use your existing ear as a stencil, but be careful to not snip away your original shape. This is especially important for fabrics like satin, as you want the shiny side on the outside.
Step 3
Repeat steps 1 & 2 for the second ear. You should end up with four pieces of fabric.
Step 4
Measure the jewelry wire an inch longer than the length of the ear. Cut four pieces at this length. I did this craft with only one piece of jewelry wire per ear, but I might recommend two pieces per ear for better stability. I found one ear was a bit floppy, which could be resolved with this advice!
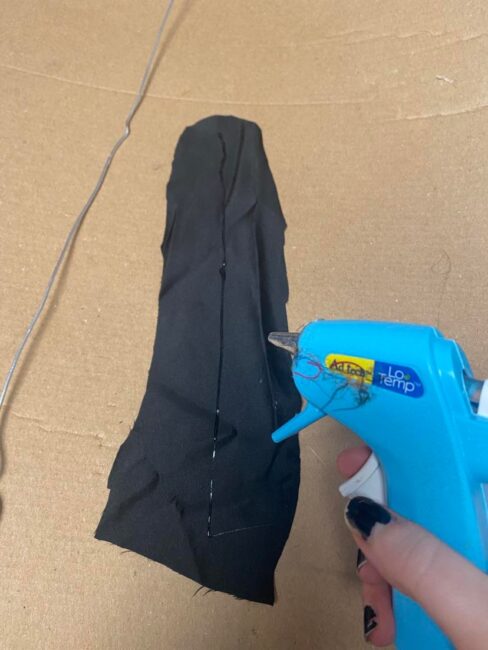
Step 5
Apply hot glue down the length of the inside one of the pieces of fabric and place your jewelry wire down. Again, I would recommend two pieces for each ear as opposed to one. The jewelry wire adds structure and allows you to pose your ears in different positions! Repeat for the other piece of fabric that is identical to the previous one.
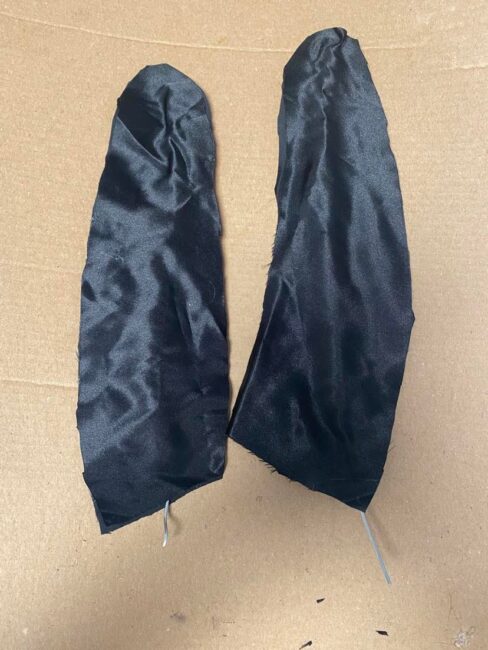
Step 6
Apply hot glue around the perimeter of the fabric with the jewelry wire, and place down the reversed piece of fabric to create the ear. Repeat the same for the other pieces of fabric. You should now have two ears with jewelry wire sandwiched in between!
Step 7
Place the ears how you want them on the headband. I put mine close to each other to resemble the Playboy design. Bend the excess jewelry wire around the headband, wrapping around with the fabric, and fix into place with hot glue. Or you can use Duck tape for additional support. Flex the ears into the shape you want them.
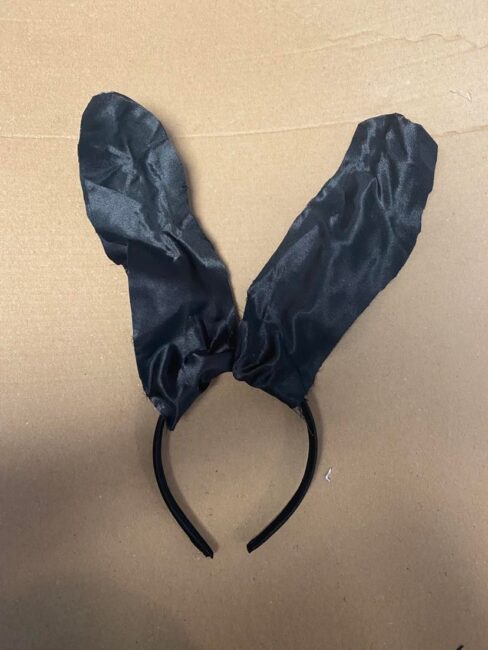
And that’s it! While not an official step, feel free to decorate your ears with sequins, glitter, pom-poms, or other accessories. Make these ears entirely your own!
Check out our other DIY tutorials for Halloween, cosplay, and more here.
About the Author
Mandy
Cosplayer, creative writer, cookie connoisseur. Pronouns: she/they.
Related Posts


There are no comments yet, add one below.
Stay connected. Don't miss out!
Get new costume guides in your inbox once a month.


Leave a Comment