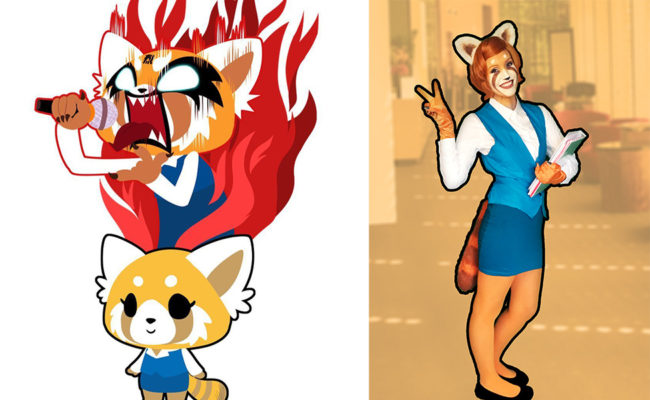
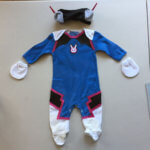
Make Your Own: Retsuko from Aggretsuko
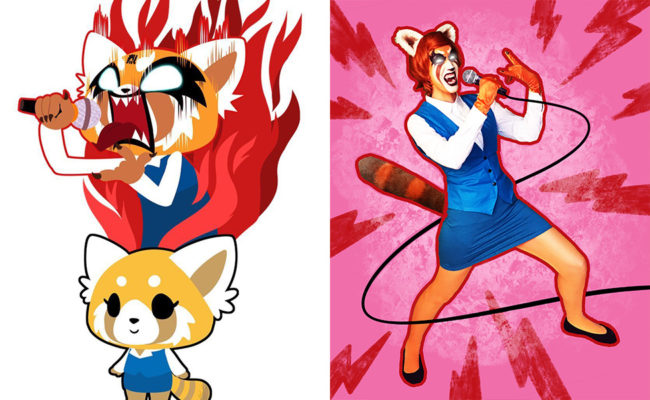
“Retsuko”, which means “fierce child” in Japanese, is the newest and most angsty member of the Sanrio family. She is a 25 year old red panda living and working in Tokyo who, after 5 grueling years in the accounting department of a major trading firm, is disenchanted with her career and life of singledom. As such, she spends her nights letting off steam by singing along to her favorite death metal songs at the local karaoke bar.
This cosplay tutorial is a great introduction for anyone who is just getting into cosplay. It includes both simple garment construction and easy-to-follow instructions for small anthropomorphic design elements such as ears and a tail.
You Will Need:
- 2 yards of blue broadcloth
- 2 yards of matching blue jersey knit fabric
- Matching blue thread
- White thread
- 3 yards of white broadcloth
- McCalls Pattern 2260
- Butterick Pattern B4609
- 2 ½ yards apparel interfacing
- Opaque Orange Tights
- Low-cut orange opera gloves
- Fake nails (Black)
- E6000 Glue
- 12 oz PolyFil
- Set of 3 ¾” black buttons
- Ten ½” white buttons
- 1/4 yards Pellon 71F Ultra Firm Stabilizer
- 1/3 yards white faux fur
- 1 skein white embroidery floss
- 1 skein orange embroidery floss
- Cellulose Sponge
- Embroidery Needle
- Craft Paint (Burnt Orange)
- Craft Paint (Burnt Sienna)
- Large Bobby Pins
- Short Orange Wig
- ½” Elastic
- Orange Waistband Elastic
- Large flat-head paint brush
- Black flats
Step One:
To begin, start by constructing your skirt. A great introductory resource for making a skirt is this tutorial and pattern by Ladulsatina. Simply print the pattern out and follow the accompanying instructions. If this is your first skirt and you are unsure of the measurements, try making a mock-up first with a stretchy fabric similar to the knit you will be using for your final piece.
Step Two:
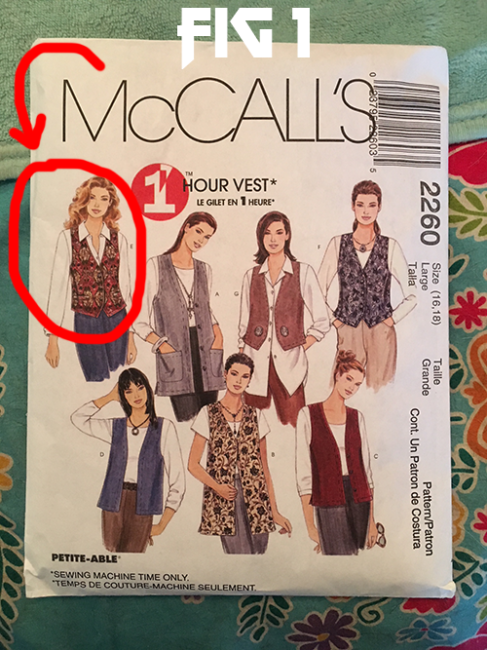
Next, let’s move on to the vest. For this we will be using the McCall’s Pattern 2260, Style E.
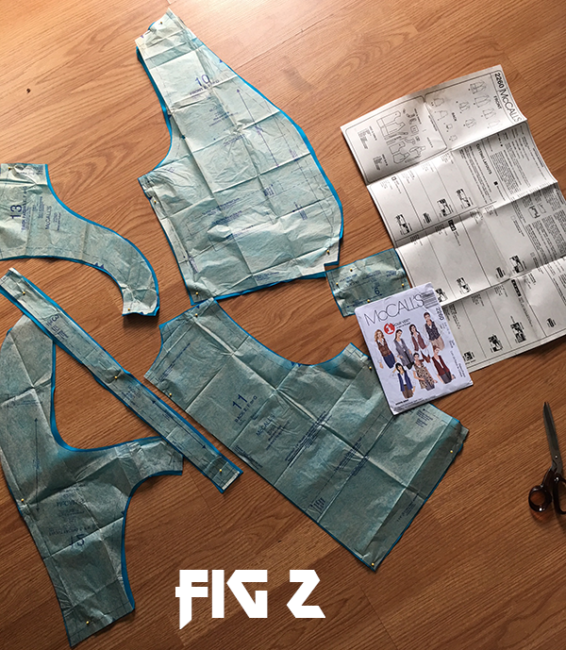
Cut out your pattern pieces as directed, including the interfacing pieces. Follow along with the instructions, paying careful attention to details. If you are a beginner sewer, the main thing to remember is not to rush it! Double-check the instructions to make sure you’re installing each piece properly.
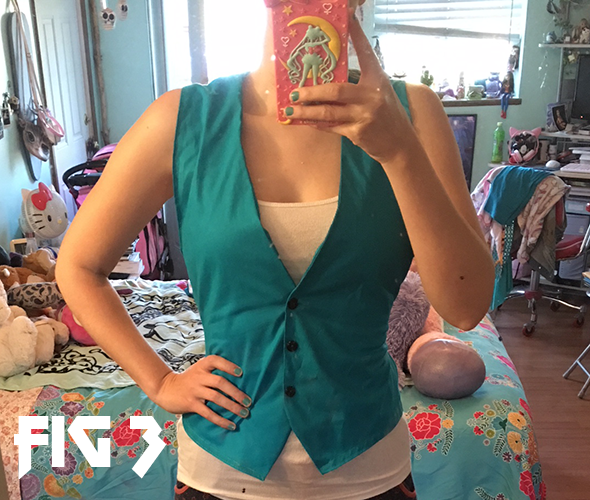
Once you’re done, your finished product should look something like this:
Step Three:
The most involved garment of this costume is the button-up blouse, but now that you’ve mastered the skirt and the vest, you’ll already have a foundation to build upon.
For the blouse, follow along with the instructions included in Butterick Pattern B4609, Style C.
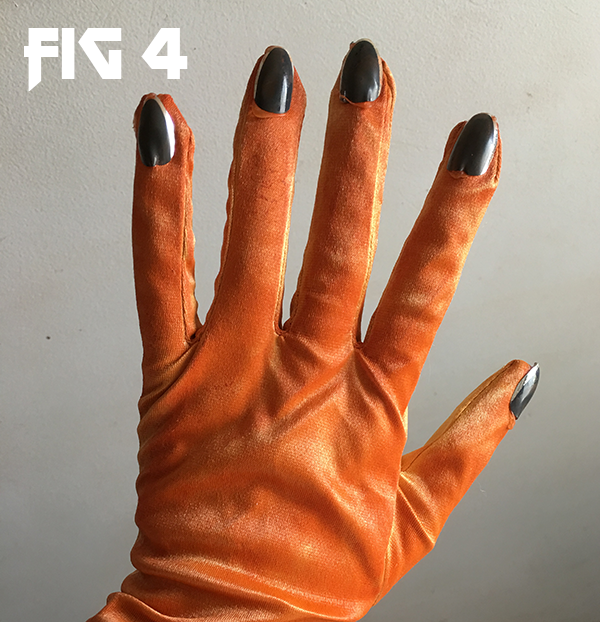
Step Four:
Next it’s time to make the gloves. Using your E6000 glue, attach each black nail to the tip of your glove. It’s easiest to do this one hand at a time, while your hand is in the glove. I actually used hot glue to attach them, which worked well and dried quickly, but caused the plastic nails to melt and warp slightly. Since you’ll be using E6000, make sure you allow enough time for the nails to dry before wearing them again.
Step Five:
For the ears, cut out 2 small, identical triangles from your Pellon 71F with one side longer than the other two. These will serve as the base of the ear.
Next, cut out 2 larger triangles that curve at two of the sides. The third side will be the base, and the length of it should be double the length of the 2 shorter edges of your small triangles.
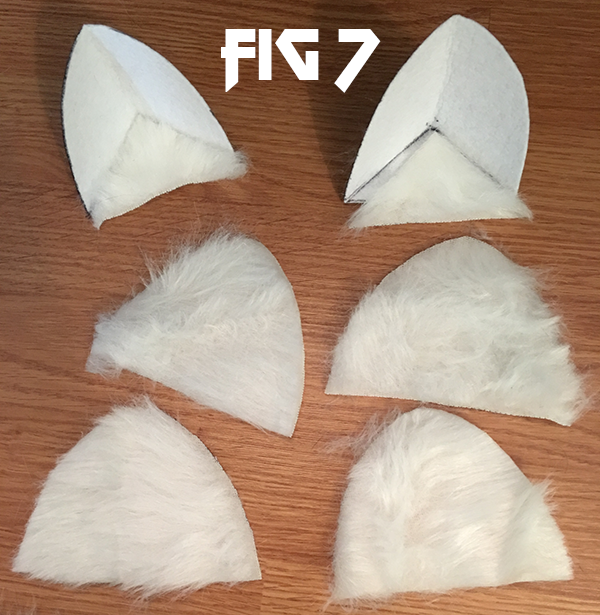
Step Six:
Now it’s time to cut the fur for the ears. On the back of your faux fur, trace both of the smaller triangles. You will only need one piece of fur per triangle, so you need only cut 2 small triangles from the fur.
Then, trace both of your larger, curved triangles twice. You will need 2 pieces of fur per large triangle, for a total of 4 pieces.
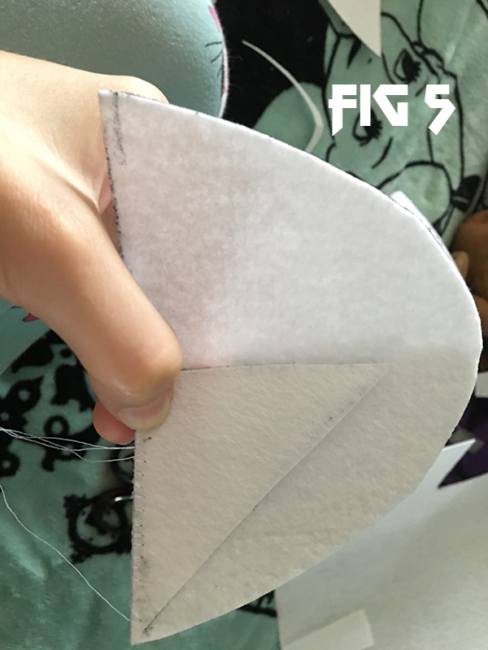
Step Seven:
Stitch each small triangle to the base of each large triangle so that the base of the large triangle runs along the smaller edges of the smaller triangles, as shown:

Step Eight:
Using the E6000, glue the large faux fur pieces to the front and back of each large triangle, and one small piece to the top of each smaller triangle. For added security, run a stitch along each edge of all 4 triangles with your embroidery floss.
Step Nine:
With your Burnt Sienna paint, Lightly brush the inside of each completed ear.
You will attach each ear to your wig with the large bobby pins once you’re ready to get into costume.
Step Ten:
Last but not least, it’s time to construct the tail!
On that back of your faux fur, sketch out a large oblong shape that tapers at one end. Before cutting, make sure that the tail falls to a length of your liking by holding it up to your waist.
Cut 2 identical pieces of this shape.
Step Eleven:
In a small bowl, mix 1 part burnt orange paint and 1 part water.
In another bowl, mix 1 part burnt sienna paint and 1 part water.
Drench your sponge in the burnt orange and use it to completely cover both of your tail pieces.
Wait for your pieces to completely dry, then use your burnt sienna to add in the stripes by lightly pressing your sponge to the fur.
If you don’t wait for the orange to dry, the brown will mix with the orange and create an ombre effect, which will not lend itself well to the separation in color that you’ll want for the stripe effect of Retsuko’s tail.
For a more in-depth video on how to dye fur, check out this video:
Step Twelve:
Lay your tail pieces wrong sides together and, using a blanket stitch, sew the pieces together, leaving an opening at the top where the tail has tapered.
Take your PolyFil and fill in the tail through the hole at the top, then stitch it closed.
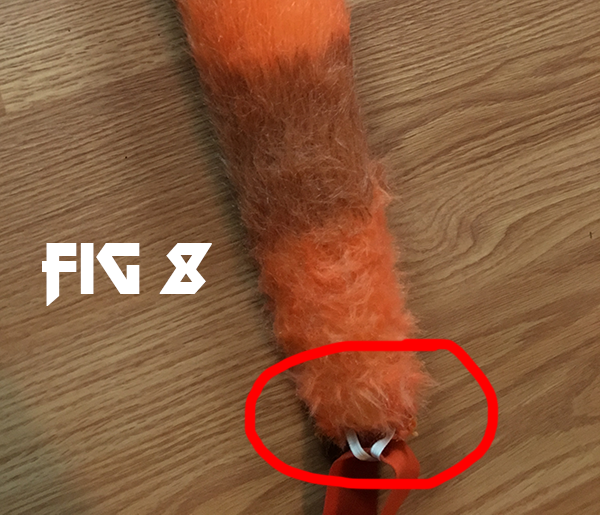
Attach 2 small pieces of ½” elastic to the top of the tail to make 2 loops.
Run your orange waistband elastic through the 2 loops and stitch it closed, making sure the length of it is wide enough to fit the measurements of your waist.
For a speed-through tutorial on how I did my makeup, check out this video, which includes all the products I used to create the desired effects:
And that’s it! You’re all done and ready for some death metal karaoke!
About the Author
Diomira Keane
Cosplayer, artist, cat-lover, party princess extraordinaire.


There are no comments yet, add one below.
Stay connected. Don't miss out!
Get new costume guides in your inbox once a month.


Leave a Comment