Make Your Own: Cutie Marks from My Little Pony
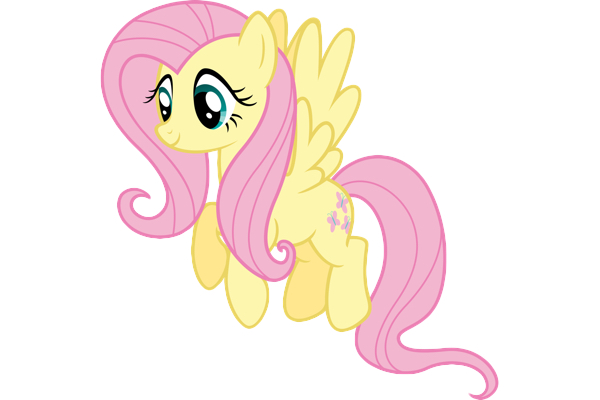
My Little Pony has been around for a while and shows no signs of going anywhere. And that means that MLP cosplay is going to be a con staple for years to come (check our My Little Pony costume guides to see what we mean).
This also means that cutie mark patches and pins are likely to be on Etsy for years to come as well. But what do you do if you want to design your own cutie mark? Or if you want to cosplay a canon character with a twist? Or if the cutie mark options online just aren’t the right size?
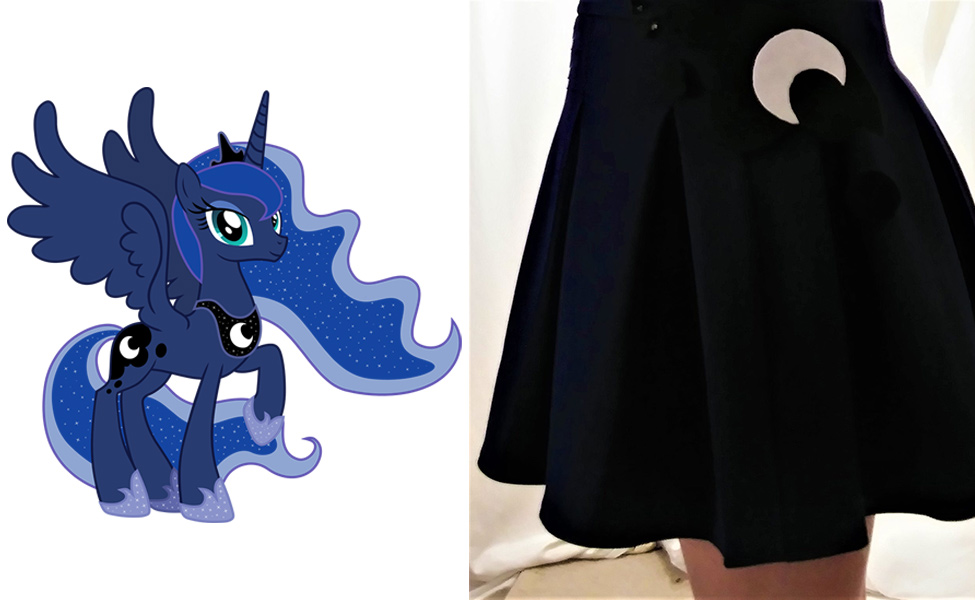
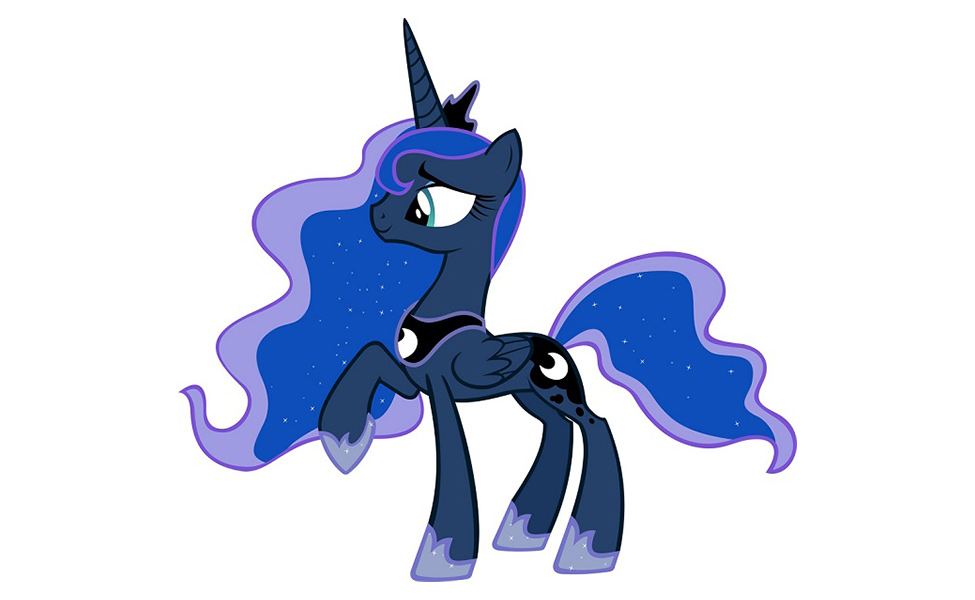
When this happens, don’t stress! Just grab a few materials and make your own by following our no-sew guide! Here we demonstrate how it’s done using Princess Luna’s crescent moon cutie mark as an example.
Supplies
- 1 sheet of felt in every color you need
- Access to a printer
- Straight pins or chalk
- Scissors
- A hot glue gun and sticks
- Magnets or backing pins
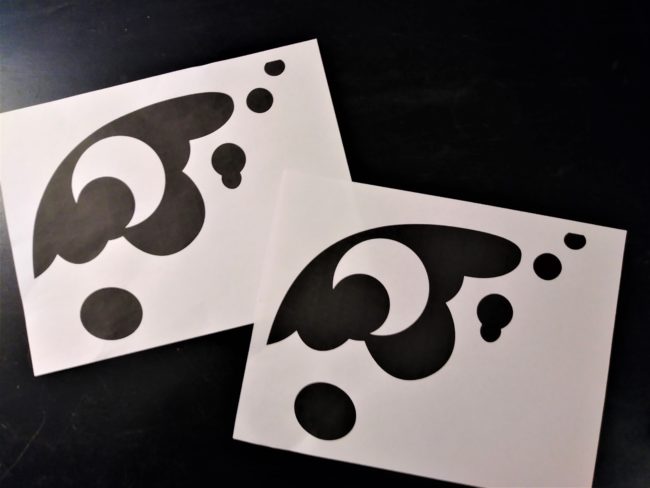
Step One: Print and Cut Your Template
Identify which cutie mark you want to recreate. Or, if you’re making your own, create a printable image of the mark. It doesn’t have to look perfect since you’ll only use it to cut out the felt pieces.
You’ll want to print one copy of the cutie mark for each layer it has. In this case, I made Princess Luna’s so I printed two copies, one for the dark portions and one for the crescent moon. Make sure you print an extra template so you have a layout map handy when you’re ready to glue things down.
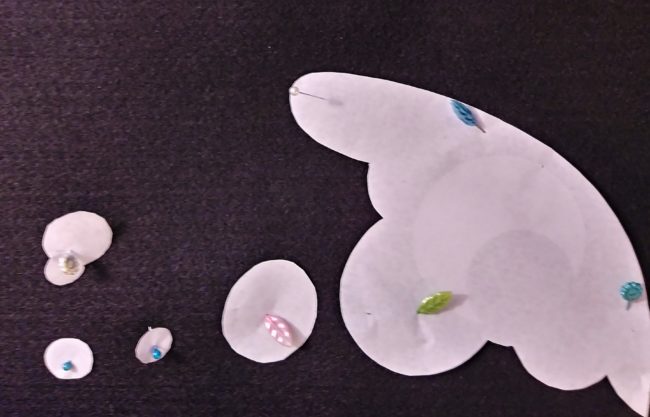
Step Two: Pin or Trace the Template Pieces
Cut out each individual piece of the cutie mark. Once the pieces are ready, you can either pin them in place on the felt or trace the outline of each piece using chalk. Whichever option you choose, make sure you fold the sheet of felt in half so you get two of every piece you cut out. This will give you a cutie mark for either side or either “flank”.
If you choose to use chalk, you might still want to pin the two layer of felt together once the paper template is out of the way. The felt will be less likely to slip or unfold if pinned.
Step Three: Cut the Pieces
If your cutie mark has a lot of pieces, you might want to cut each one into its own chunk. You will have a smaller piece to work with and won’t have to worry about quite as many pins.
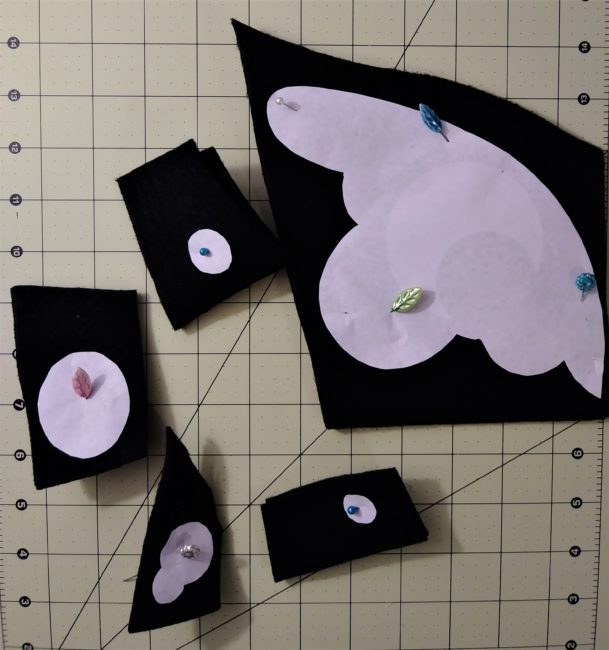
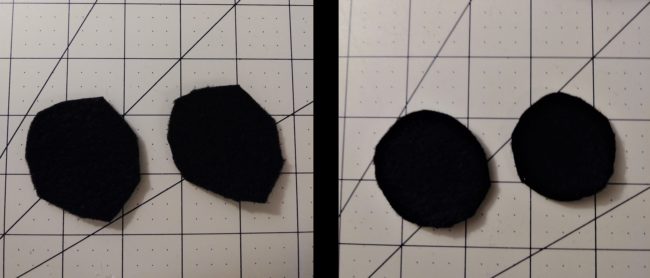
When cutting felt into round shapes, try to cut the piece a little bigger than the template calls for, especially if you’re using scissors. It’s hard to cut smoothly rounded edges into felt with scissors. By cutting your shape a little bigger, you’re giving yourself room to make small shaving cuts that round the edges the way you want. The picture below is how mine turned out, with the rough cut on the right and the “shaved” circles on the left.
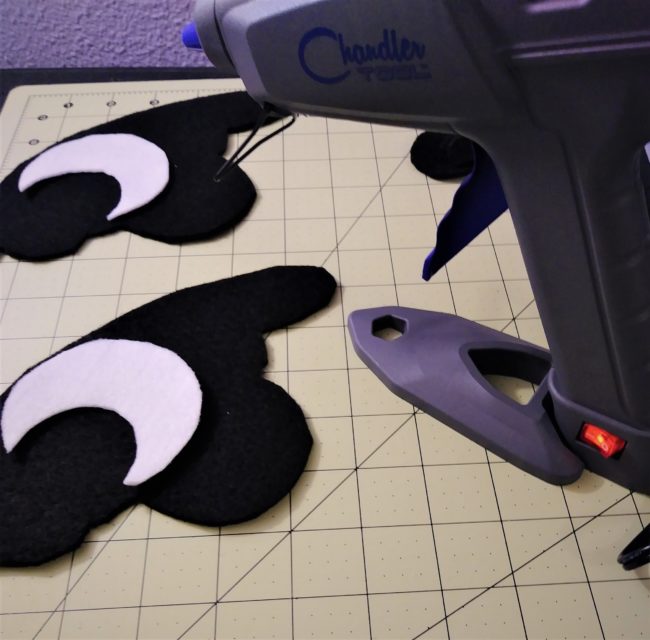
Step Four: Glue the Pieces Together
Plug in and load your glue gun so it’s ready to go when all your pieces are set up properly. Make sure you keep your layout template handy as you set up the different layers so you get the placement right. Then just glue the pieces in place! I used a Chandler Tool glue gun which has a really sensitive trigger control. This let me get glue close to the edge in tight corners without spilling over. I recommend leaving a small gap between the edge and the line of glue so that it doesn’t squish out the sides as you press the layers into place
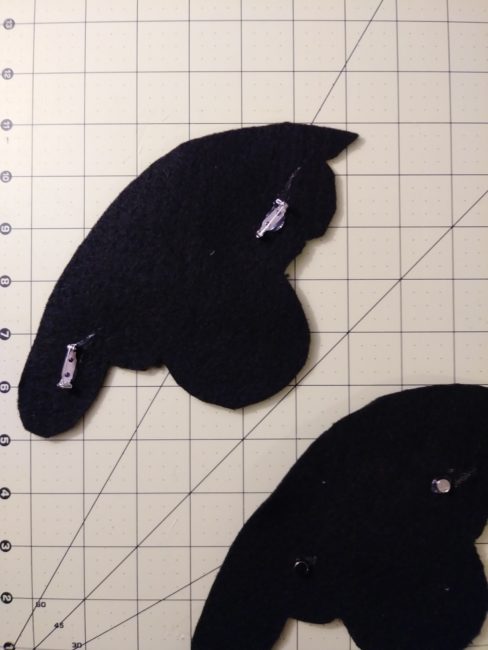
Once the front layers have set (usually a few minutes), flip the cutie mark over. I made two versions, one with magnets and one with backing pins. Both are good options with their ups and downs. The one thing to remember is that if you choose magnets you will need to wear metal under your costume for them to stick to – even if only a small piece – and that you want to make sure the right poles are facing up when you’re gluing them down.
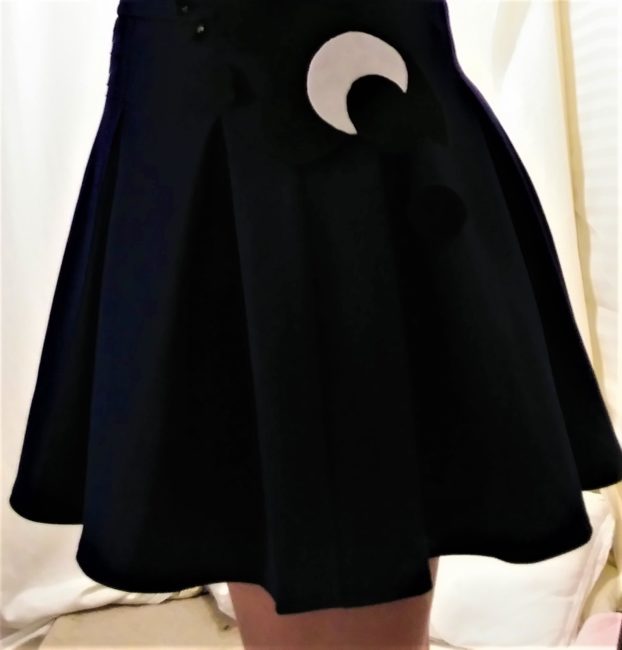
And you’re done! You’ve got your very own cutie mark that you can move from costume to costume and shift around as needed for all your pony cosplaying needs!
About the Author
A.C. Rodgers
A.C. Rodgers is a writer and a researcher combining her love for pop culture with her passion for storytelling. She is easily distracted by Marvel, mythology, sci-fi, fantasy, a good book, or a nice cup of tea. When she's not writing for Carbon Costume she can be found on Twitter and Instagram or working on her latest novel,

There are no comments yet, add one below.
Stay connected. Don't miss out!
Get new costume guides in your inbox once a month.


Leave a Comment