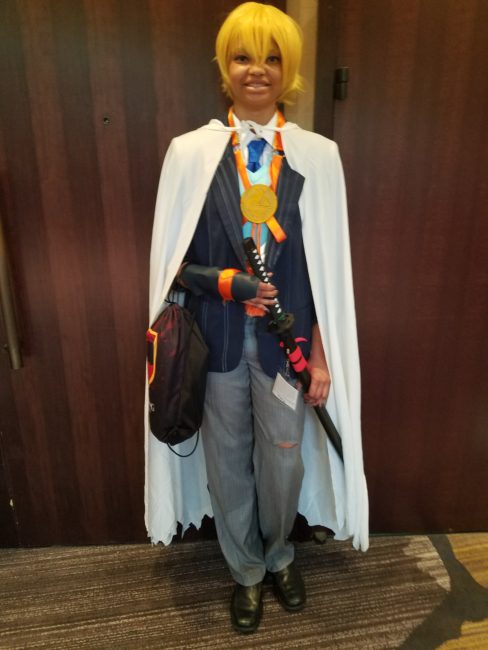
Make Your Own: Yamanbagiri Kunihiro
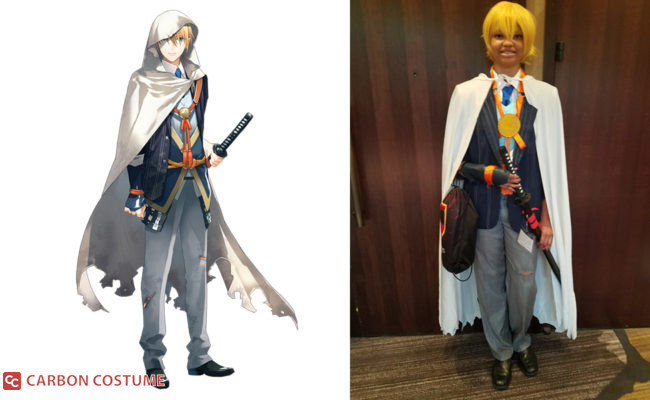
Yamanbagiri is one of many swords humanized in the game and anime Touken Ranbu. He has a complex about being a copy of a legendary sword, thus he keeps himself in dirtied clothing to degrade his own worth. Despite his low self esteem, he’s proven time and time again to be a great swordsman. With this guide you, too, can be Yamanbagiri Kunihiro.
Things You’ll Need:
- White button down shirt (preferably short sleeved)
- Navy blue cotton fabric
- Golden trim (I used faux leather belting)
- Navy blue blazer*
- White pencil (the kind used for marking fabric) OR
- White fabric paint marker
- White pull over knit vest
- Fake katana sword
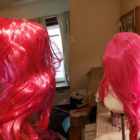
- Short blonde wig
- White hooded cape
- Blue fabric dye
- Grey dress pants*
- Scissors
- Yardstick
- Masking tape or paint tape
- D shaped metal rings (2)
- Gold fabric paint
- Charcoal fabric dye
- Black dress shoes (for men)*
- Yamanbagiri’s emblem
- White cord in 1/2 inch
- White cord 3/16 inch
- Orange ribbon
- Small white tassels (2)
- Orange dye
- Blue tie
- Navy blue faux leather
- Black elastic
*These items I found for cheap in a second hand store.
The vest and uh..vest thing?
I had trouble finding the same color vest as Yamanbagiri wears, so I ended up buying a white one and dying it. This is fairly easy to make as long as you watch how much dye you’re putting in. Hang it to dry etc. you’re done one part.
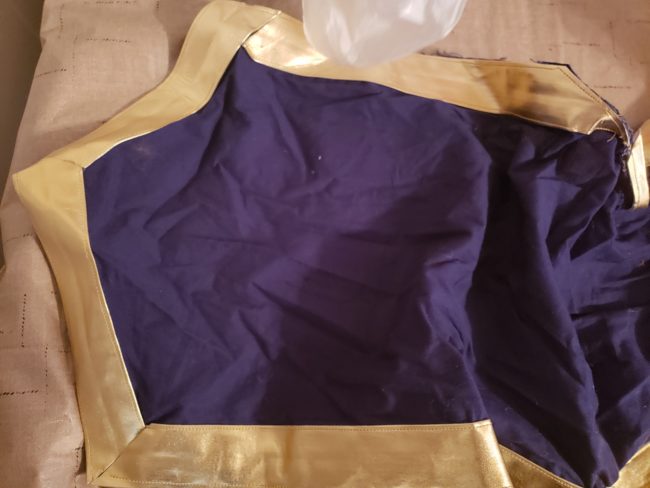
The next part is the navy blue and gold second vest thing he’s wearing. I made my own pattern for this. General rule of thumb is that the scoop part (on top) and the v shape (on bottom) are in the center of the back, and that the two points would wrap around to touch at the tips on your stomach.
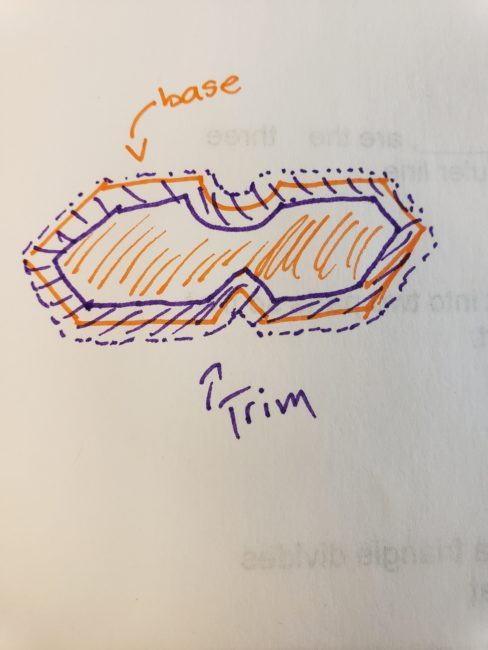
Cut out your own vest wrap in this shape and adjusted to your own measurements. After you have your initial shape, cut out your golden fabric or pleather (whichever you decided to use) to line the edges of the vest wrap. Sew it down with gold or yellow thread and you’re done the first two steps!
Grey pants
Yamanbagiri has a few cuts on his pants that were never sewn up. After a while, these cuts became visibly dirtier than the rest of the pants. The cuts are located on his left knee and right calf. Take your scissors and recreate these sword slashes by cutting into the grey dress pants. Next, water down about a cap full of charcoal dye and blot around the cut. I used charcoal for this step, but in the long run using dye means you don’t have to reapply it after washing. Apply the dye to the pants cuffs too. He’s generally pretty dirty.
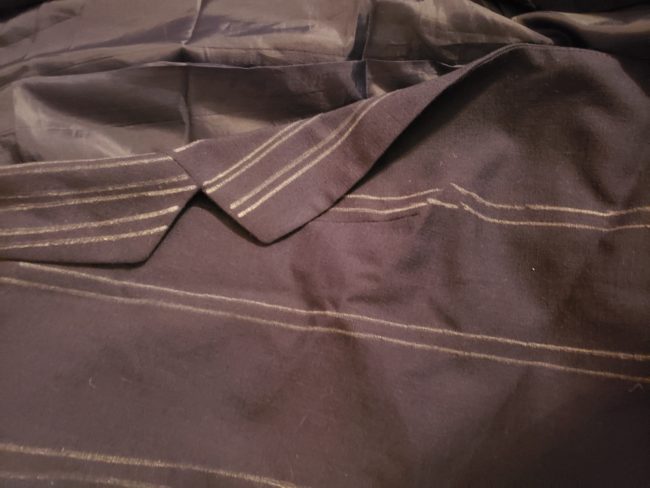
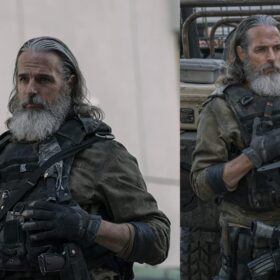
Blazer
Recreate Yamanbagiri’s pin stripe blazer by grabbing a yardstick ruler and tediously making every single line. He sports thin double striped lines with a space about an inch or two away from each couple. I used a white sewing pencil, but the fabric marker I also added to the supplies list would work better. Unlike Yamanbagiri, you should wash your clothes.
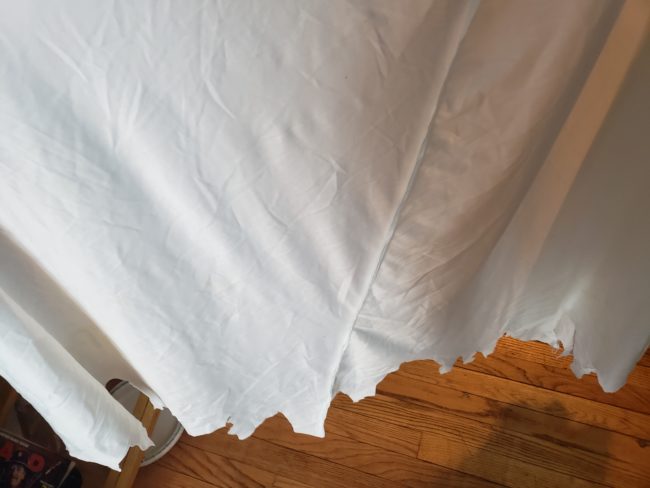
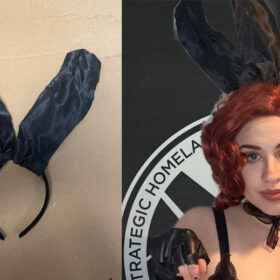
Cape
Yamanbagiri’s cape (which is dirty too) has cuts and what seems to be a few burn marks along it’s edge. Cut asymmetrical dips and such into the edge of the cape, then add (even more diluted) dye to the cape’s edge. Dilute the dye so it appears to be dirt more than, well, dye. There’s also a small hole in the hood where his forehead is. Remember to cut that in, too!
Ropes and emblem
There’s two ropes used to hold the vest wrap. Measure around your waist for both cords. Keep in mind that these cords will need enough space to comfortably wrap around you, and tie in the back. Hot glue orange ribbon to the edge of the cord, then begin to wrap the ribbon around the cord. You’ll need enough ribbon to wrap the cord to the point it’s encased in orange. “Why can’t I just dye this?” Because the cords are some form of satin or silk and this is probably your cheapest option of getting such cords. Remember to hot glue the ribbon to the other end so it doesn’t unravel. I wrapped another piece of ribbon and glued them together so they wouldn’t budge.
Next, you have to make his lanyard. His lanyard is a little intricate (I say as if every Touken Danshi doesn’t have something intricate on them) so I’ll break this apart a bit.
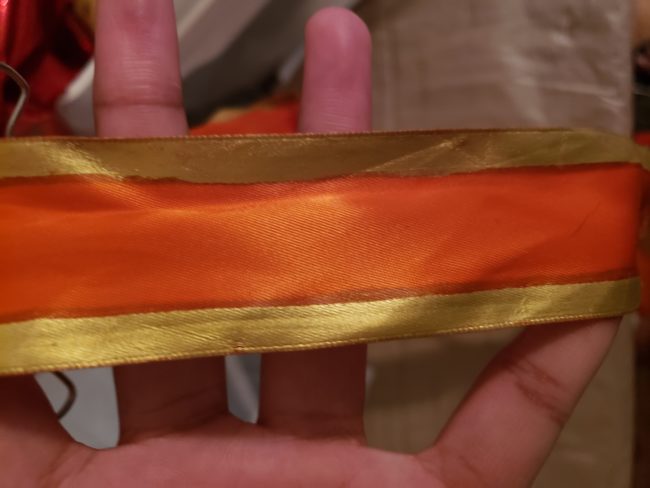
Grab your orange ribbon and measure it so it will reach from the back of your neck to your belly button. Press a strip of masking/paint tape down the middle, then trim the edges so about half an inch of ribbon shows. Paint gold fabric pain over the ribbon until it’s opaque. Once you’re done, peel the tape off the ribbon and hang it to dry.
While your ribbon is drying, test some diluted dye and add water until it matches the color of your ribbon. While I used crayola marker for this step, I can’t say you WON’T need some yellow dye to successfully match the color. Dip your tassels into the dye solution until they’re orange. Depending on the material type, you may need to soak them a bit.
For this next step, you’ll just have to do the same thing with your tiny cord as you did with the large cord. Wrap ribbon around it until it looks like it’s an actual cord of satin. Glue the ends, and you’re almost done!
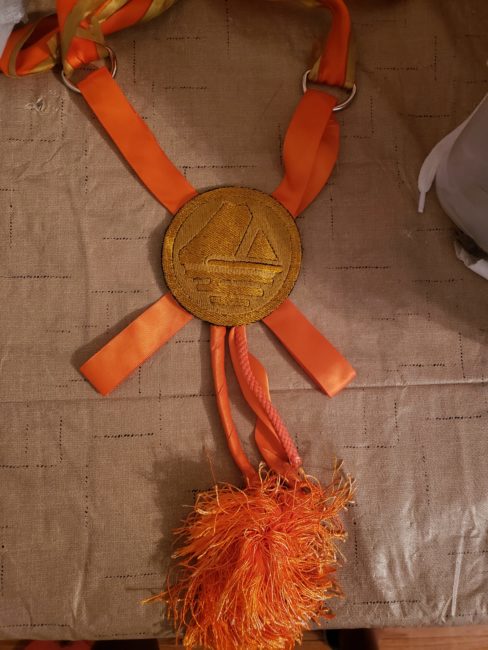
Fold and glue the straight side of the D rings to both ends of your gold lined ribbon. Fold up and glue about 7 inch orange ribbon rings onto the round end of the D ring. Place the orange ribbon rings into an x shape. If the edges don’t reach about 2 inches above and 2 inches below the emblem, you’ll need more ribbon. Once you’ve got enough ribbon, glue the emblem into the middle of the x. Glue your DRIED tassels to the bottom of the emblem. Boom, you’ve got your lanyard!
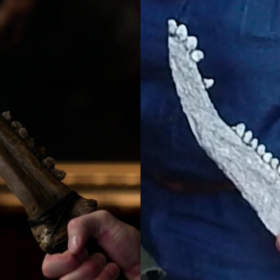
Sword
Yamanbagiri’s sword has white under the string wrapping on the hilt. The one I linked from Amazon has red paint. You could go in with your white paint marker and color them white if you’d like.
Wrist guard
Luckily, these are pretty simple to make. You’ll only need one for your right hand anyway. Measure from your knuckles to about 3 inches down your wrist. You’ll also need to measure around wrist and the bottom of your last measurement for the elastic that comes later. Draw a rectangle to the measurement of your knuckle to wrist and cut this out. Now that you have the base, cut two elastic bands the length of those two wrist measurements. Sew those into the wrist and mid arm sections of your guard. Glue (or sew) a strip of ribbon around the wrist and you’ve got your guard!
Haidate (thigh guards)?*
So there are shields on both sides of Yamanbagiri’s hips that go down his thigh. Now, when I did this cosplay I didn’t make these correctly, but I’ll give it my best shot. Haidate (from what I’ve learned from the internet) are cloth half skirts with shields attached to them. I’d recommend buying extra white string, lining them up (for the skirt) then gluing them to whatever black material you’d like to use for shields. Also, keep in mind you’ll have to thread through a pattern of string through that material.
Additional tips:
- Yamanbagiri has long sleeved button down shirts, but I used short sleeve for the fact that his costume is REALLY WARM. Feel free to use a long sleeved shirt if you wish.
- If you’re female, you may want to color your bottom lip a duller color than it already is. Men usually don’t have lighter lips and it’ll add to your crossplaying magic!
With this, you’ll be photo ready for that awkward picture your mom just has to take!
About the Author
Otto
Hello! I'm Otto and I've been making costumes and cosplaying for about 3 years now.

There are no comments yet, add one below.
Stay connected. Don't miss out!
Get new costume guides in your inbox once a month.


Leave a Comment