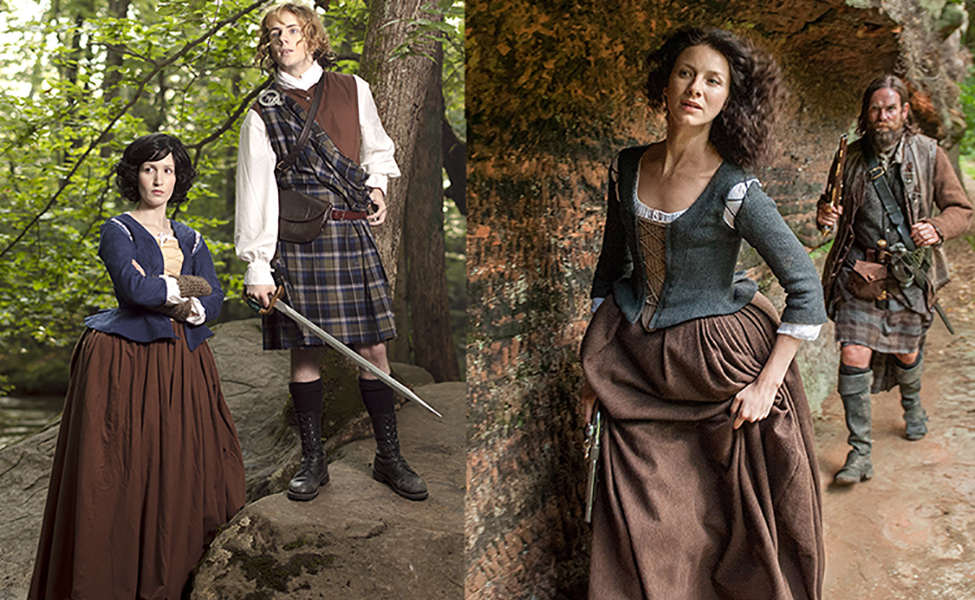
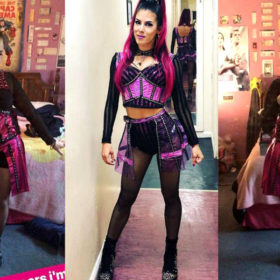
Make Your Own: Jamie Fraser from Outlander

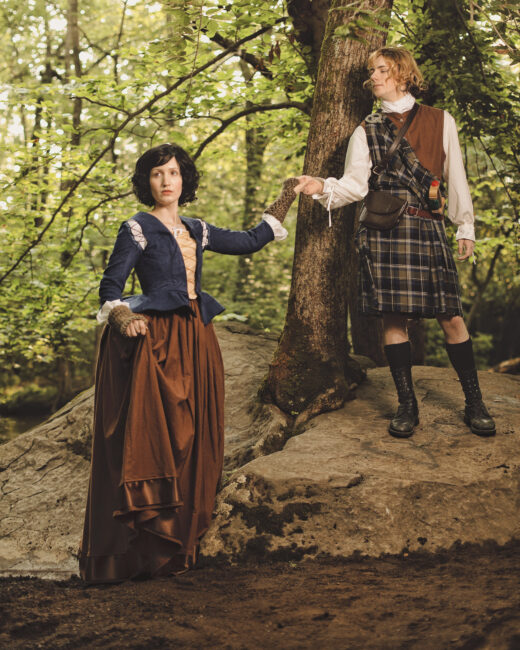
James Fraser (Sam Heughan), Laird of Lallybroch, is a Jacobite outlaw living on the run from the British Army… more specifically, Captain Black Jack Randall. I’d get more into it but, look, it’s a whole thing, and basically Jack Randall is just the worst. Jamie on the other hand, a hero of our story, is living (read: hiding) in Castle Leoch when he comes upon a disheveled and distressed Claire. She treats his wounds and stays for sometime in Castle Leoch as a healer, and the rest is history. In this tutorial we’ll be exploring how to make Jamie’s kilt and other garments from the Starz adaptation of the Outlander series by Diana Gabaldon.
You will need:
- McCall’s pattern M7736
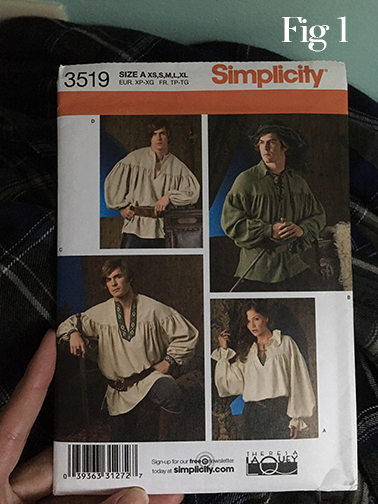
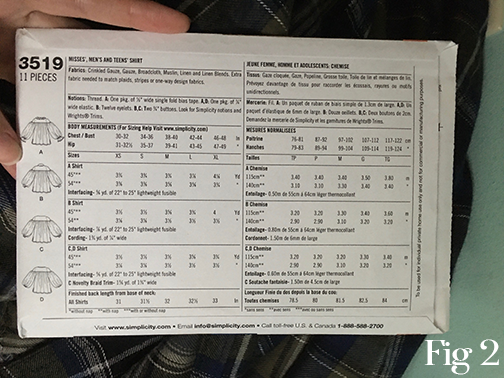
- Simplicity pattern 3519
- 3 yards of brown flannel
- 2 packs of brown double fold quilt binding
- 30 eyelets
- Brown leather lacing
- 11 buttons
- 3 yards medium weight interfacing
- 3 yards of plaid woven shirting flannel
- 2 medium sew-in snaps
- 1 spool of 1” grosgrain ribbon
- White thread
- Brown thread
- 4 and ¼ yards of bleached muslin
- Fray Check
- Disappearing ink pen
- Embroidery floss
- Embroidery needle
- 2 belts
- Kilt socks
- ½ yard faux leather
Step One:
The white undershirt is the easiest garment to construct, so we’ll start with that. The directions included in the Simplicity 3519 pattern are direct and easy to follow, and in fact both Pattern D and Pattern B work quite well for Jamie. Make sure to pay careful attention to the sizing chart and size up if necessary – you want the undershirt to be a bit flowy but not so much that it’s too droopy and unwieldy.
Once you’ve completed your shirt, cut a length of muslin that is around 6 inches wide and about a yard and a half long. This will wrap around your neck and tuck underneath your vest. If you are doing View B, lift up the leaves of your collar and wrap your muslin strip around your neck over top of them, tucking the tails firmly into your vest.
Step Two:
For the vest, I used brown flannel for both the lining fabric and the main fabric, which I found was a bit easier and more cost-effective. Cut out your pattern pieces and begin constructing them as per the instructions. Note that I found this pattern to run a little large. You can get away with nudging your seam allowances a little further from the edge of your pattern pieces, but overall keep in mind that this pattern seems to fit a larger build.
Step Three:
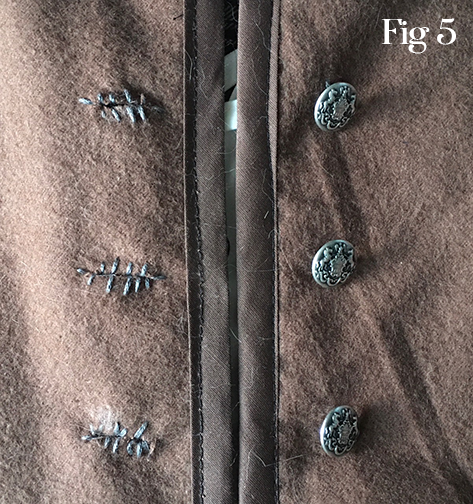
Once you’ve completed the instructions, you can finish off the vest with a few added touches as I did. First, attach the brown double fold quilt binding around all the edges of the vest (including the armholes) by wrapping the binding around the front and back of the edge
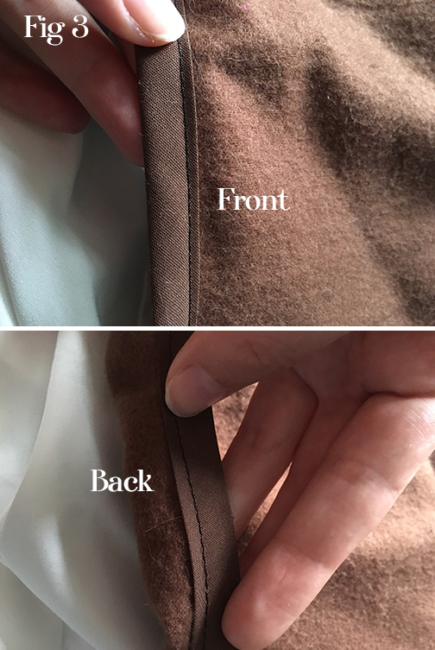
This will give the vest a more decorative (yet practical) look. Do this also with the edges of the slit in the back of the vest. Then, mark off where your eyelets will go using your disappearing ink pen. (You can also just use a Sharpie since it’s easier to see if you prefer, since your eyelets will cover what you mark off.)
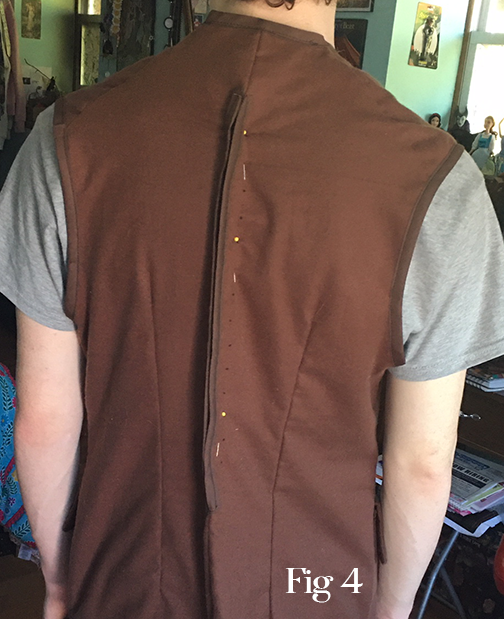
Next, install your eyelets down each side of the back slit using your eyelet kit, which should include a tool for you to hammer each eyelet in place. After you’ve done that, thread your brown leather lacing from top to bottom in an “X” pattern.
Then, using the button guide included in the pattern, mark off your buttons and holes down either end of the front of the vest using your disappearing ink pen.
Attach your buttons down the one side, and very gently cut your button slits through on the other side.
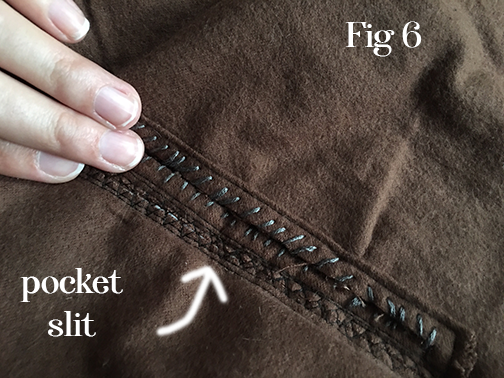
Once that’s done, you can finish off your buttonhole and any other raw edges with fray check by simply dabbing the fray check around the raw edges. I did this with both the button holes as well as the raw edges inside the pockets.
After the fray check has dried, you can further secure the raw edges by hand sewing the edges with embroidery floss.
Step Four:
Now it’s time for the famous Fraser kilt!
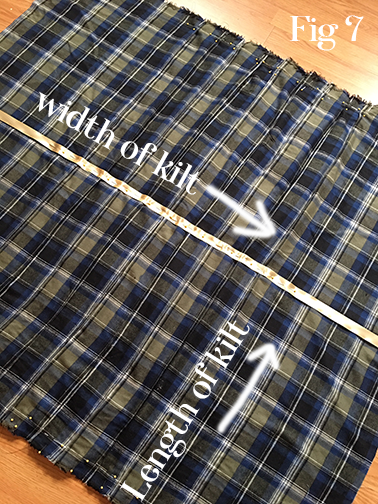
In the McCall’s M7736 pattern there is a kilt guide, but you’re better off doing the measurements on your own, and I’ll explain how.
Start by measuring your hips all the way around. Next, measure from one hip to the other across the front of your body, double that number, and add 2. Then add that number to your original hip measurement, and that is how wide your kilt needs to be.
As for the length of your kilt, that’s relatively easy. The length will ideally be half the width of the fabric you’re using. (Most fabric is between 45 and 60 inches.) For instance, the kilt I made was from fabric that was 45 inches long, therefore the length of the kilt is roughly 22.5 inches long. However, you will not be cutting your fabric at all, as that length will be doubled-over in a later step.
Step Five:
Now that you know how wide your kilt must be, you need to figure out how many pleats you need to take your 3 yard fabric to bunch up to your measurement. This is the part that’s a bit tricky and requires some creativity, as you want your pleats to be even.
For my kilt, I lapped the pleats over each other according to the plaid pattern, lining each matching design up with one another. You do not necessarily have to do it this way, but it makes for a nice finished pattern altogether once it’s finished.
Before making your pleats however, you will need to place a straight pin in the dead center of your 3 yards. Next, come in from the edges towards the center, with your pleats on either side facing inward. (Pleats coming in from the left face right, and pleats coming in from the right face left, and meet each other in the center, so that your kilt is even and balanced).
Step Six:
Pin your pleats in place. In order to get nice, crisp folds in your kilt, run a stitch down the folds of your pleats, as shown in the instructions booklet.
Step Seven:
In the center of the length of your kilt (again, for me it is 22.5 inches), run a length of ribbon across your kilt from one end to the other. Pin in place, then sew in securely.
Next, wrap your kilt around your waist and determine where you want your snaps to be. Mark those points off with your disappearing ink pen. Place one snap on both the right and left side of the front of your kilt. Sew snaps in firmly.
Step Eight:
If you like, you can add a small leather pouch to your costume to make it more authentic.
To do so, cut your pouch pieces out of your faux leather similar to what’s seen here:
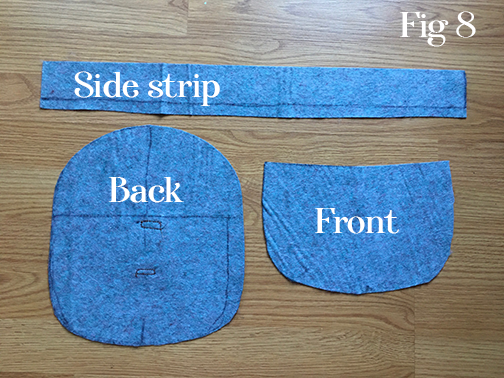
Attach a loop to the back of the back piece so that you can run your belt through it.
Fig 9 below shows only one loop attached so far, but I ended up putting a loop on either side of it as well so that the pouch would sit more securely on the belt, instead of being too floppy:
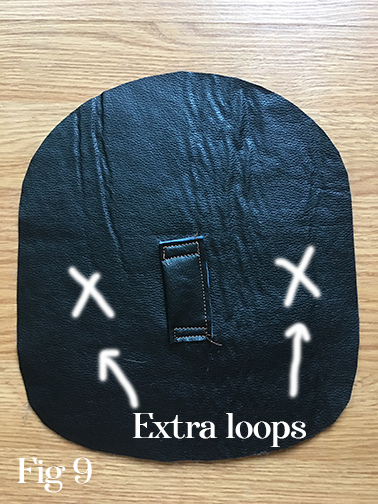
Next, sew your side strip all the way around the bottom of your front piece. Then attach the bottom half of your back piece to the side strip. The top half is the cover of your pouch.
Finally, if you like, sew what’s left of your bias tape around the edge of your pouch cover. And now you’re ready for a duel with Randall himself!
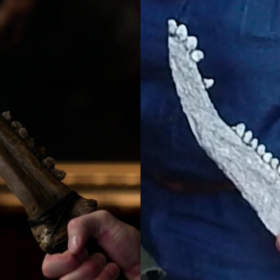
The rapier used for this costume was designed and crafted by Mulholland Art.
Photography by Abad Photography.
About the Author
Diomira Keane
Cosplayer, artist, cat-lover, party princess extraordinaire.


There are no comments yet, add one below.
Stay connected. Don't miss out!
Get new costume guides in your inbox once a month.


Leave a Comment