How to Resize Images
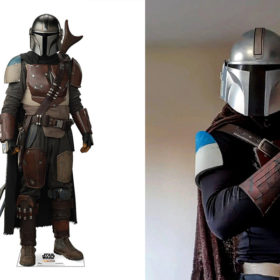
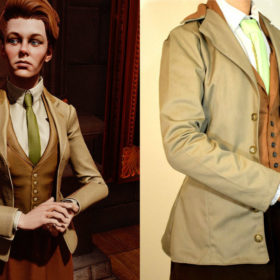
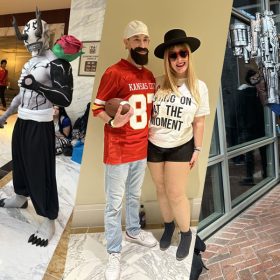
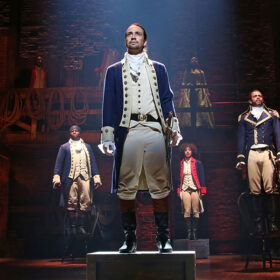
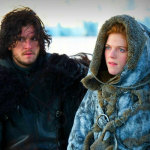
Character photos should be 975 x 600 pixels, but it can be tricky to get the right size and dimensions without distorting it. Here’s a step-by-step guide.
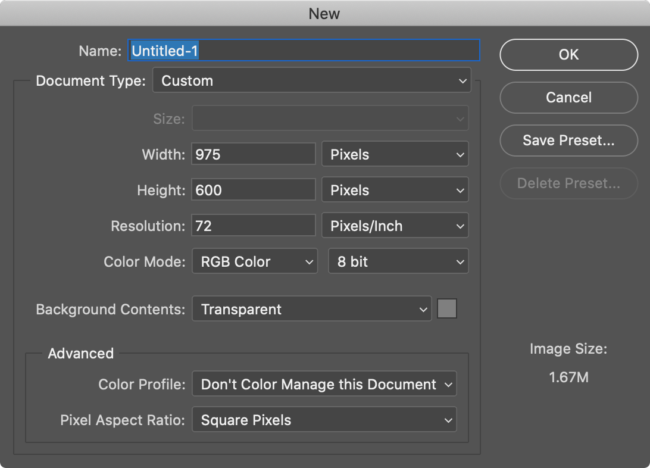
1. In Photoshop or a similar graphics app, create a new file that’s 975 pixels wide by 600 pixels tall. You can save this size as a preset for later use.
2. Find a source image that’s a good size. Ideally you start with an image that’s bigger than the one you’ll end up with. Search on Google Images and if necessary, filter for large images by clicking Tools > Size > Large.
3. Open the source image as a separate file in Photoshop.
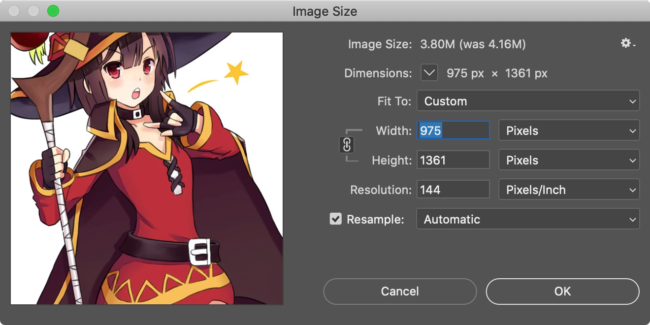
4. Go to Image > Image Size…. Make sure Constrain Proportions is checked, then set the width to 975 pixels. Don’t hit OK yet!

5. The height value should have changed with it. Check that your height’s at least 600 pixels. If it’s not, change the height to 600 pixels, and your width should now be greater than 975 pixels. Hit OK now.
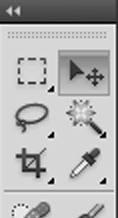
6. Copy the resized image and paste it into the blank file from step 1. Use the Move tool to move the image around and frame it how you like.
7. Go to File > Save for Web & Devices… and save it as a high quality JPEG.
Note: For source images that have a white, solid color, or transparent background, you can simply copy and paste the source image into the new document you created in Step 1, and skip the rest of the steps.