Make Your Own: Scroll Communicator from RWBY
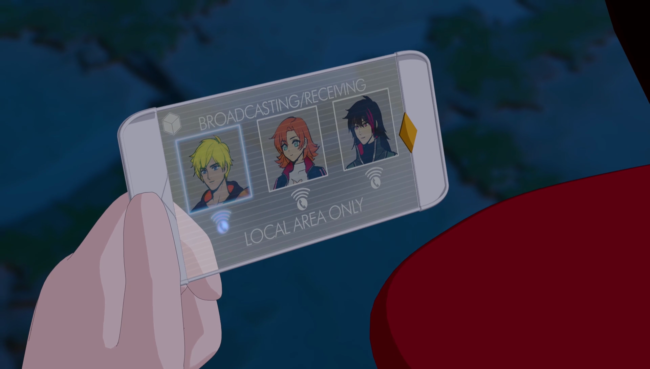
Rooster Teeth’s RWBY webseries is set in one of those fantastical fictional worlds where it’s perfectly normal for Huntsman Academy students to bring both weapons and cell phones to school. Their version of a smartphone is called a Scroll. Since most of the characters own one, this prop is incredibly versatile for accessorizing any RWBY cosplay.
According to the official RWBY Wiki, this futuristic device works as “a collapsible, holographic tablet.” While the collapsability function may be a tad beyond the scope of this tutorial, I’ll show you how to recreate a Scroll from RWBY.
Materials
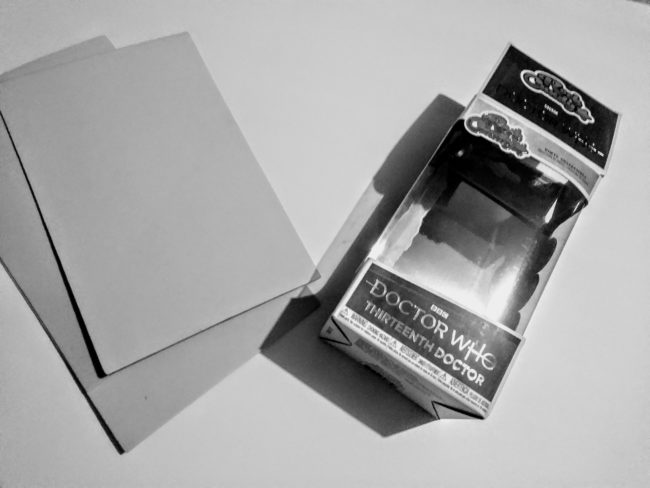
The image is grayscaled so you can’t tell the only intact, aesthetically pleasing sheets of foam I have are pink!
Directions
It seems to me like odds of finding sheets of clear plastic of the variety used to package children’s toys lessen with age. Once you’ve found something that works (in my case, a Funko figurine package I was trying to keep intact), remove it and cut it down to the desired size.
Like most things in early episodes of RWBY, the exact dimensions of the Scroll device varies. Some characters seem to have a tablet-sized device, while others use one that’s sized closer to a smartphone. I went with a smartphone-sized “holographic” screen for mine.
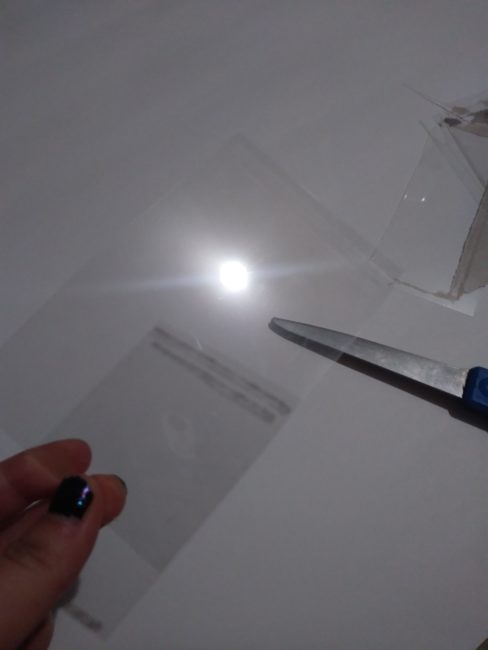
After that, I cut out four identical tabs from white foam. The corners should be slightly rounded, and it should be as long as the width of the plastic panel.
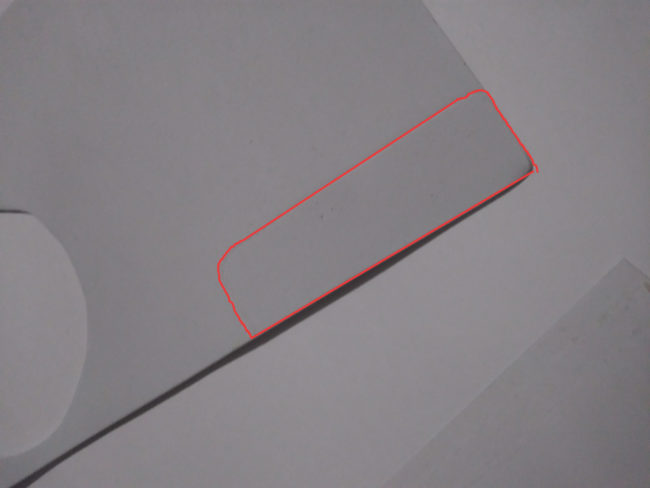
Cut a small notch out of the middle of one tab, on the flat side. It should be shaped like half a diamond. Then, from yellow foam, cut out a small diamond that’ll fit inside said notch.
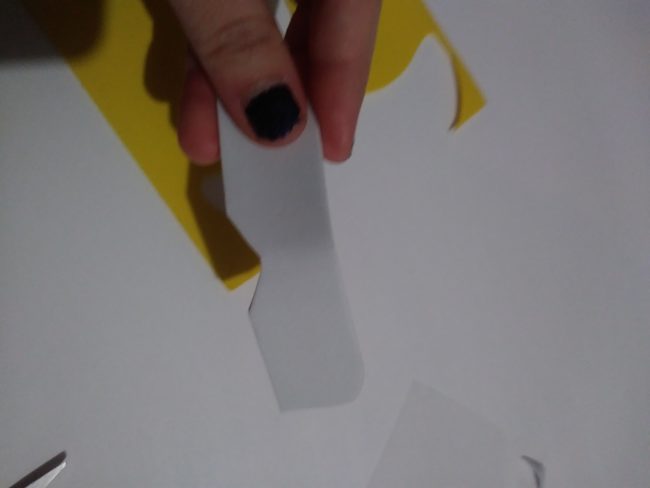
Very, very carefully, glue everything together. On either side of the plastic, glue on the tabs. There should be one on the top and underside of the plastic panel – the plastic fits in between the two layers of foam.
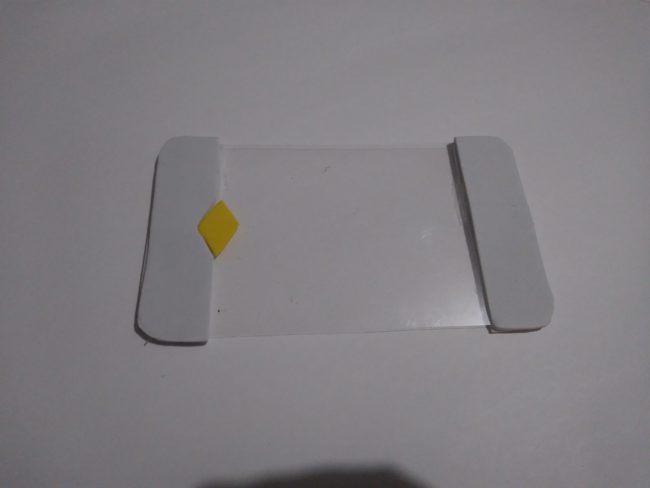
Allow this to dry, and you’re done.
….But wait, there’s more!
Bonus Tutorial: Inactive Mode Scroll
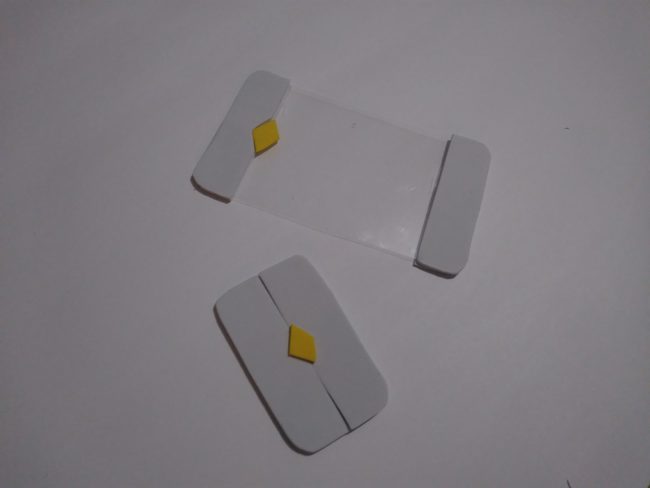
If you’d like to make an inactive, “closed” Scroll, cut out two more side panel pieces from white foam, another diamond from yellow, and a third white rectangular piece that’s the shape of two panels joined together for the backing.
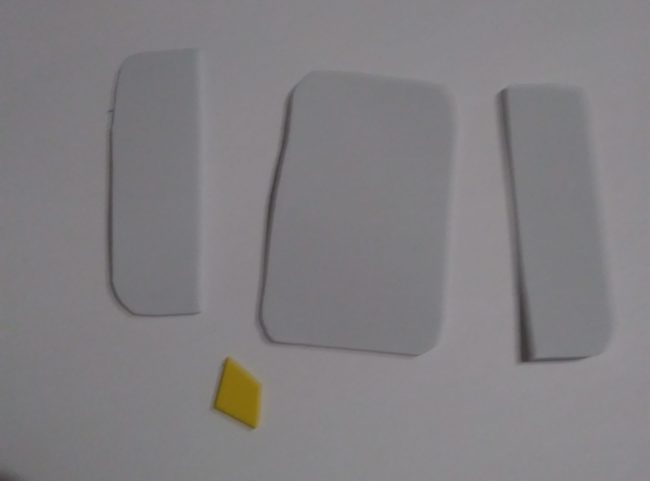
Glue them together, with the yellow diamond centered atop the two tabs, and now you’re really done!
There are no comments yet, add one below.
Stay connected. Don't miss out!
Get new costume guides in your inbox once a month.
 Carbon Costume































Leave a Comment