Submission Guide
First Timers
Site
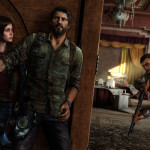
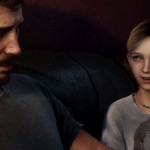
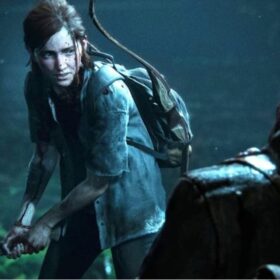
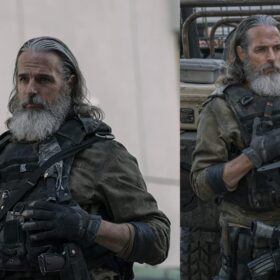
Get familiar with the content, style, and tone of Carbon Costume.
Admin Site
Log into the admin site.
Author Profile
Click on Profile to enter your email address, homepage, Twitter, Facebook, bio, what nickname you want displayed on the site. This will show up in a box at the end of all your posts.
Avatar
Set up your avatar by registering with the same email address at Gravatar.
Picking a Character
Costume Ideas
Search the site on both carboncostume.com and the admin backend (including draft and scheduled posts), to make sure it hasn’t already been done, and check that pre-made “Halloween” costumes aren’t easily available. The best costumes ideas are:
- Fringe or niche characters who are beloved with unique looks
- That don’t have pre-made costumes readily available
- But whose look can be recreated with household items
Most costumes are practical, but we welcome silly or meme-y ones too.
Items
You should use about 2 to 12 items to create the costume. It doesn’t have to be a perfect replica, but should definitely capture the spirit of the character.
It’s nice if all of the items are from Amazon, but sometimes you do need to go to a different site to find the right item. Etsy and eBay are good alternatives that can have the harder-to-find pieces.
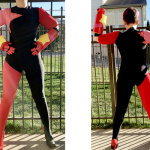
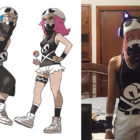
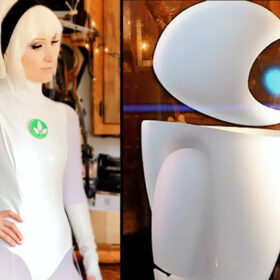
If you’re stuck on figuring out how your on-screen character can be translated to a costume using off-the-shelf items, a good way to get fresh ideas is to do an image search to see how cosplayers have made their costumes.
Creating a Costume Guide

1. Add New Costume
When you’re ready to add a new costume, click Costumes > Add New in the sidebar.
2. Screen Options
If you see other sections besides the ones in this screenshot, such as “Slug”, “All in One SEO Pack”, or “Open Graph and Twitter Card Tags”, you can hide them by clicking the Screen Options tab at the top of the window and unchecking those items. You can also move sections around, such as dragging the “Author” box to the right column.
3. Costume Title
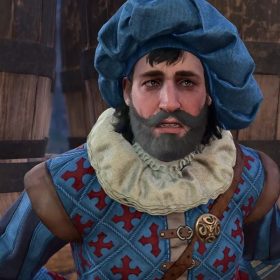
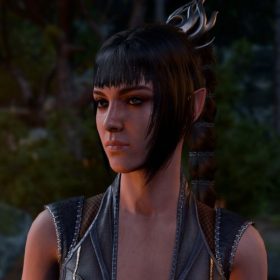
Enter the title of the costume. Usually this will be the character’s name and where they’re from, like “Mercy from Overwatch”.
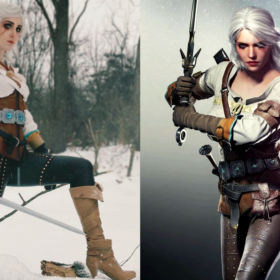
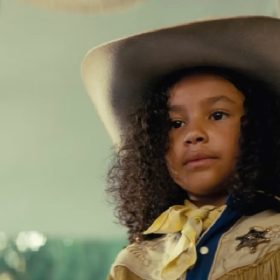
4. Character Image
Upload a character image at 975 x 600 pixels in JPG format, taken from as high a quality source as you can find. You should be starting with a source image that’s at least the same size as the one you’re creating, if not larger. Scaling up smaller images will result in poor quality images which we want to avoid.
Ideally the image shows the complete outfit from head to toe, but work with the best you can find. See this guide on how to resize images.
A good way to find high resolution images is to search on Google Images and then in the search results, click Tools > Size > Large.
Use a descriptive name when naming the file, such as mercy-overwatch.jpg.

Also enter the character title (e.g., Mercy from Overwatch) into the “Alt Text” and “Title” fields.
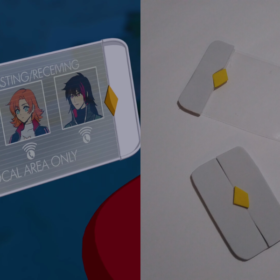
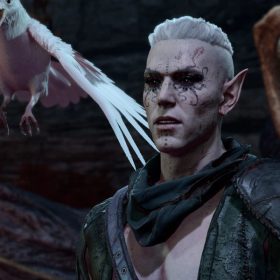
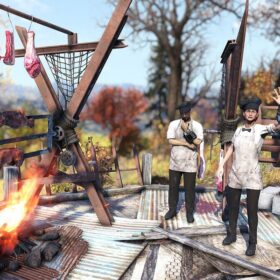
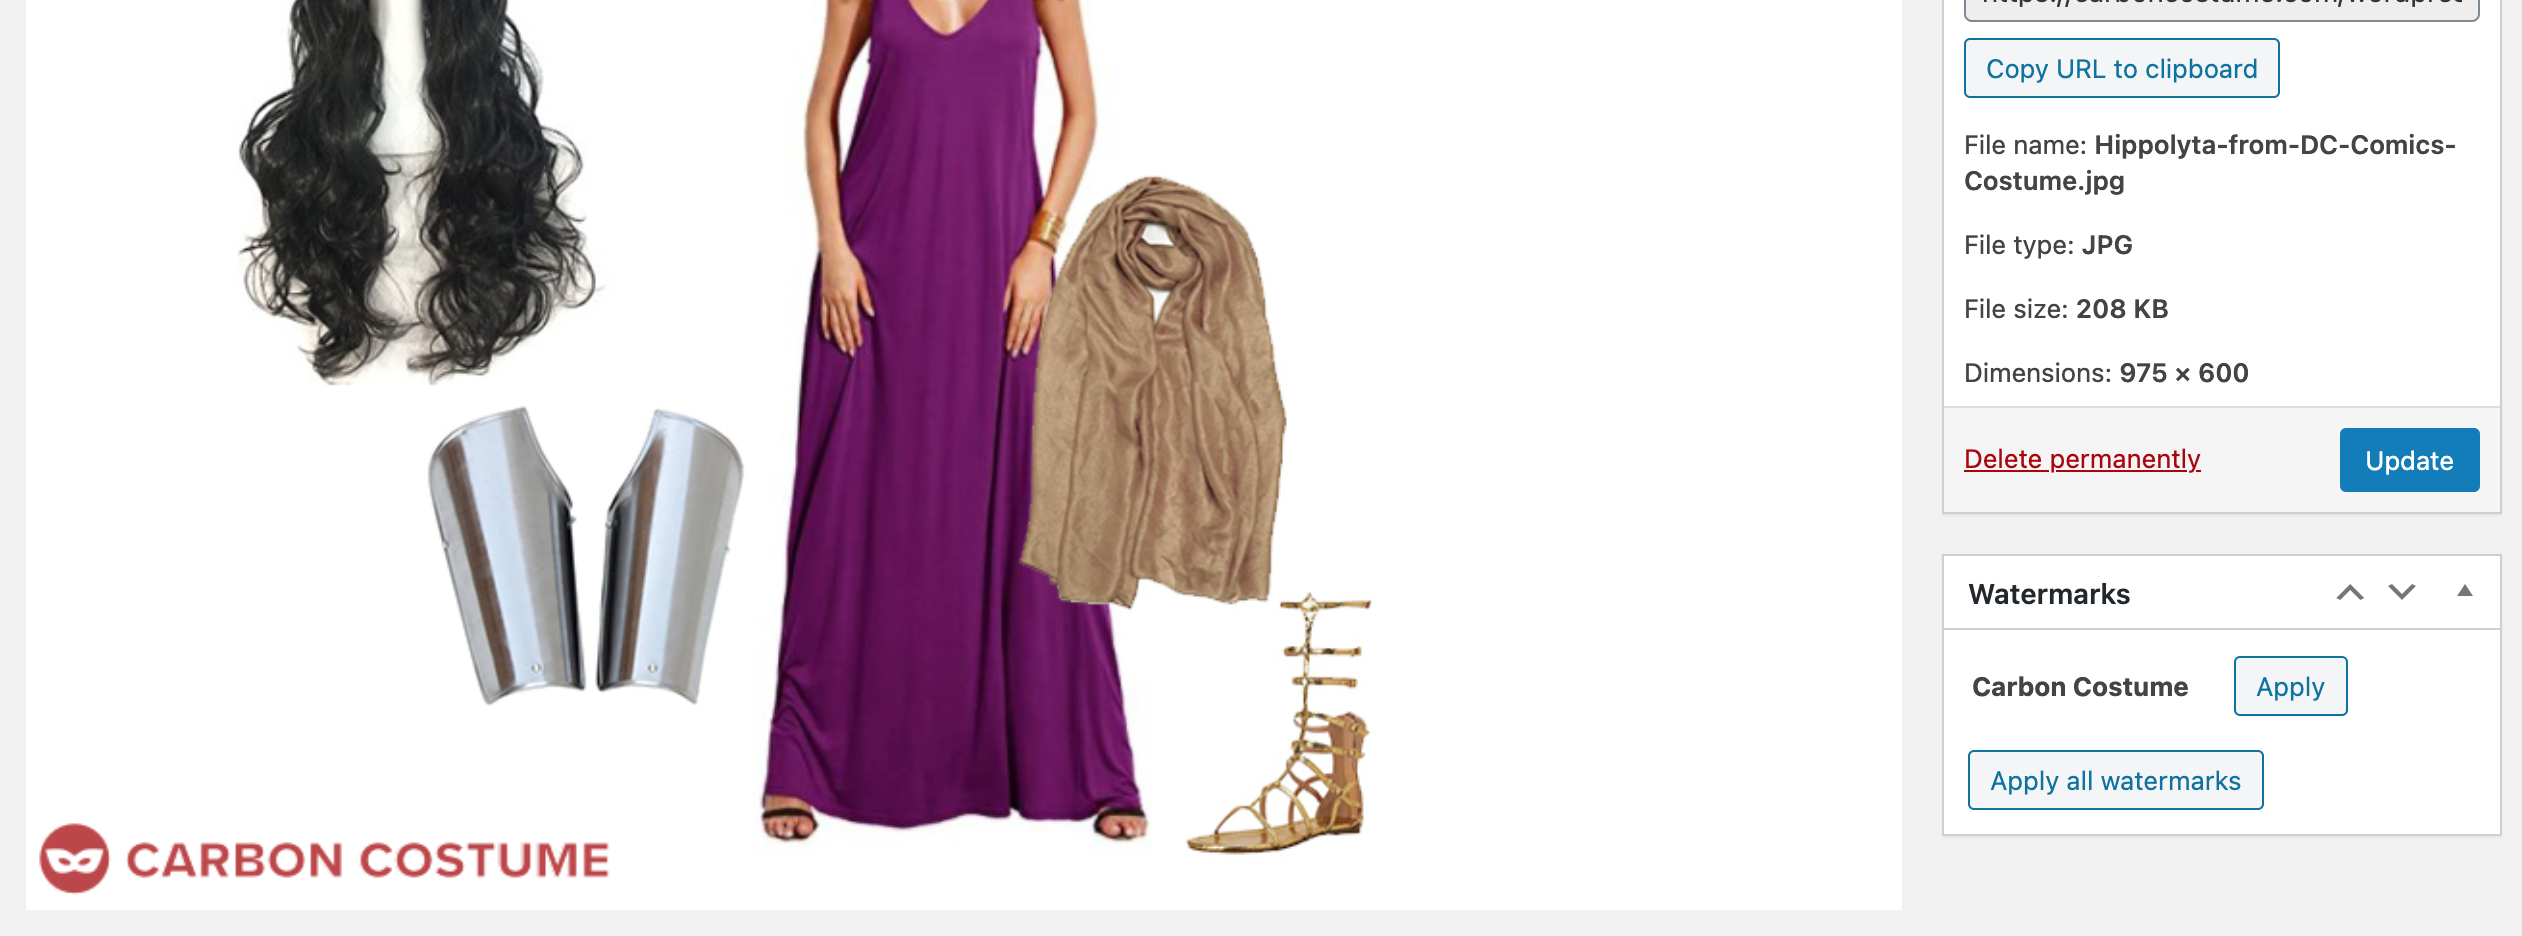
5. Costume Image
Upload a costume image at 975 x 600 pixels in JPG format. The items should be arranged in an aesthetically pleasing layout. Don’t forget to enter the costume title (e.g., Mercy Costume from Overwatch) into the “Alt Text” and “Title” fields.
Use a descriptive name when naming the file, such as mercy-overwatch-costume.jpg.
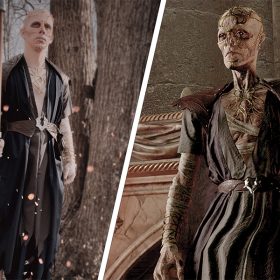
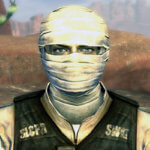
6. Watermark
For every costume image (but not character image), you should also add a watermark.
In the sidebar, go to “Media”, then “Library”. You should see a bunch of uploaded images.
If you’re in list view (recommended), click the name of the costume image. This will open up an “Edit media” page. On the right side you should see a “Watermarks” box. Click the “Apply” button next to Carbon Costume.
If you’re in grid view, this will take an extra step. Click on your costume image. This will open an “Attachment details” window. Scroll down on the right, click the “Edit more details” link, then on the right side you should see a “Watermarks” box. Click the “Apply” button next to Carbon Costume.
7. Item Name and URL
Click Add Row until you have enough rows for your items. You can add or remove rows by clicking the + and – buttons that appear on the right side when you hover over a row. You can reorder rows by dragging their numbers on the left side.
For each item, enter a name and URL. If the item is from Amazon, enter the 10-digit ASIN found in the URL (e.g., B007G6VAGO). If the item is from elsewhere, enter the full URL.
Item names should be capitalized using title case rules. This means most words are capitalized, but minor words like “of”, “and”, and “with” are not.
8. Item Coordinates
Next, enter the coordinates of the item in the Costume Image. These determine where the red dots show up on the costume image.
To do this, click on an item in the Costume Image (#5). Then click in that item’s row for the X or Y fields. Both the X and Y fields should automatically fill with those coordinates. You can check the location of the coordinates by hovering the row now and seeing a red dot appear on the Costume Image.
When choosing a location for each dot, for smaller items you may need to aim for a corner so the dot doesn’t block them. Also try to keep the dots spread out from one another.
9. Character Excerpt
In the Excerpt box, enter a 2 – 4 sentence description of the character. This description should say a bit about who the character is, what they’re from, and what kind of clothing and makeup style they have. This is also where you can mention and link to related posts (e.g., Mei from Overwatch). Add tips about making the costume. Have fun with it!
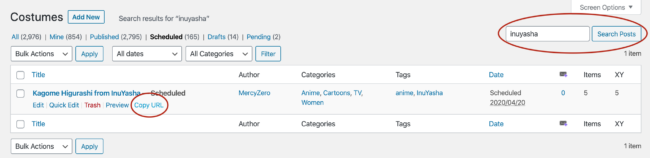
This is also a good place to mention related posts and link to them, using the “link” button. Keep the “Open link in a new tab” checkbox unchecked.
To find related posts to link to, search costumes using the field shown below, and hover over a post and click the “Copy URL” link to copy it to your clipboard.
If you don’t see the Excerpt box, click the Screen Options tab in the top right and enable it.
10. Categories
Select 1 or more categories for the post (“TV”, “Cartoon”, “Movies”, etc). Also select “Men” or “Women” if one or both is appropriate.
11a. Titles
You’ll see two boxes in the right column called “Titles” and “Tags” (note: you can rearrange them on your screen by dragging them around). Leave the Titles box blank.
11b. Tags
Enter tags that describe the character. Tags determine which additional posts should show as related. Tags to add:
- Title (e.g., avengers, inception, downton abbey)
- Actor (e.g., tilda swinton, bill murray, jackie chan)
- Director for auteurs (e.g., wes anderson, quentin tarantino, coen brothers)
- Production companies (e.g., disney, pixar)
- Genres (e.g., anime, horror, mockumentary, puzzle game)
The character’s name itself does not need to be added as a tag, since it won’t be shared with any other posts. Same goes for generic terms that apply to a lot of costumes, like “DIY” or “women”.
12. Save Draft
Go back to the top of the page and click the Save Draft button to keep your progress.
13. Submit
Click the Preview button to see how the post and check for any mistakes. If it’s ready to go, hit the Submit button. Your post will then be reviewed by an admin and put in the queue to go live.
If you have any questions, just reach out. Happy publishing!