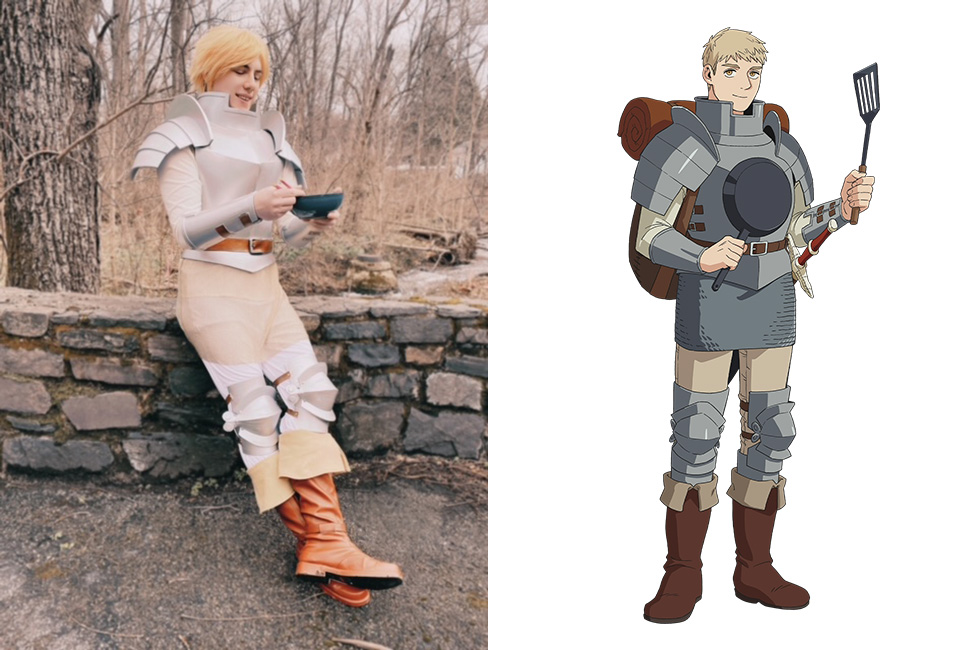
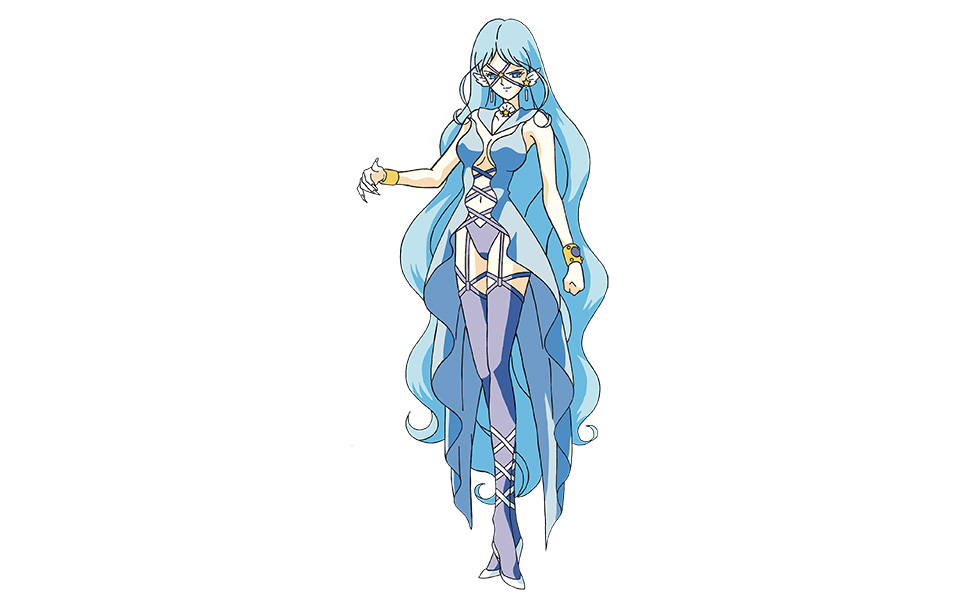
Make Your Own: Marcille Donato
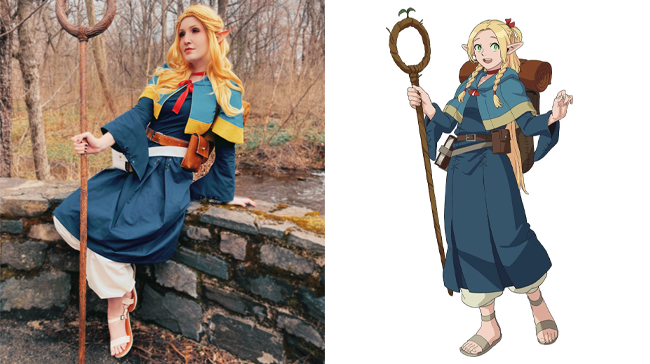
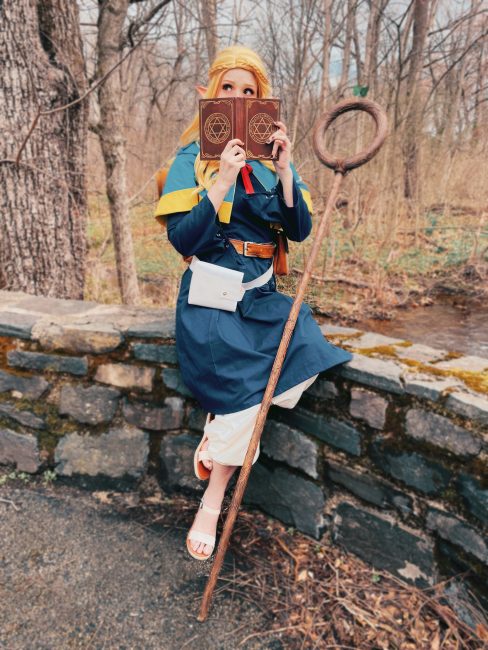
The Magic School’s first ever genius, Marcille Donato is a half-elven mage, Black Magic dabbler, and extremely picky eater. She first appears in S1 E1 of Dungeon Meshi wherein she, Laios, Chilchuck, and Falin encounter the Red Dragon. Her costume is relatively simple, and this tutorial is best suited to somewhat seasoned beginner cosplayers.
You Will Need:
- 3 yards of navy blue cotton broadcloth
- 3 yards of cream cotton broadcloth
- 2 yards of turquoise cotton broadcloth
- 2 yards of sunflower cotton broadcloth
- 1 yard of white marine vinyl
- 1-2 yards of brown fleece
- 3 yards of water soluble interfacing
- Double-sided fusible webbing
- Sewing pattern by Aliceincosplayland
- Backpack pattern by Aliceincosplayland
- Belt pattern by Aliceincosplayland
- Angelus leather paint in brown
- 1.5 inch belt buckle
- ¼ inch grommet tool kit
- Leather cord
- Upholstery thread
- ½ inch red ribbon
- ½ inch non roll elastic
- Snaps
- 24 inch navy invisible zipper
- Tailoring pencil
- Hot glue kit
- E6000 glue
- Floral foam ring
- 1 inch dowel rods
- Matte finish Mod Podge
- Dark brown spray paint
- Nutmeg brown acrylic paint
- Gold leaf ink
- Elf ears
Step One:
Print out your sewing patterns from Aliceincosplayland according to the instructions. Tape your pages together, and cut your pattern pieces out. Begin with the navy dress.

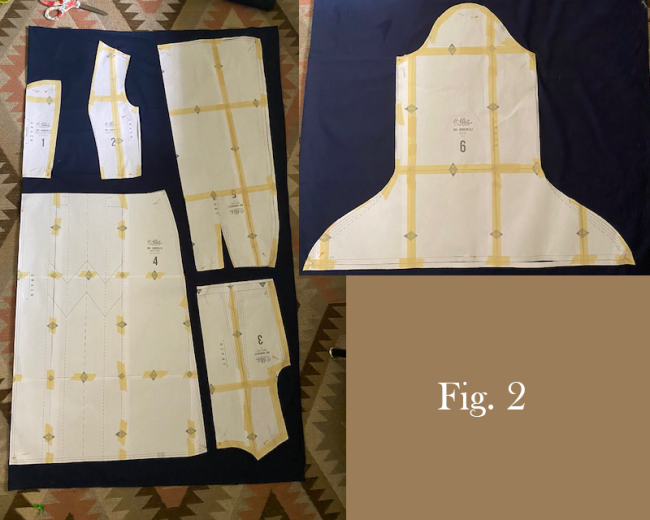
The pattern does not include seam allowances, so I would suggest tracing your pattern pieces with a tailoring pencil and cutting out around each piece about ½”.
Step Two:
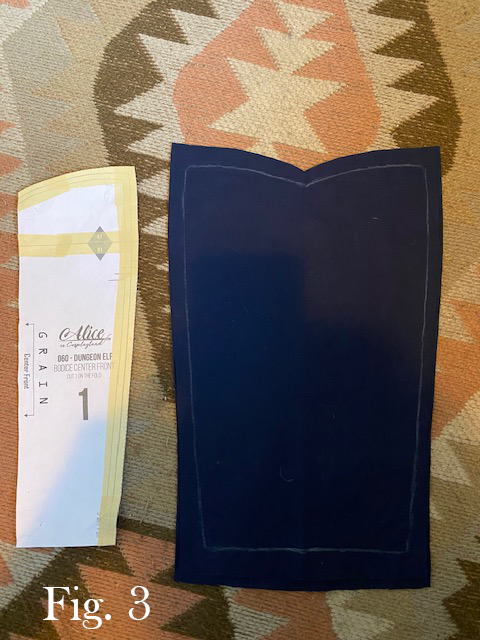
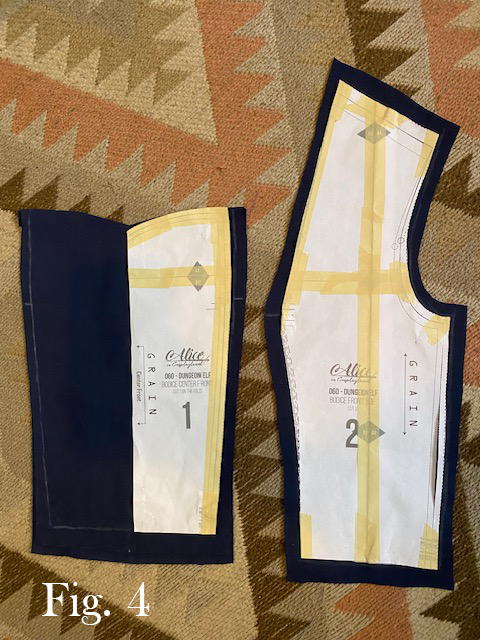
Cut 2 pieces of pattern piece 1 and sew them together along the top. Flip them over so that the seam is hidden. Sew each pattern piece 2 to your pattern piece 1, making sure to align the notches to create the princess seam.
Sew down the darts on pattern piece 3 and attach them to pattern piece 2, then sew down the shoulder seams. The bodice is now complete.
Step Three:
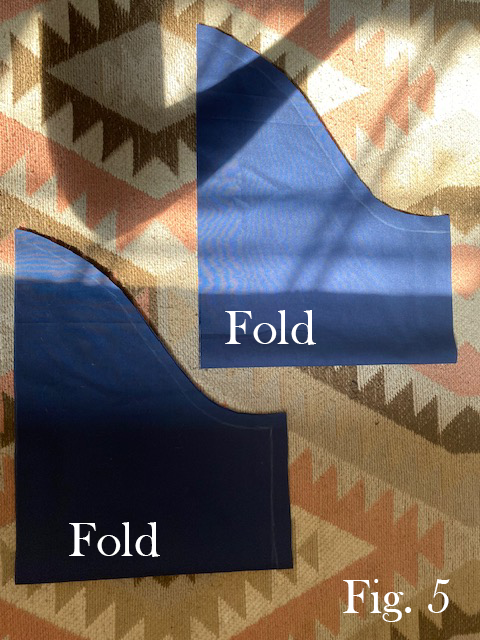
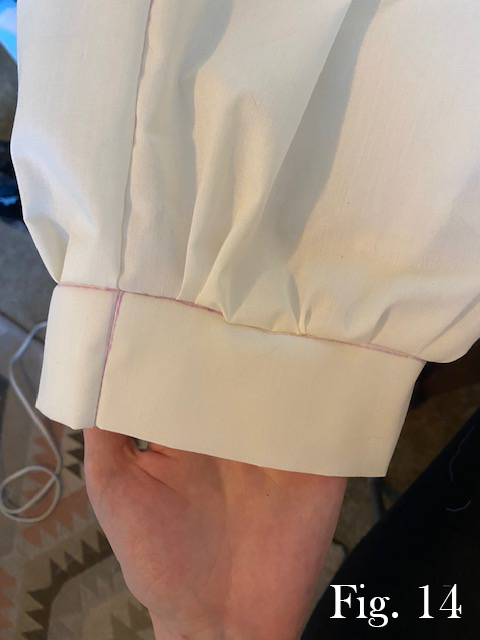
To create a thicker and fuller sleeve cuff, cut out a secondary sleeve piece that goes up to a little less than 1/4 of the sleeve length, give or take a few inches. Cut along the fold as you did with the original sleeve pieces. This will be the lining which we will use to fill out the cuff.
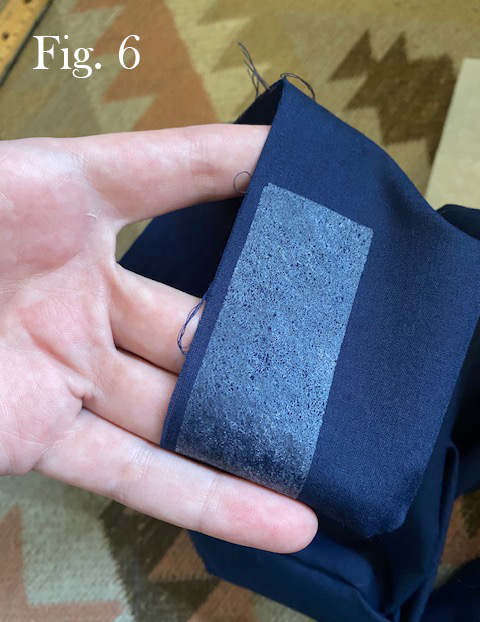
For added security, you may iron a strip of double sided adhesive webbing to the upper piece of your cuff lining, then iron it down to the rest of the sleeve after you finish sewing it in.
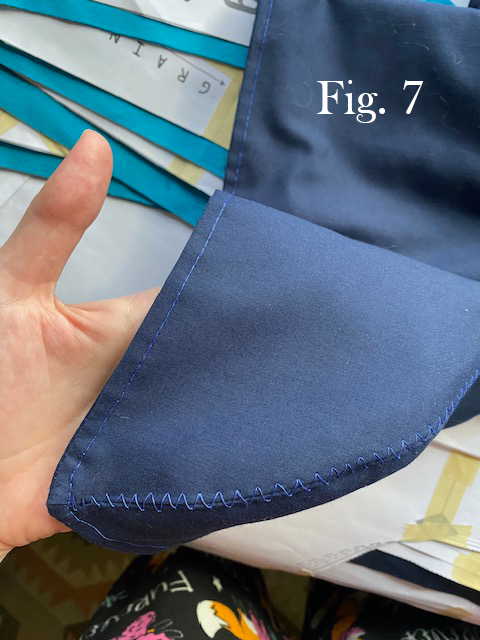
To install the lining, sew along the cuff, then flip the pieces inside out so that the seam is hidden. Sew down the length of the sleeve as normal, then sew along the edge of the cuff. To keep the cuff lining flat, you may choose to do a zigzag stitch along the lengthwise seam of the sleeve. Iron down the upper piece where you placed your fusible webbing. Attach your sleeve to your bodice.
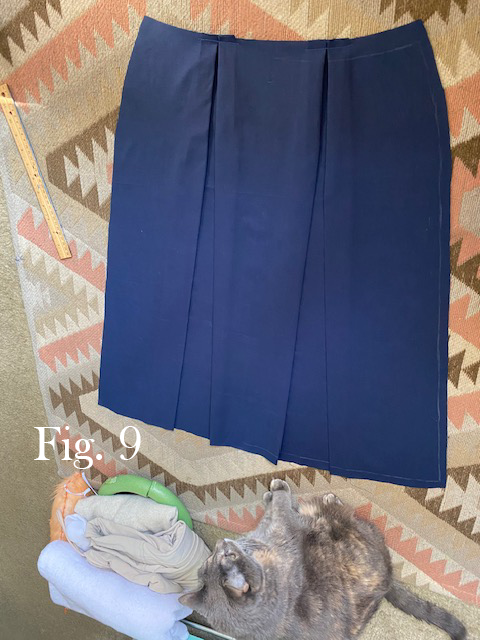
Step Four:
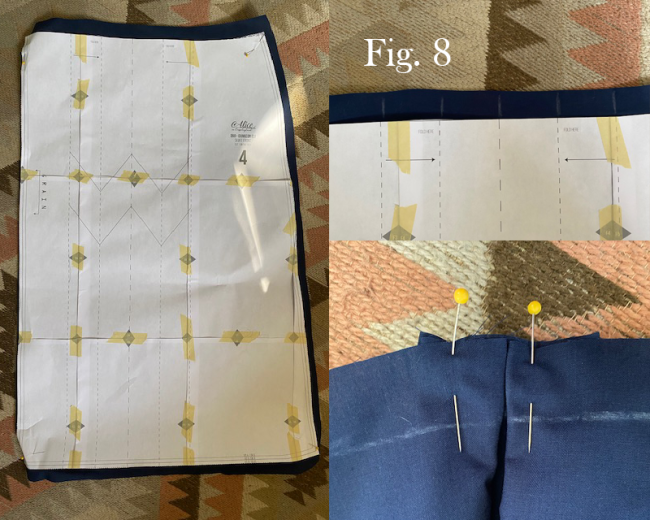
Sew down the pleats of the skirt according to pattern piece 4.
Sew down the darts for the back of the skirt piece (pattern piece 5).
Attach the back of the skirt to the front of the skirt. Attach the skirt to the bodice. Hem the skirt.
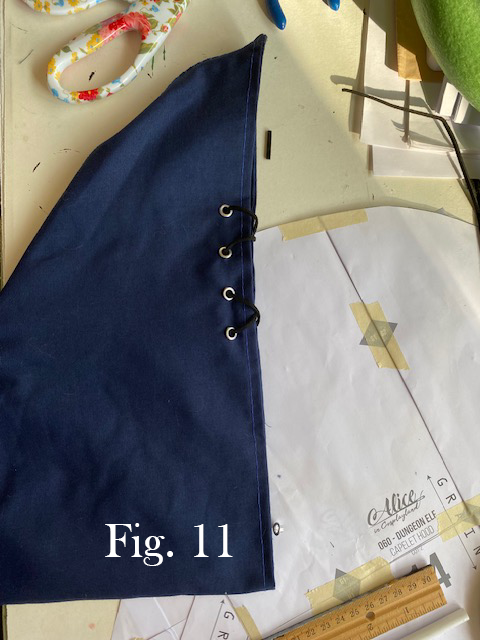
Step Five:
Using the grommet kit, add grommets to the cuffs of the sleeves and the pleats of the skirt.
Weave the leather cord in “X” shapes through the grommets.
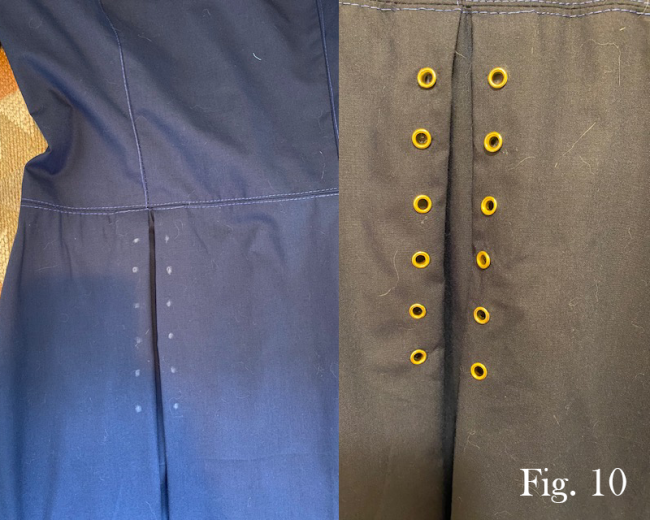
The navy dress is now complete!
Step Six:
Cut the pants pattern pieces out of the cream cotton broadcloth. Sew the FRONT pieces to the BACK pieces. Then sew the pant legs together.

Sew the no roll elastic to the waistband pattern piece on one end, then enclose the waistband pattern piece around the elastic and sew it down. Sew the waistband down to the top of the pants, leaving the ends open. Pull the elastic through until it is the tightness you prefer. Trim the excess elastic and finish sewing the waistband closed.
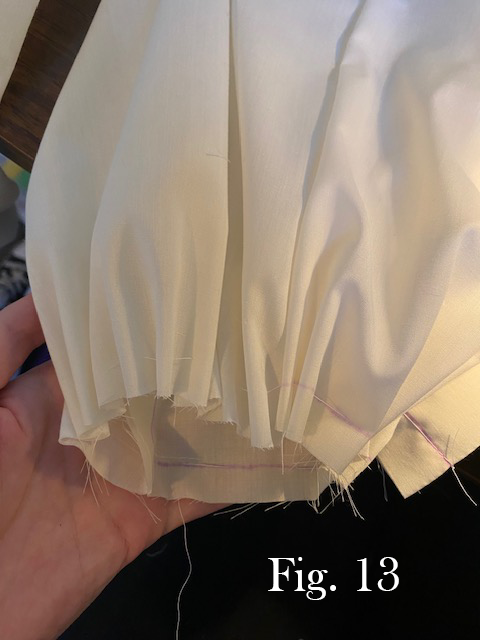
Hand stitch the bottom of the pants and pull the thread so that the bottom gathers.
Sew the cuffs to the pants.
Step Seven:
Cut out all of the pattern pieces for the capelet from the turquoise broadcloth.
You can use tissue paper or something similar to lay on top of each pattern piece and trace out the trim.

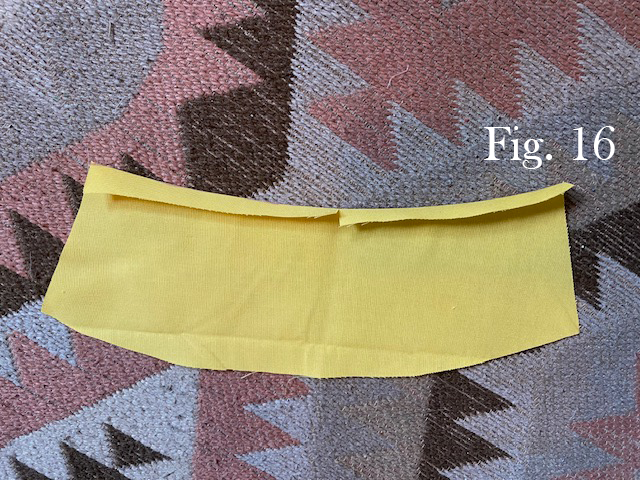
Cut the trim pattern pieces from the sunflower broadcloth, adding a little bit of fabric to the top of each piece so that you can fold it down to create a smooth edge.
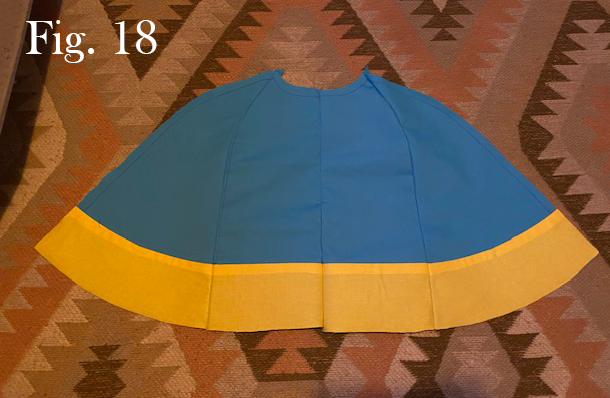
Use the double sided fusible webbing to attach the trim pieces to the top of the capelet pattern pieces. Then sew each piece of the capelet together.
Step Eight:
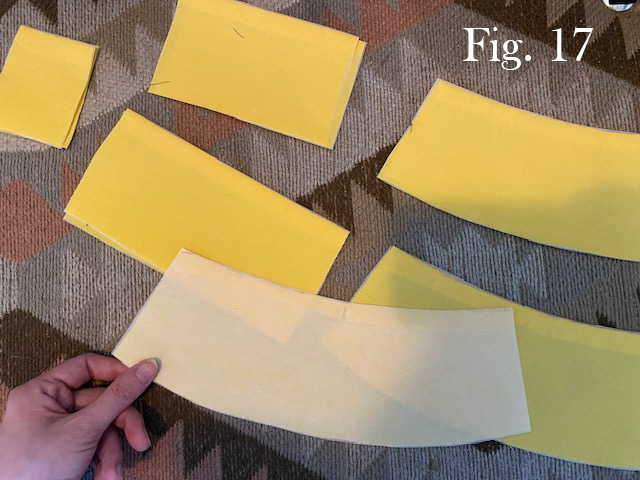
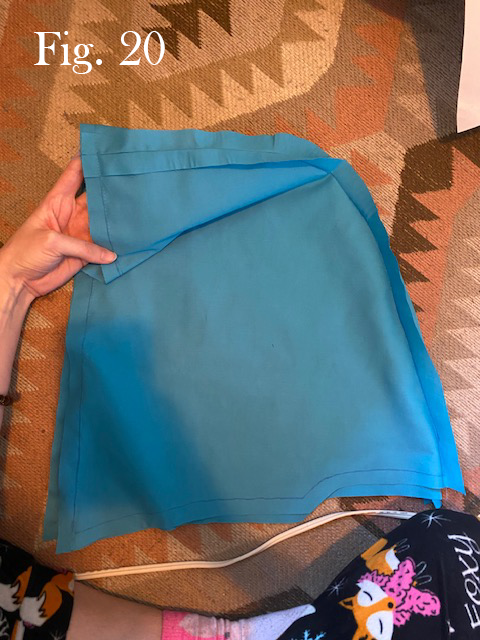
Use the rest of the sunflower broadcloth to create the lining of the capelet.
Attach all of the pattern pieces of the capelet together to create the front and the back of the capelet lining.
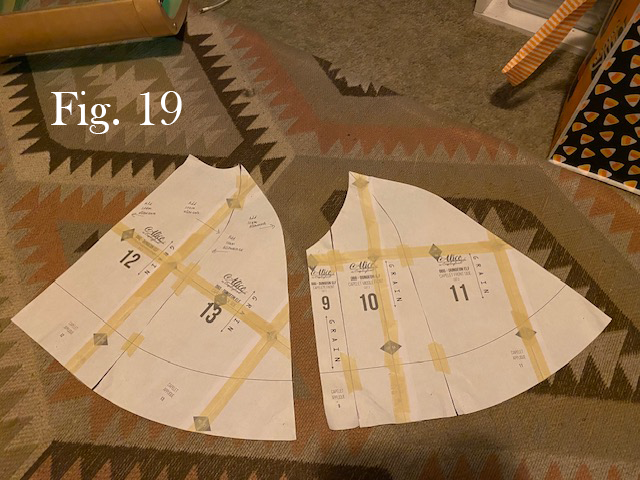
Cut the BACK lining piece along the fold (along pattern piece 12) so that it is one complete back piece. You should now have 3 lining pieces; 1 back piece and 2 front pieces. Sew them together, one front piece on each side of the back piece. Sew the lining to the capelet with the right sides together. Flip right side out.
Step Nine:
Cut 4 pieces total of the hood piece to create the hood and the lining using only the turquoise fabric. Sew the left side of the hood to the right side, and do the same for the lining. Sew the lining to the hood right sides together. Flip right side out.
Sew the bottom edge of the hood to the neckline of the capelet. Add a red ribbon around the inside neckline of the capelet, leaving generous edges to tie the capelet closed.
Step Ten:
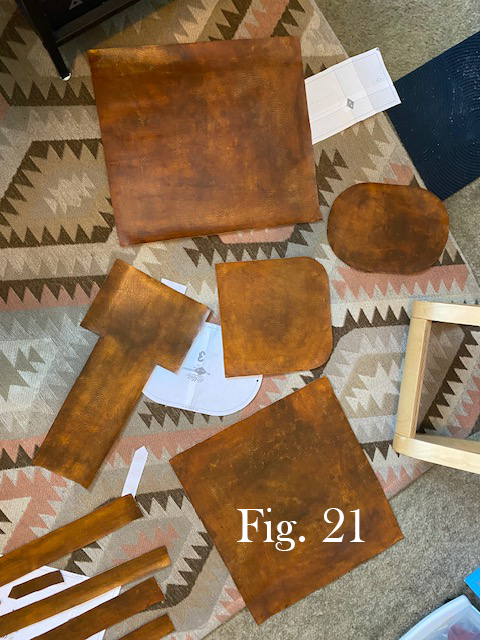
Cut the pattern pieces for the backpack, book pouches, belts, etc. from the white vinyl. Use the brown Angelus leather paint to create a textured effect. Do this using a large sponge and several thin layers of paint.
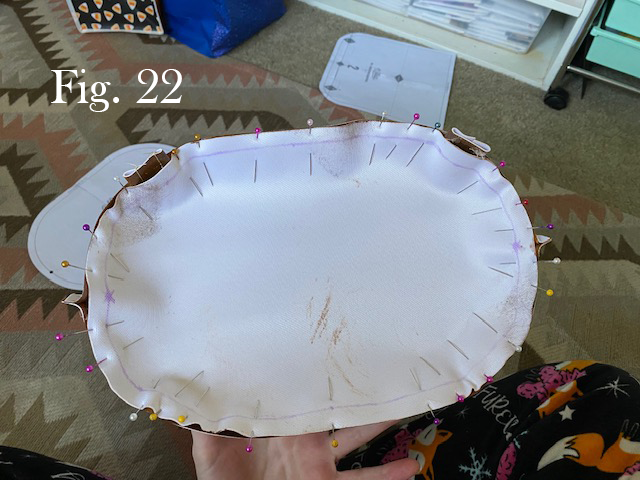
Using the upholstery thread, sew the back piece of the backpack to the front piece, then sew the backpack straps to the TOP part of the backpack.
Wedge the bottom edge of the straps into the bottom piece. Pin the bottom piece down and sew.
Next, sew down the bottom of the cover flap along the TOP BACK edge. Sew the cover straps to the bottom edge of the cover, then hand sew the snaps.
Step Eleven:
Sew the 2 belt straps together wrong sides together to create a thicker, heavier belt.
HINT: I like to lay a piece of water soluble interfacing on the top and bottom of my leather pieces as I run them through the sewing machine so that the leather texture doesn’t stick. Afterwards, I simply rinse the interfacing away with a little bit of water.
Sew the belt to the buckle piece.

Sew the book pouches using the upholstery thread, and attach the snaps accordingly as you did with the backpack.
Step Twelve:
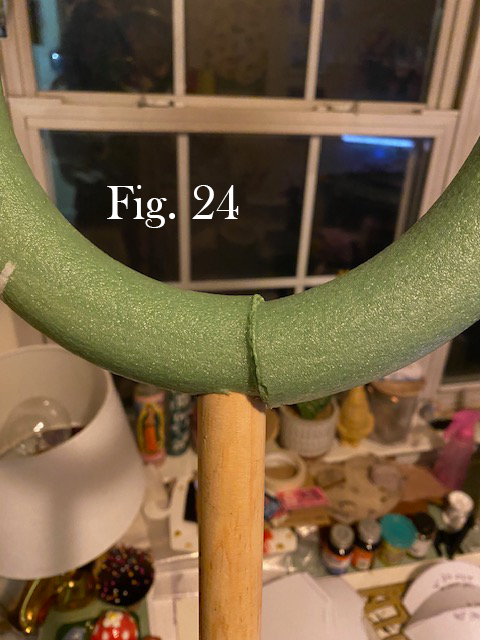
To assemble the staff, you may choose to use screws and/or E6000 glue to build the length of your staff as you prefer. Reinforce with gorilla tape. Using an X-acto knife, cut a hole through the floral ring, fill it with E6000 glue, and place the staff securely inside. Reinforce with gorilla tape once more.
Cover the staff in Mod Podge and let it dry. To create a wood texture, draw squiggly and irregular lines with hot glue all over the entirety of the staff.
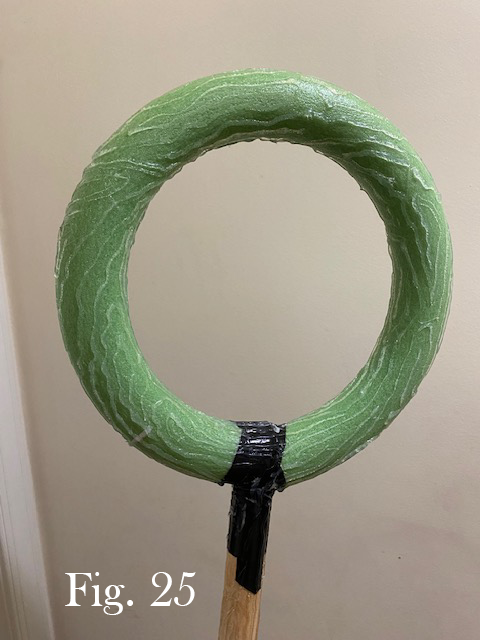
If you like, you can use some jute or twine to wind around the section where dowel rod meets floral ring for extra security and decoration.
Cover the staff in Mod Podge again, then spray paint it brown.
Use a sponge to dry brush with the nutmeg acrylic paint to create more highlights and depth.
If you like, use a straight pin covered in E6000 glue and pin a little leaf to the top of the ring.
Step Thirteen:
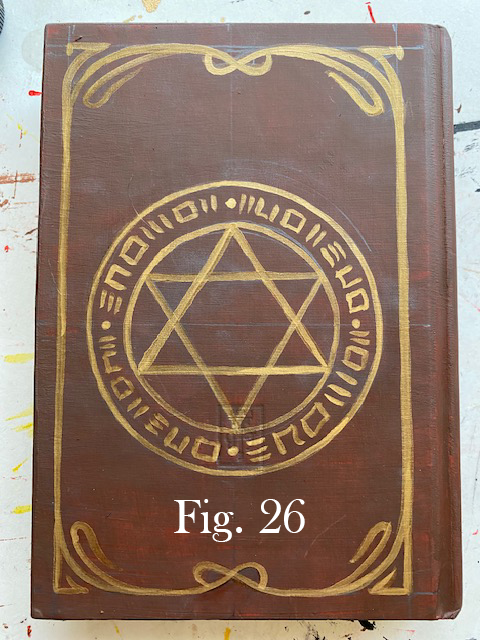
To create Marcille’s spell book, grab a book from the thrift store and paint over it with the nutmeg acrylic paint using many thin layers. Sketch out the design using a pencil, then trace over the design with the gold leaf ink. Seal it with Mod Podge.
After that, you’re all set to harvest some mandrakes!
About the Author
Diomira Keane
Cosplayer, artist, cat-lover, party princess extraordinaire.

There are no comments yet, add one below.
Stay connected. Don't miss out!
Get new costume guides in your inbox once a month.


Leave a Comment