How to Make Your Own Gloves
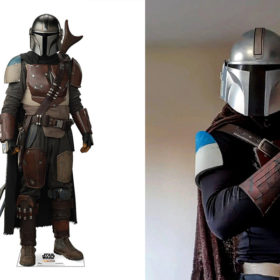
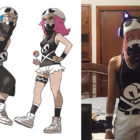
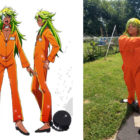
Gloves are included in many costumes. They add that extra “oomph” to outfits that bare hands/arms just can’t do. In fact, if you’re specifically a Hellsing fan or even a magical girl fan, they’re very common in the character designs. Because artists can make any design they want to when developing a character, some characters have ultra specific gloves. Sure, you could go to a store and find gloves that either don’t fit or don’t look very good. You could also pay extra money to find that glove online somewhere. Want to save money and make the glove to your liking? Look no further! I have bestowed upon you the guide to making a simple glove!
Step one: Gather materials
Things you’ll need for this tutorial are:
- About 2 yards of fabric (just in case of mistakes)
- A sewing machine (or needle and thread)
- Measuring tape
- Roll of elastic
- Spool and bobbin full of thread the same color as the fabric
- Scissors
- Dark or light colored pencil
Step two:Measure your arm
The first thing you’ll need to do before anything else is measure your arm. I made a longer glove so I measured around the part of my arm the glove will end and how long the glove will extend down to my middle finger. Add an extra inch for comfort and sewing. My long glove ended up being 23 inches long and the end of the glove was 13 inches around.
Step three: Cut out the pattern
Take your fabric and fold it in half. Measure the length of the glove, then make a mark. For the circumference of your arm, divide by 2 and make a mark near the fold. When you open it, it will measure the full width. For example, the circumference of my arm was 13 inches. I made a mark at 6.5 inches. Cut this pattern out twice (one for each arm). Do not cut the fold.
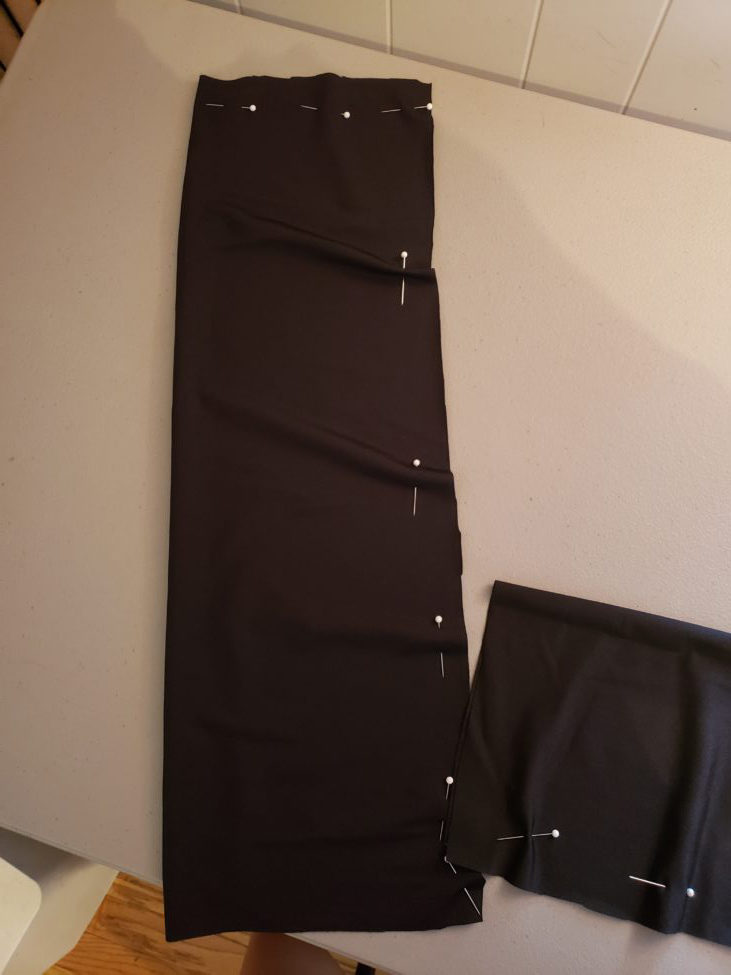
Step four: Make a pillow case
FLIP THE FABRIC INSIDE OUT. The “opposite” side of the fabric looks duller or even a slightly different color than the “right” side. We sew on the “opposite” side so all of our extra fabric is on the inside of the glove. It also looks less messy this way. Next, pin the long end and one short end of the glove closed. It should look like a pillow case (open on one side). Sew along the pins to close. Leave one end of the glove open so you can put your arm in!
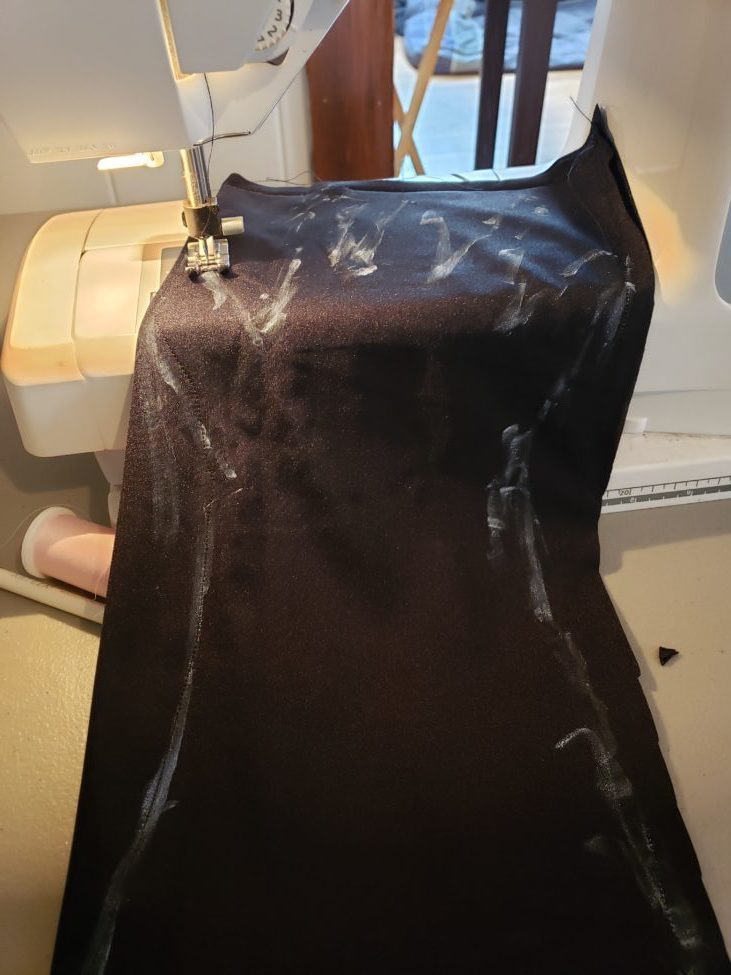
Step five: Trace your hand
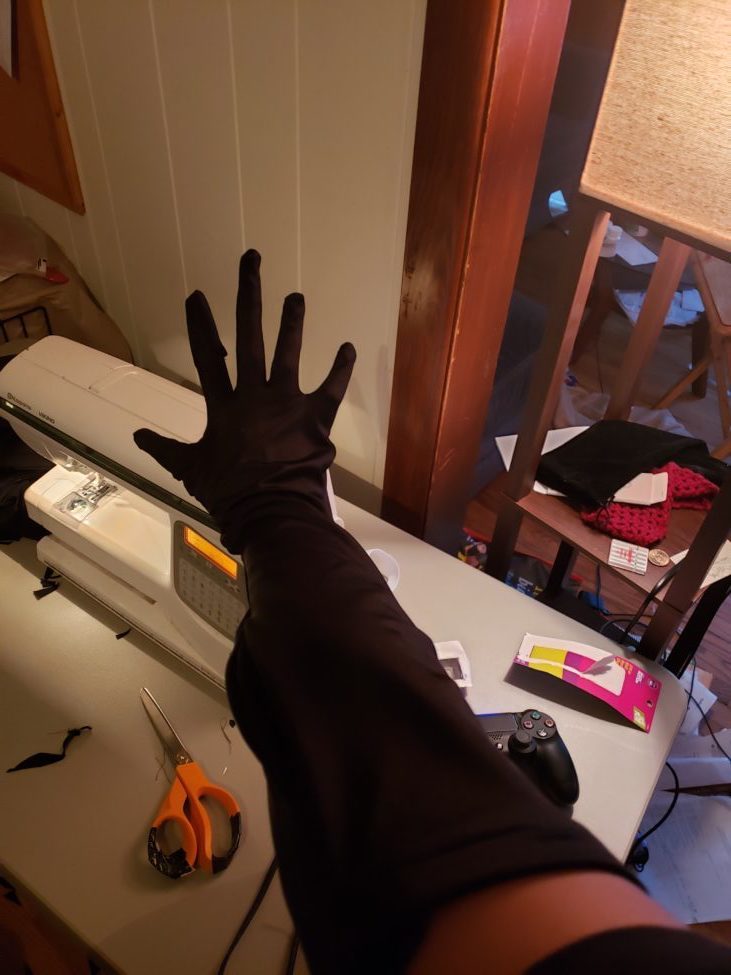
Use a pencil of the opposite color to mark where your hand lays inside the pillowcase. I used a white watercolor pencil since I used black material (also because I couldn’t find anything else). Note: Use something that doesn’t stain or show through the fabric. The perk of this watercolor pencil is that it doesn’t go through the fabric like ink from a marker. It can also wash out with water. A con of the pencil is it has to be wet repeatedly to use. I just used a wet napkin.
Lay your arm flat on the table, spread your fingers out, and make a line around your arm. It’s kind of like making a hand turkey. Leave some space around your arm and fingers for comfort. If it ends up having too much space, you can fix it later.
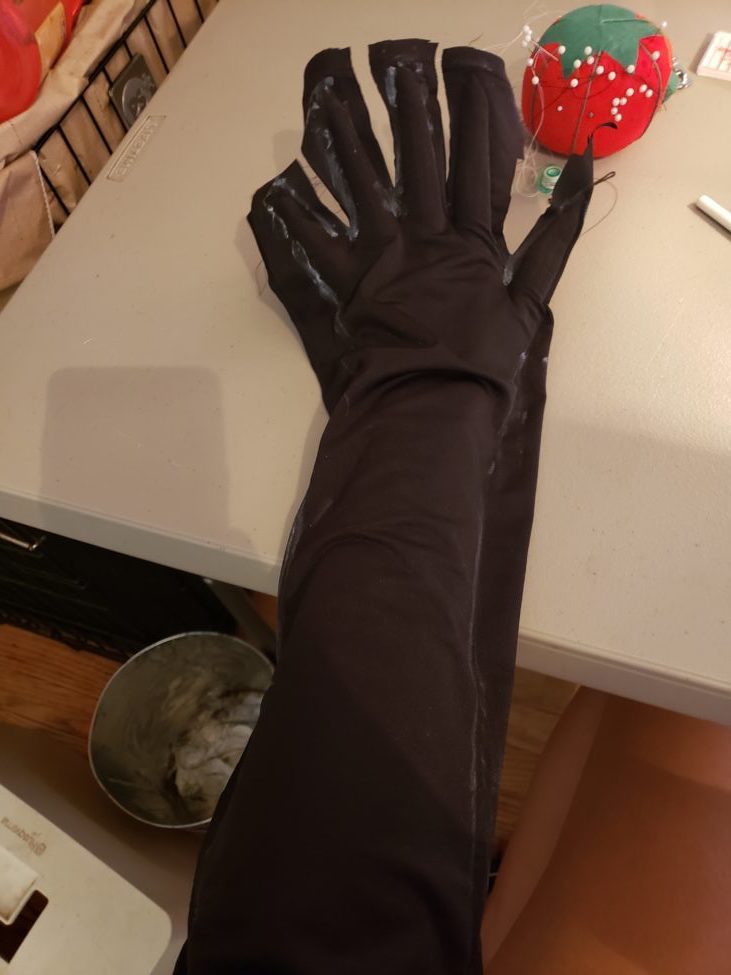
Step six: Sew
Here comes the “fun” part. Sew along the lines you’ve made in your glove. This step alone took me a good few gloves because I would either sew too close to the markings or sew the wrong shape. Making round shapes is a little hard to get the hang of, but keep trying! After you’ve sewn the general shape, try your glove on and make adjustments as needed. Don’t worry too much about it staying up on your arm for now. Once you’ve gotten the general shape down, you can add elastic to the part that won’t stay up. Cut the fingers apart down the middle (without cutting the sewing!) to release your fingers. You can trim the extra fabric around the fingers as needed.
Step seven: Adding elastic
For this step I cut a band of elastic the same circumference of my arm. sew the elastic to the loose end of your glove in the shape of a small square. Sewing in a square ensures it doesn’t move. Fold the elastic into the glove. You should fold it INTO the glove. Remember, the “opposite” side you’re working on is the INSIDE of the glove. Sew the folded elastic into place. Make sure you don’t sew it closed.
Now that you have your elastic in, feel free to make adjustments once more. I had to fold an extra piece in my glove so it would stay put around my arm.
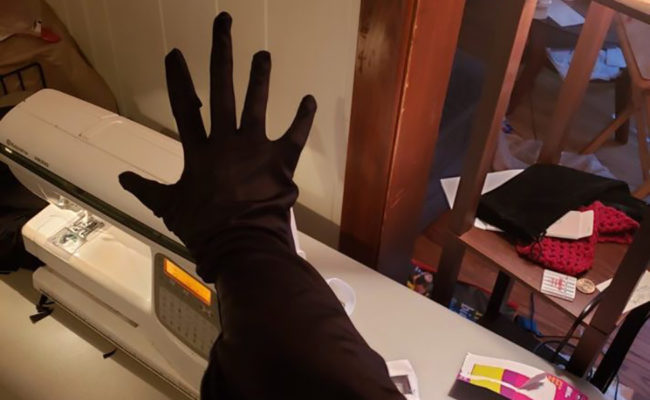
Step eight: Flip it inside out and you’re done!
Flip your glove to the “right” side and check your work. If everything fits right, then you’re done! Once you have this basic glove, you can add all the bells and whistles you want!
Congrats! You’ve got a glove!
About the Author
Otto
Hello! I'm Otto and I've been making costumes and cosplaying for about 3 years now.


There are no comments yet, add one below.
Stay connected. Don't miss out!
Get new costume guides in your inbox once a month.


Leave a Comment