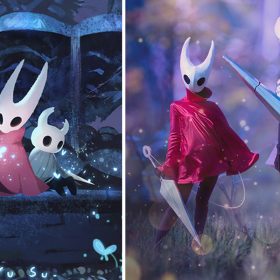
Make Your Own: Elsa’s White Forest Dress from Frozen II
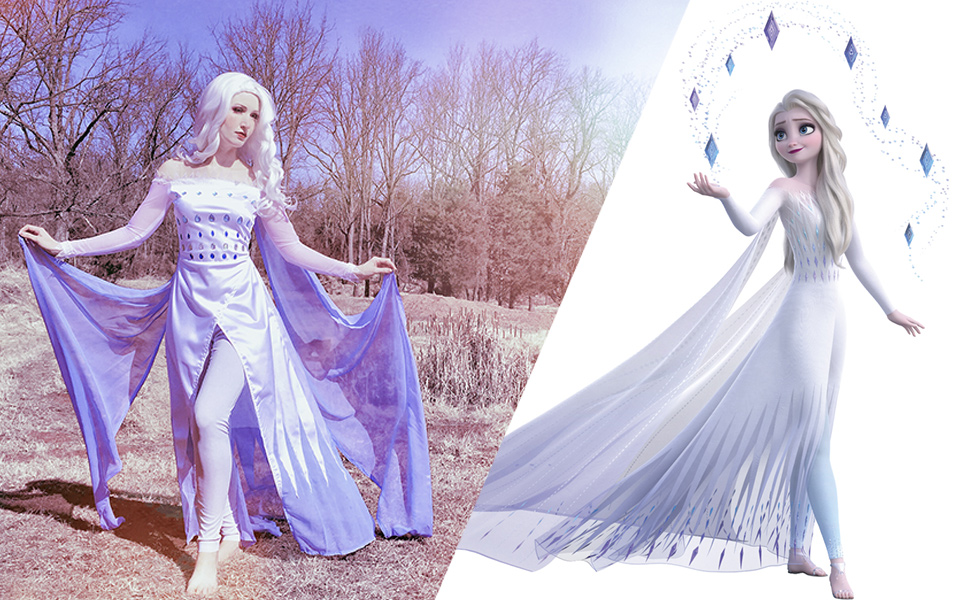
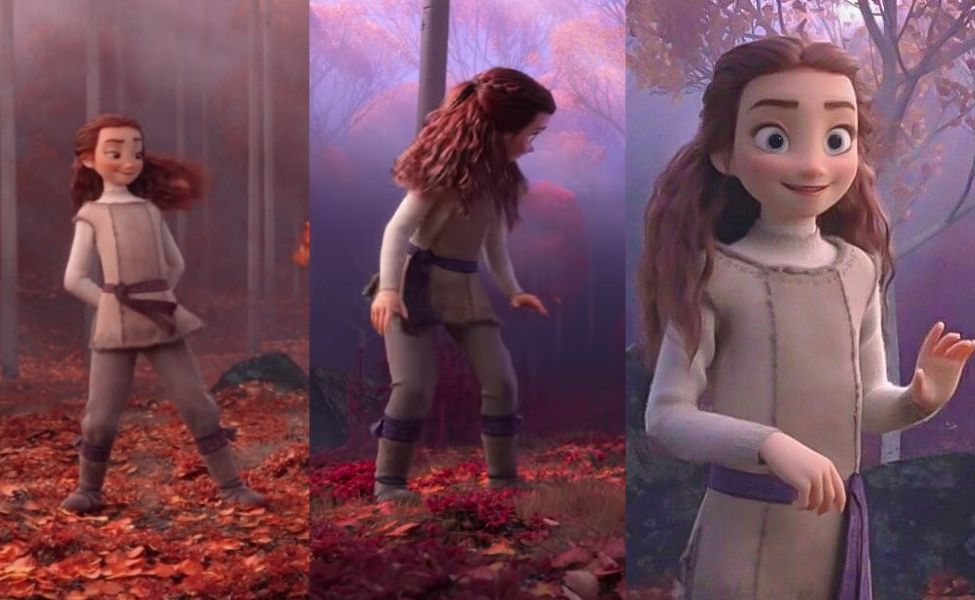
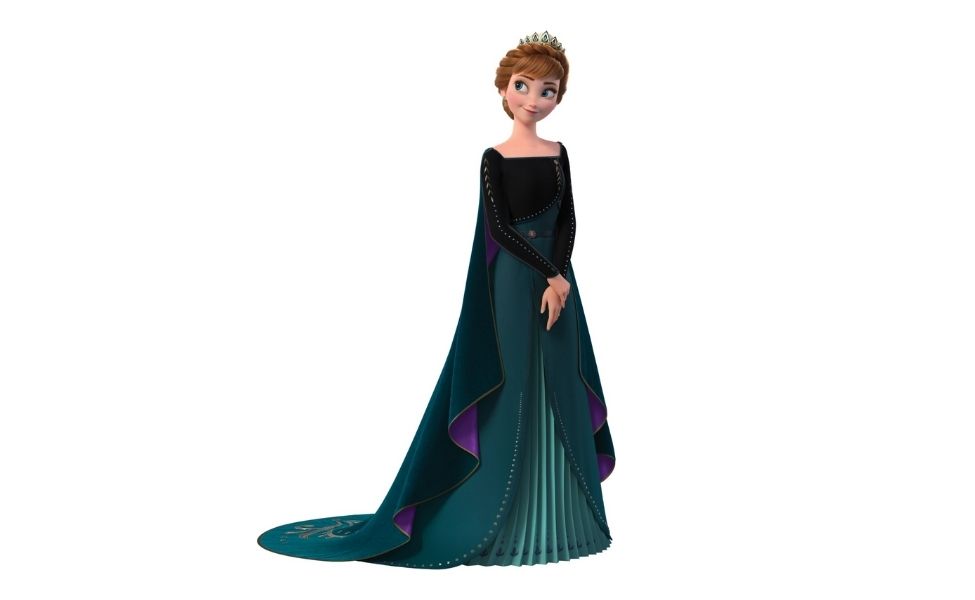
Frozen II, the much anticipated sequel to Frozen has finally hit theaters, and brought with it about a dozen new cosplay opportunities. As someone who dresses up as Elsa a lot, I was especially excited to see Elsa’s white forest dress and immediately knew that that was the one I was going to recreate. I was lucky enough to come across this beautiful pattern created by ANH Cosplay which is as lovely as it is easy to follow. I used this pattern as my base, and from there, was able to make my own decisions about how to enhance this cosplay in different ways.
In this tutorial designed for intermediate-level cosplayers, I will explain the methods that I used to create my own unique version of Elsa. Also, don’t miss our beginner costume guides for Frozen here. Please enjoy!
What you will need:
- White satin fabric (2-way stretch) (about 5 yards is recommended on the pattern instructions)
- White chiffon fabric (4 yards)
- White netting (4-way stretch) (¼ yard)
- Light blue fabric (4-way stretch) (1.5 yards)
- Elastic (1 yard, add another yard or so for plus sizes)
- White thread for stretchy fabric (2 spools)
- Double Scalloped Venice Trim (2 yards)
- Fabric Stiffening Spray
- Crystal cabochons
- Sapphire Blue Rit dye (for synthetic fabric)
- Pattern from ANH Cosplay
- WonderUnder fusible web interfacing (2.5 yards)
- Fabric scissors
- Pins
- E6000 glue
- Silver fabric paint
- Iron
- Masking tape
- Standard scissors
- Disappearing ink marker
- Clear bra straps
- Pinking shears
- White embroidery floss
- Sharp sewing machine needles
- Embroidery Needle
Step One:
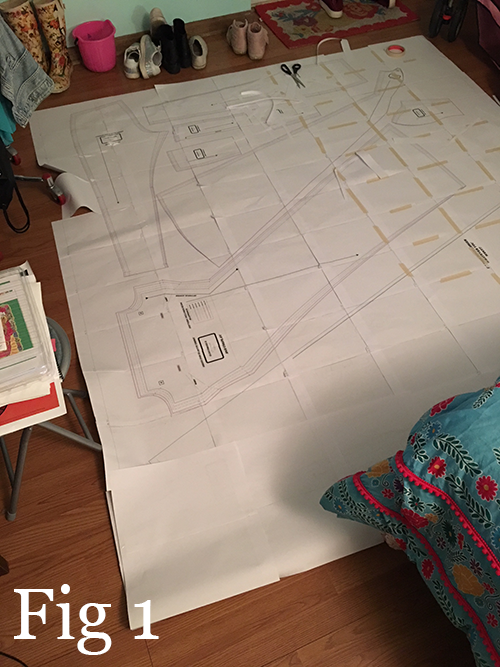
Print out your pattern! This is possibly the most time-consuming (and expensive) part of putting together this costume. In the instructions provided, you are warned NOT to click the “fit to page” option during printing. If you do, the pattern pieces will not print out in the correct size. Once you download your pattern, you will see a few files in your folder. The file you want to print is “Elsa_Ver_2_A4.pdf”. (This is all included in your instructions sheet, which you should also print out.)
Once all the pieces are printed (there are about 90 pages), all you gotta do is cut out the blocks and tape them together using your masking tape. This whole process takes about 2 hours, but it goes by pretty fast if you just put some Lizzo on Spotify to help you get into The Zone. The most difficult part of this step is lining the blocks up straight and even, but with a little finagling, it can be done.
Pro Tip: Make sure you have a lot of floor/table space to put this bad boy together.
Step Two:
Cut out your pieces as instructed. If you’re using 2-way stretch satin as I’ve suggested, make sure you line your pattern pieces up so that the stretchy grain lands horizontally against each piece. (You want it to be stretchy from side to side, not up and down. If you do it this way, you don’t need to install a zipper. However, if you do wish to install a zipper, there are instructions on how to do so included in the pattern download.)
Step Three:
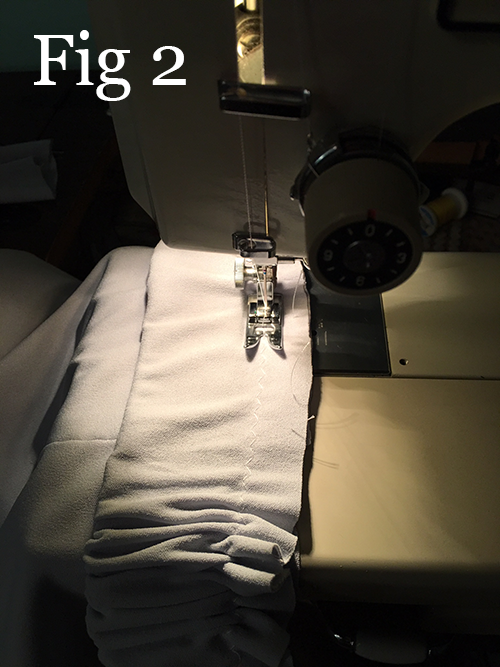
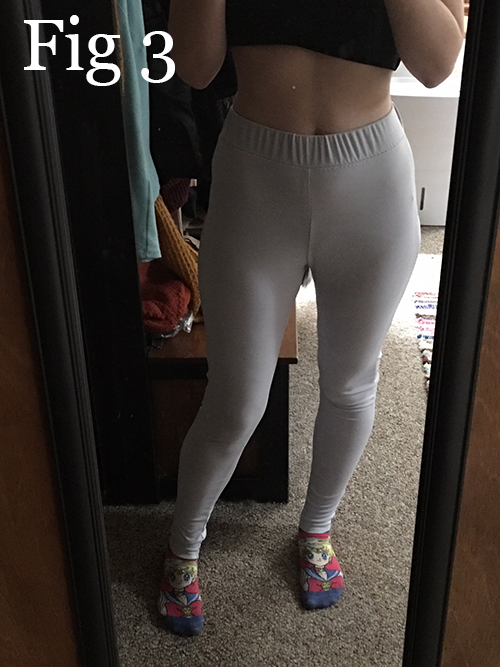
I started by making the leggings first using my light blue fabric, as this step is relatively quick and easy. I chose to install an elastic waistband by creating a cover for my elastic and sewing it to the top of my leggings (being careful not to sew the actual elastic itself to the top), and then inserting my elastic through the cover and sewing the ends together.
You may choose to hem the bottom of the legs, however, the fabric that I used didn’t fray, so I left the ends raw. In order to get a decent length of elastic for your band, measure the width of your waist and use that (minus maybe an inch or so, depending on how stretchy your elastic is) as your length. This will ensure that the band sits snug atop your hips.
Pro Tip: Use a zigzag stitch when sewing stretchy fabrics to allow for as much stretch as possible.
Step Three:
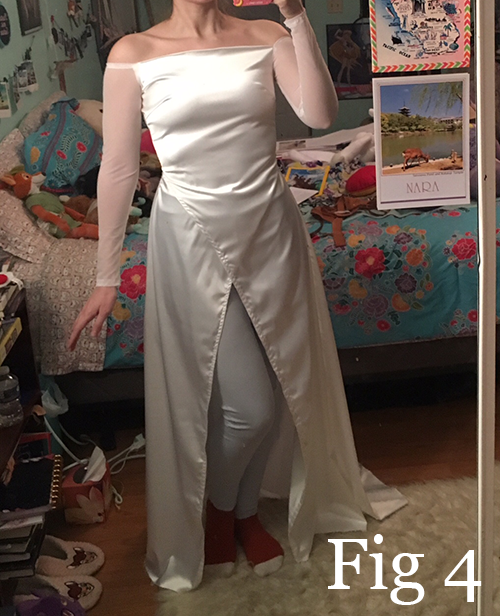
Next, I chose to piece together the dress itself, not including the sleeves. The only parts of the dress that I hemmed at this point were the edges in the center of the dress where the front opening is, and you’ll see why.
Step Four:
For the sleeves, I chose to use stretchy white netting, which ended up giving the costume a more screen accurate look. In my case, I made the sleeves fit a little bit tighter, but you may choose to keep them true to the pattern. After hemming them, I attached them to the dress.
Step Five:
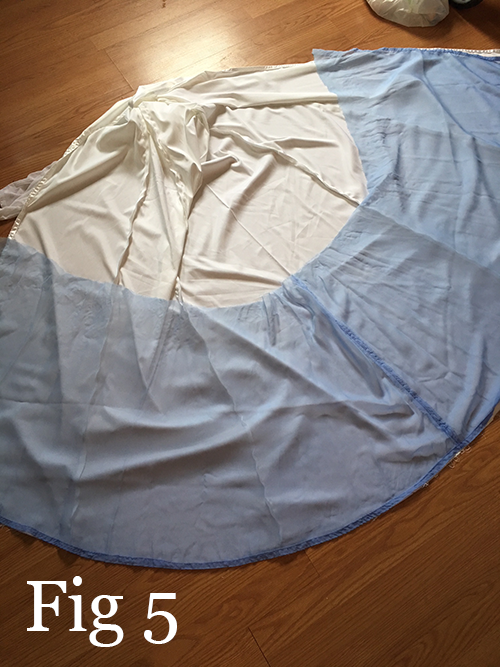
Next, I cut out and hemmed my wings using my pinking shears. At this point, I added another step to my process towards completing the costume. I laid my dress out, open and flat, and measured about 24 inches up from the bottom of the dress. I used my disappearing ink marker to mark off these 24 inches all the way from one end of the dress to the other, to ensure an even horizontal line that curved perfectly parallel from the bottom of the dress.
I then laid the rest of my white chiffon fabric over the dress and repeated this step. Next, I pinned the chiffon to the dress and cut out a piece based on these measurements using my pinking shears. This piece would become the bottom “trim” of my dress. I hemmed the bottom and sides of this piece, but left the top raw.
Step Six:
Now that all of my chiffon pieces are cut and hemmed, it’s time to dye them! I gave it my best effort to achieve an “ombre” look to my chiffon, but I was a bit worried the ends would come out too dark, so I settled for a very slight gradient from top to bottom. In order to dye synthetic fabric, you just pour your Rit Dye into a pot of near-boiling water while it’s still on the stove.
While wearing rubber gloves (and perhaps using some metal tongs), slowly dip your pieces into the dye. The darker you want your fabric to be, the longer you’ll want to have it sitting in the dye. Since I wanted my chiffon to be a very light blue, I quickly dipped each piece into the pot once, and even had a spray bottle filled with water on hand to spritz the tops and dilute them. This process is very messy, so make sure you’re prepared. After the dye bath, I hung them up on the middle bar over the bathtub and spritzed them again with water to dilute the dye and even it out.
Pro Tip: Fill the bath with water so that, when dye drips, it doesn’t stain the tub. Drain and clean the tub immediately with bleach after the chiffon has dried to a point where it has stopped dripping.
Step Seven:
Now that your chiffon is dry, it’s time to attach the wings. Simply ruffle them to your preference at the top and sew them in. Make sure that the shorter sides of the wings are facing inward towards the front of the dress, and the longer edges face each other at the back. Sew them in upside-down and inside the top so that the raw edge is inside and facing downward, so that the wings can spill out over the top and over the seam.
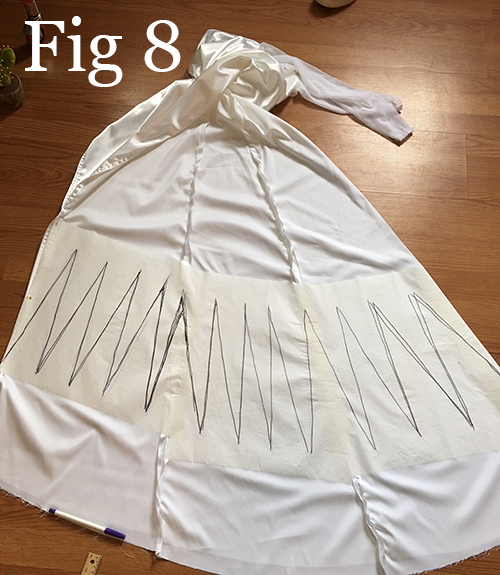
Step Eight:
Next it’s time to install your Venice trim to the top of the dress as well as the ends of the sleeves. If you prefer, you can spritz your trim with your stiffening spray to ensure that the ends sit upright, however, this step is not necessary. I chose to have my trim sitting on the outside of the dress top, to give it a little more detail. Usually, when installing a trim, I prefer to hem the edges at the same time to reduce the amount of seams. For the sleeves, however, I installed the trim by hand using my white embroidery thread.
Step Nine:
Now it’s time for the tricky part. This next step will require a lot of patience, and a lot of attention to detail. This step is not included in your pattern instructions, as it is my own method for achieving this look.
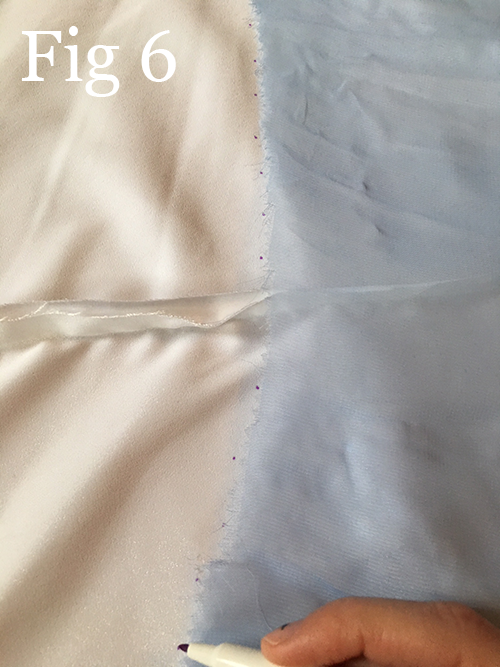
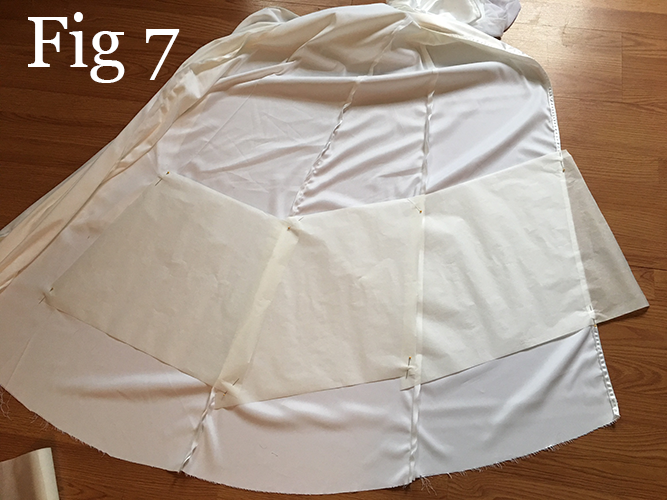
The first thing you want to do is attach your fusible webbing. Lay out your dress as you did before when you were measuring your chiffon trim. If your disappearing ink dots have… well… disappeared by now (it usually takes about 24 hours), you’ll need to mark them off again. In order to get a nice curve, you will have to cut out blocks of the webbing and iron them on one by one. Line them up right below the dots you made, and slowly iron them down.
Once you’ve completed this step, you can fold your dress in half (with your webbing facing the outside). Next, sketch out a zigzag pattern that is to your liking. Pin the edges together so that the dress doesn’t move around, and, after taking a DEEP breath, cut out your zigzags.
Pro Tip: Folding your dress in half in this way and cutting through both sides will give you perfect symmetry on either side.
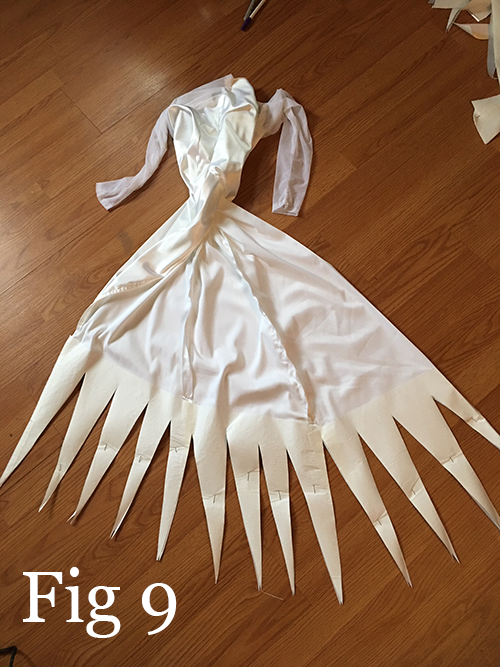
Step Ten:
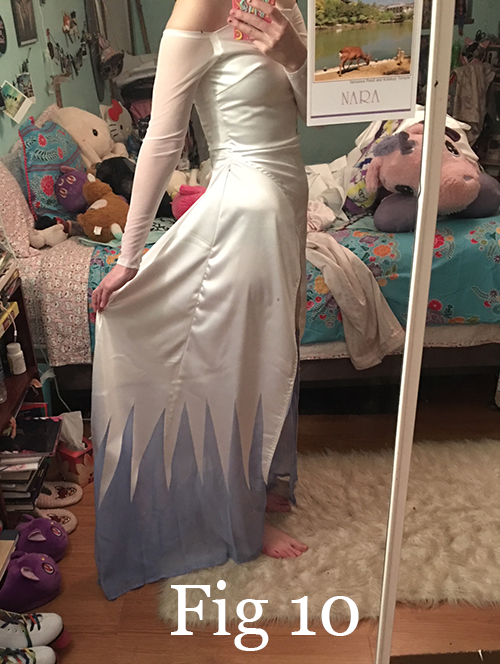
Unpin your dress and open it up once more with the webbing on top facing you. Peel the paper backing off of your webbing, and lay down your chiffon trim to meet the top of your marked-off dots. Match everything up as best you can, and pin the outer edges down so that they stay put. You may also choose to pin the center down as well. Next, start ironing your zigzags to your chiffon.
Pro Tip: I put a heavy book in the center of my dress to keep it weighed down, and ironed from the outer edges in towards the middle. This proved to be a good way to keep everything pulled taught so that I didn’t encounter any wrinkles.
Step Eleven:
You did it! The hardest part is over! Now, to add more reinforcement to your zigzags, you can choose to go over them again at the edges with a stitch.
Step Twelve:
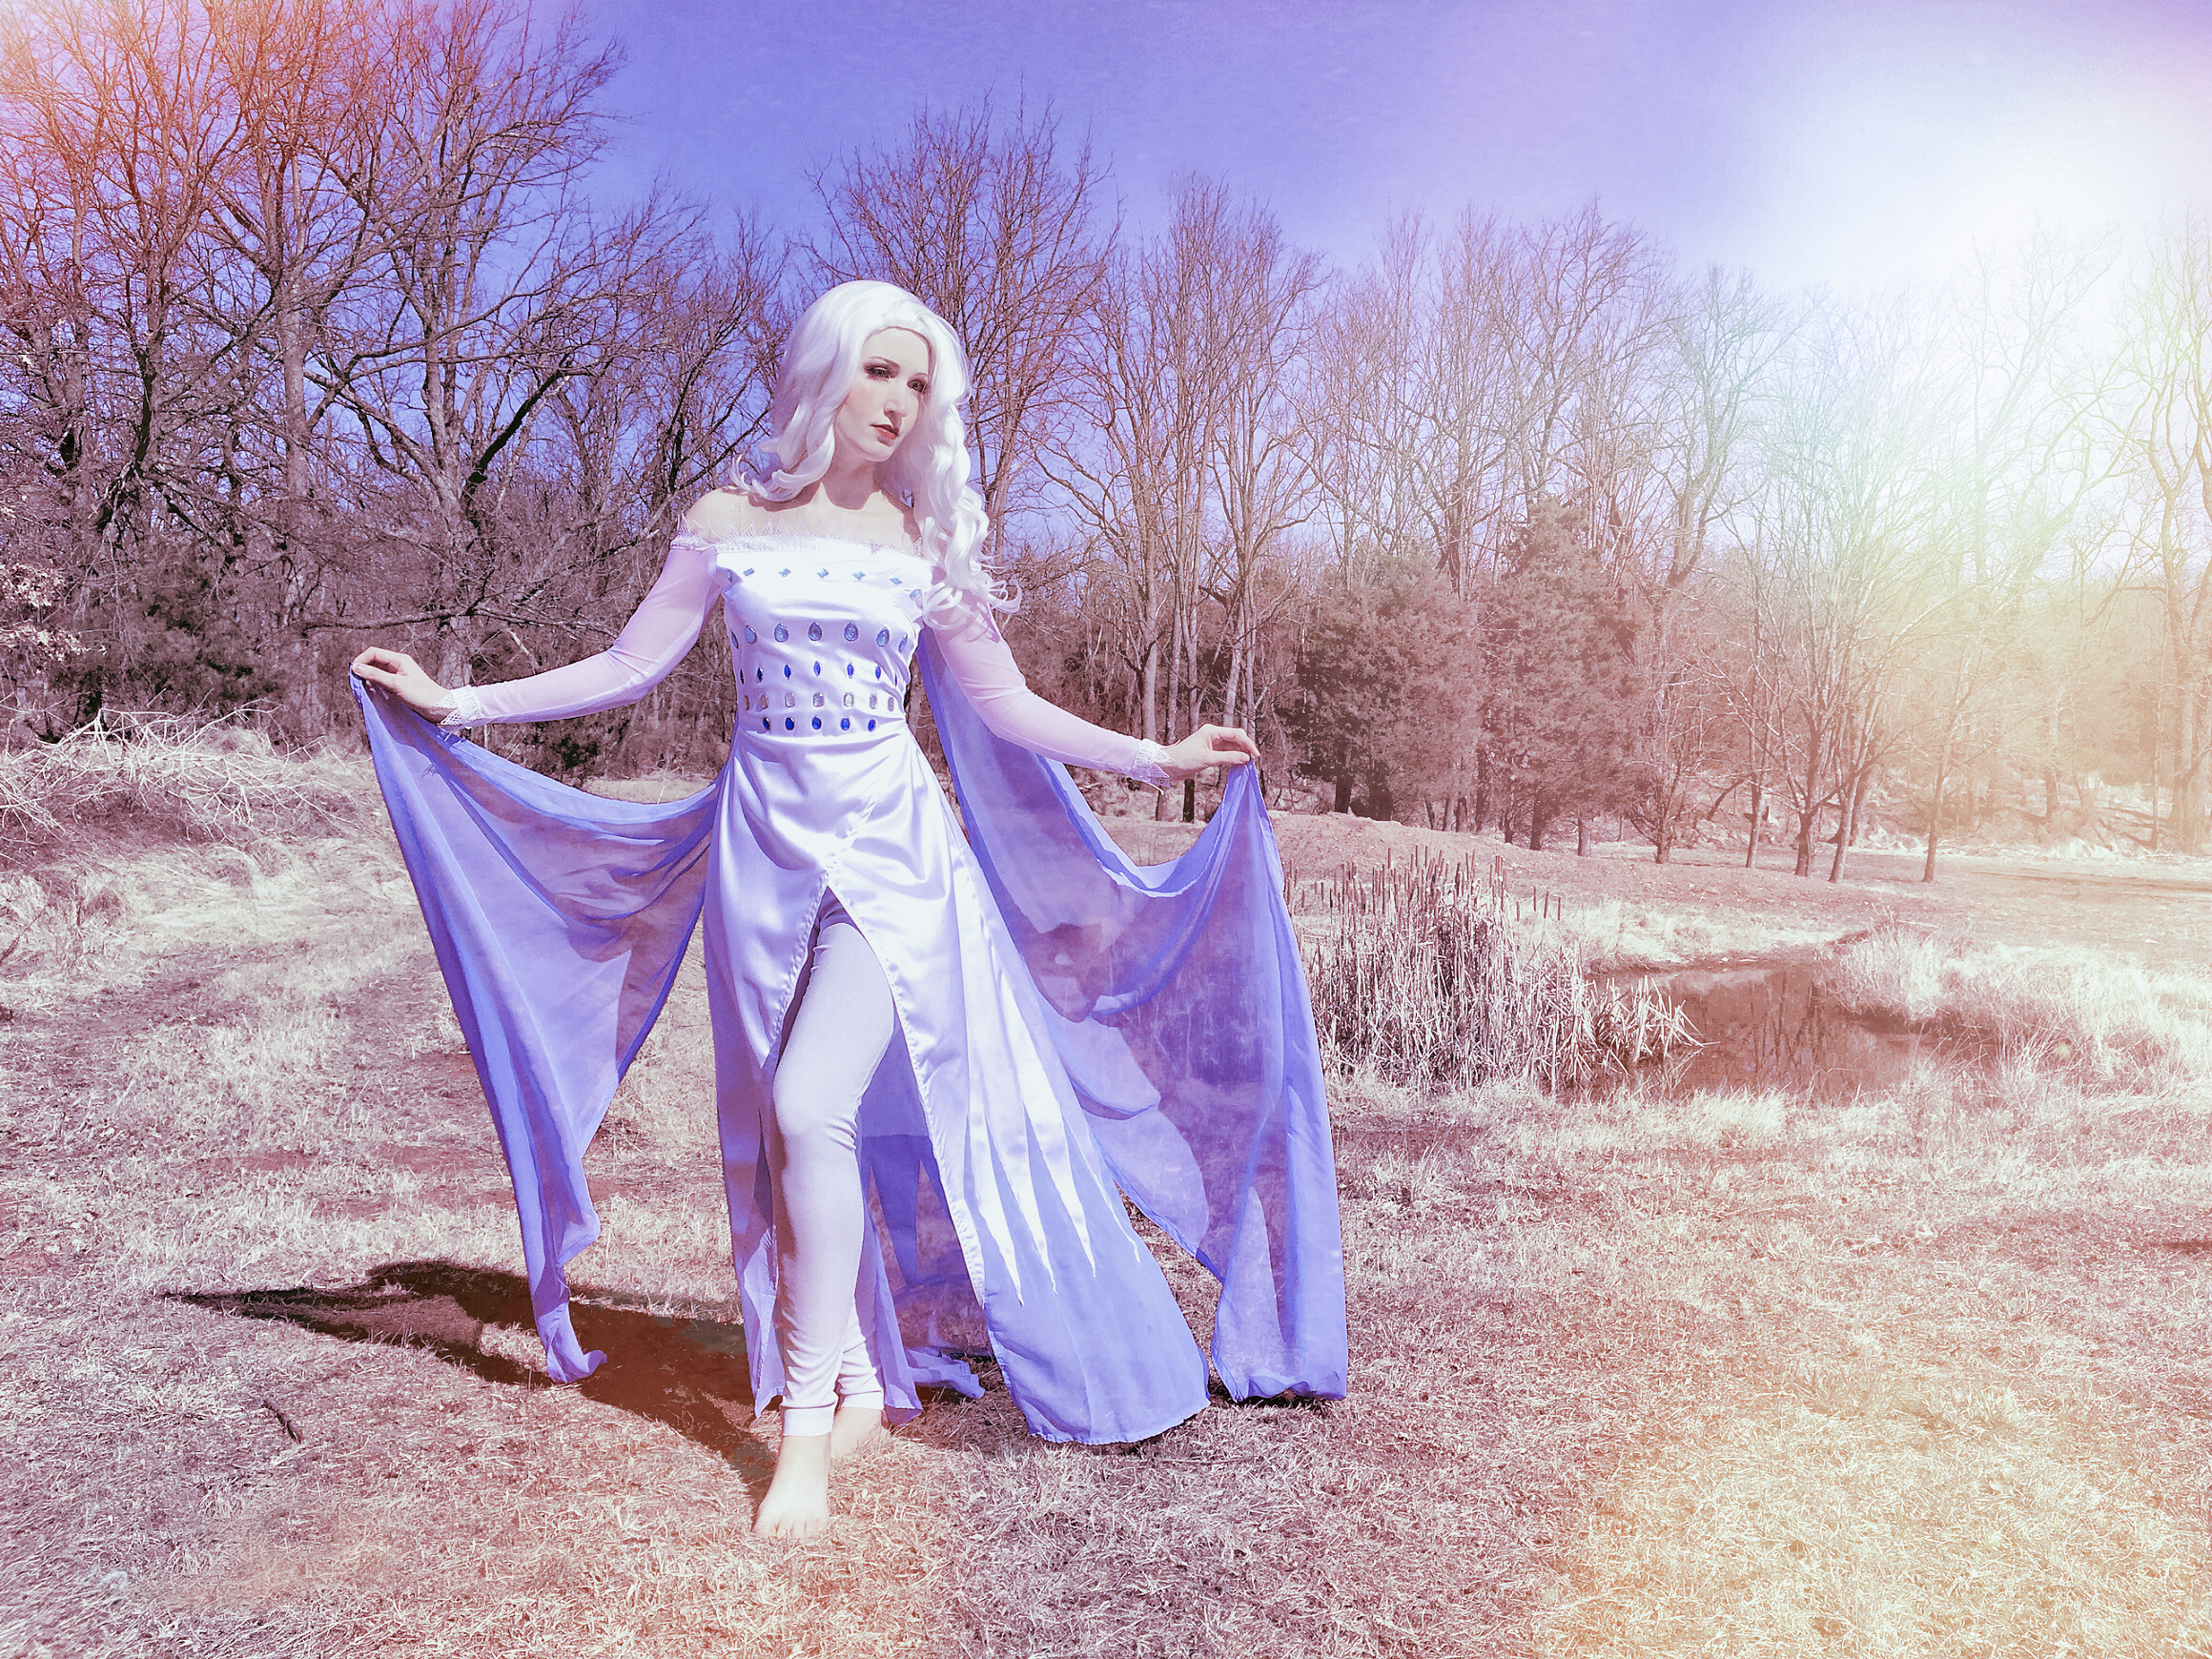
The icing on the cake. It’s time to glue your cabochon gems down with your E6000 glue. The only thing I can really say about this part is that your tape measure is going to be your best friend in making sure that each gem is placed equidistant from each other and from the top. You can do as many or as few gems as you like, in as many rows as you like. I put a pillow under the bodice to give it a nice curve, which helped a lot on making sure my gems were in the right spot. When they’re all dry, you can add a little more pizzazz by going around them with silver glitter fabric paint.
Last but not least, if you wish, you can install your clear plastic bra straps by hand sewing them in using your white embroidery thread. Since the top becomes a little “top-heavy” with the trim and the chiffon wings, this is a really good way to keep everything secure while you’re wearing it. You can also clip the bottom edges of the Venice trim on either side of each arm to allow for more range of arm movement if that is more comfortable for you as well.
And with that, you’re all done, and ready to venture into the unknown!
About the Author
Diomira Keane
Cosplayer, artist, cat-lover, party princess extraordinaire.

There are no comments yet, add one below.
Stay connected. Don't miss out!
Get new costume guides in your inbox once a month.


Leave a Comment