How to “Fix” A Cheap Wig
“The wig makes the costume.”
This saying is one most cosplayers live by. A simple cosplay can be made or broken by the wig’s quality. Even with all of these scary words, there’s multiple places to find wigs! Quality wigs are a cosplayer’s dream (or at least mine)! They can withstand heat tools, don’t shed many fibers, and can withstand a few hair whips.
The problem here is…they’re expensive. I know. “Great! A site with wigs that go up to 50 dollars!” Worry not, young cosplayer, for I have a quick save for even the cheapest wig bought from the nearest party store!
Supplies
For this tutorial, you’ll need:
Step 1: Snatch that Wig!
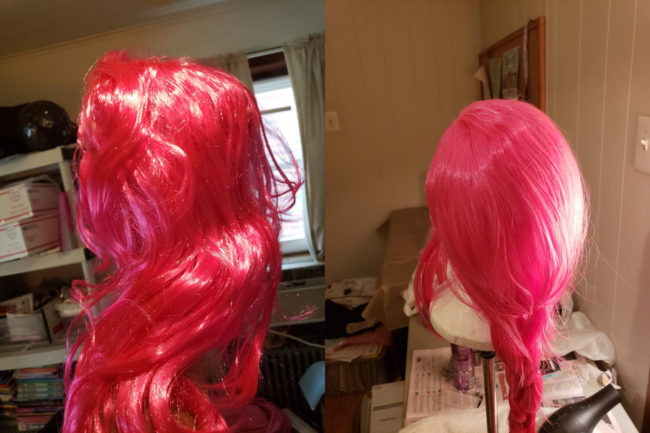
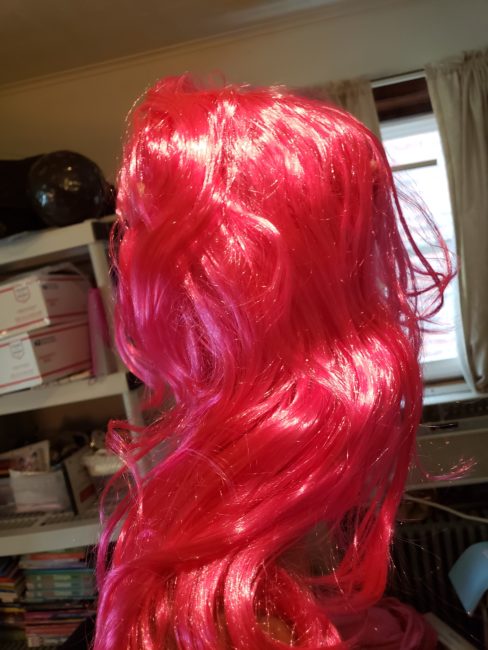
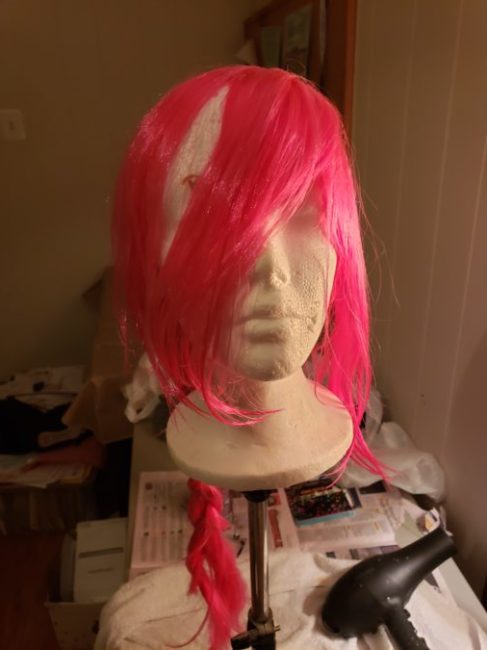
They come out from hiding every Fall. Those hideous, unnecessarily shiny, stringy, cheap, wigs. You see them at dollar stores, costume stores, even some supermarkets! Lucky for us, that’s exactly what we need. Find a wig the length and color you need for your cosplay. I got this beauty from a local Party City. Looks like I stole it from Barbie herself, doesn’t it?
Step 2: Grab a bucket
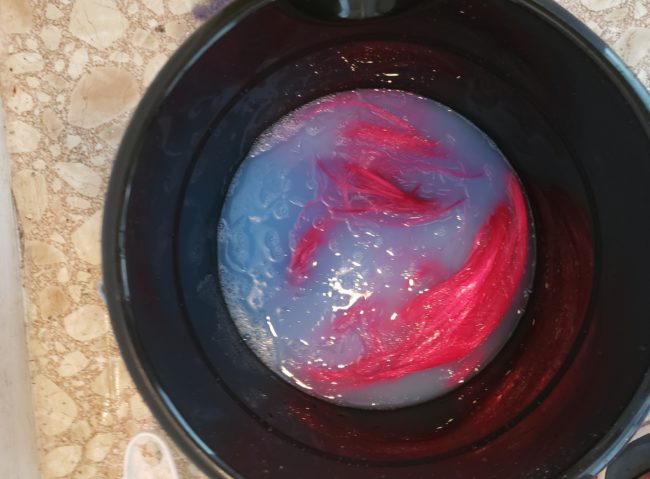
Find a CLEAN bucket. It’s tempting to use that old mop bucket, but it’s better to use a fresh one from the dollar store. Drop that wig into the bucket and fill it with fabric softener until it covers the wig. Fill the bucket with about a third of the bucket’s height with cold water. Leave this concoction overnight to soak.
Step 3: Rinse and Dry
After giving your wig a spa day in a bucket of softener, rinse all of the softener out with cold water. Most cheap wigs can’t stand too much heat, but we’ll get to that later. Dry your wig the best you can with a towel, then blow dry it the rest of the way on a VERY LOW SETTING. It’s likely you’ll run into a few knots. DO NOT CUT THEM OUT. You can get rid of knots by dividing the knotted strands in two with your fingers and gently pulling at the knot down the middle. Cutting out knots in wigs leave you with less wig. Also, remember to comb the wig from the bottom to the top, as the strands are easier to untangle this way.
Step 4: Cautious Styling
Remember the moment I said not to apply heat? I may have lied a bit. These wigs can withstand heat just very, very, veeery low heat. Heat can sometimes be necessary to style a wig. Switch your straightener on the lowest setting and once that setting heats up, switch it off. Wait a minute to use the straightener. Heat test a tiny strand of fibers to see how much heat the wig can take. If it melts (gets really soft and frizzy) then you need to let the iron cool before using it again. Disclaimer: NOT ALL WIGS WILL BEHAVE THE SAME WAY WITH HEAT.
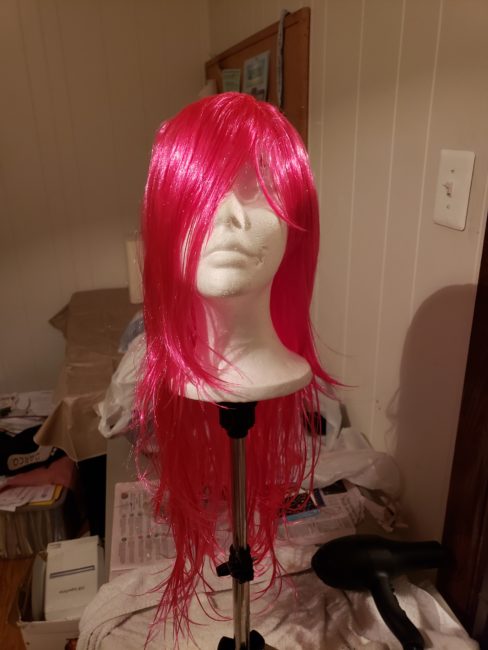
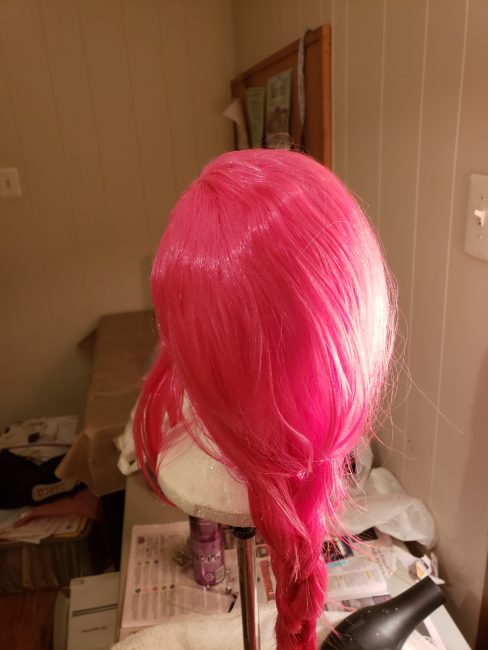
Here’s the wig after drying. Still kind of shiny, yeah?
Step 5: Apply Powder
The last step to a better wig is: BABY POWDER! There is no real measurement for the baby powder, just apply some to the wig until it’s neither dusty nor shiny. If you slap your wig and a cloud forms, you need to slap the powder out a few more times. I also heard dry shampoo works well as a substitute, but in the end it’s still cornstarch/talcum.
TA-DA! Your wig is officially less plastic-y! Depending on the wig it may still look a little shiny, but this tutorial can’t change a 20 dollar wig into a 50 dollar wig. Even so, wear your 20 dollar wig with pride. Not everyone has an unlimited budget. If you gotta work with what you’ve got, WORK IT!
About the Author
Otto
Hello! I'm Otto and I've been making costumes and cosplaying for about 3 years now.


2 Comments
Leave a Comment
Stay connected. Don't miss out!
Get new costume guides in your inbox once a month.


What exactly is the purpose of the fabric softener soak?
Its supposed to tone down the shinyness a bit. Honestly this is a very old post and yeah i see some inconsistencies lol. Just make sure you wash the softener out really well because its still going on your head.