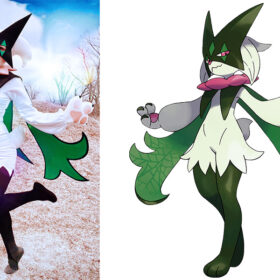
Masked Dad Workshop Cosplay Building 101: How to Work with EVA Foam
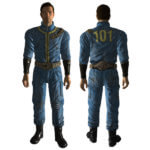
When it comes to building your own cosplay, you’ll be hard pressed to find a better material than EVA foam. Whether you want to bring a comic book character to life or rock your D&D character’s battle gear, EVA foam will probably be your top pick. Its soft flexibility, stress-crack resistance, and compactness make it perfect for conventions and competitions.
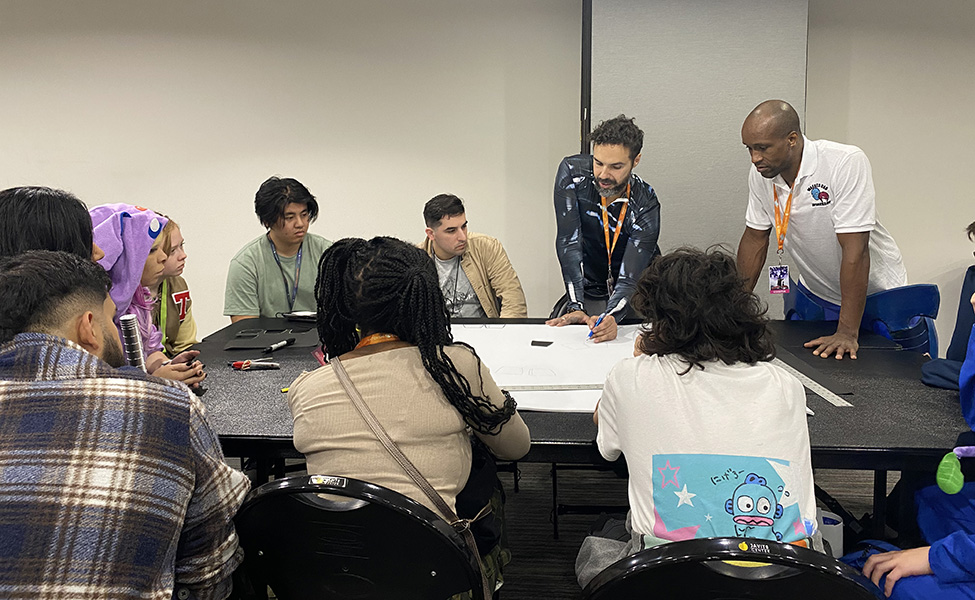
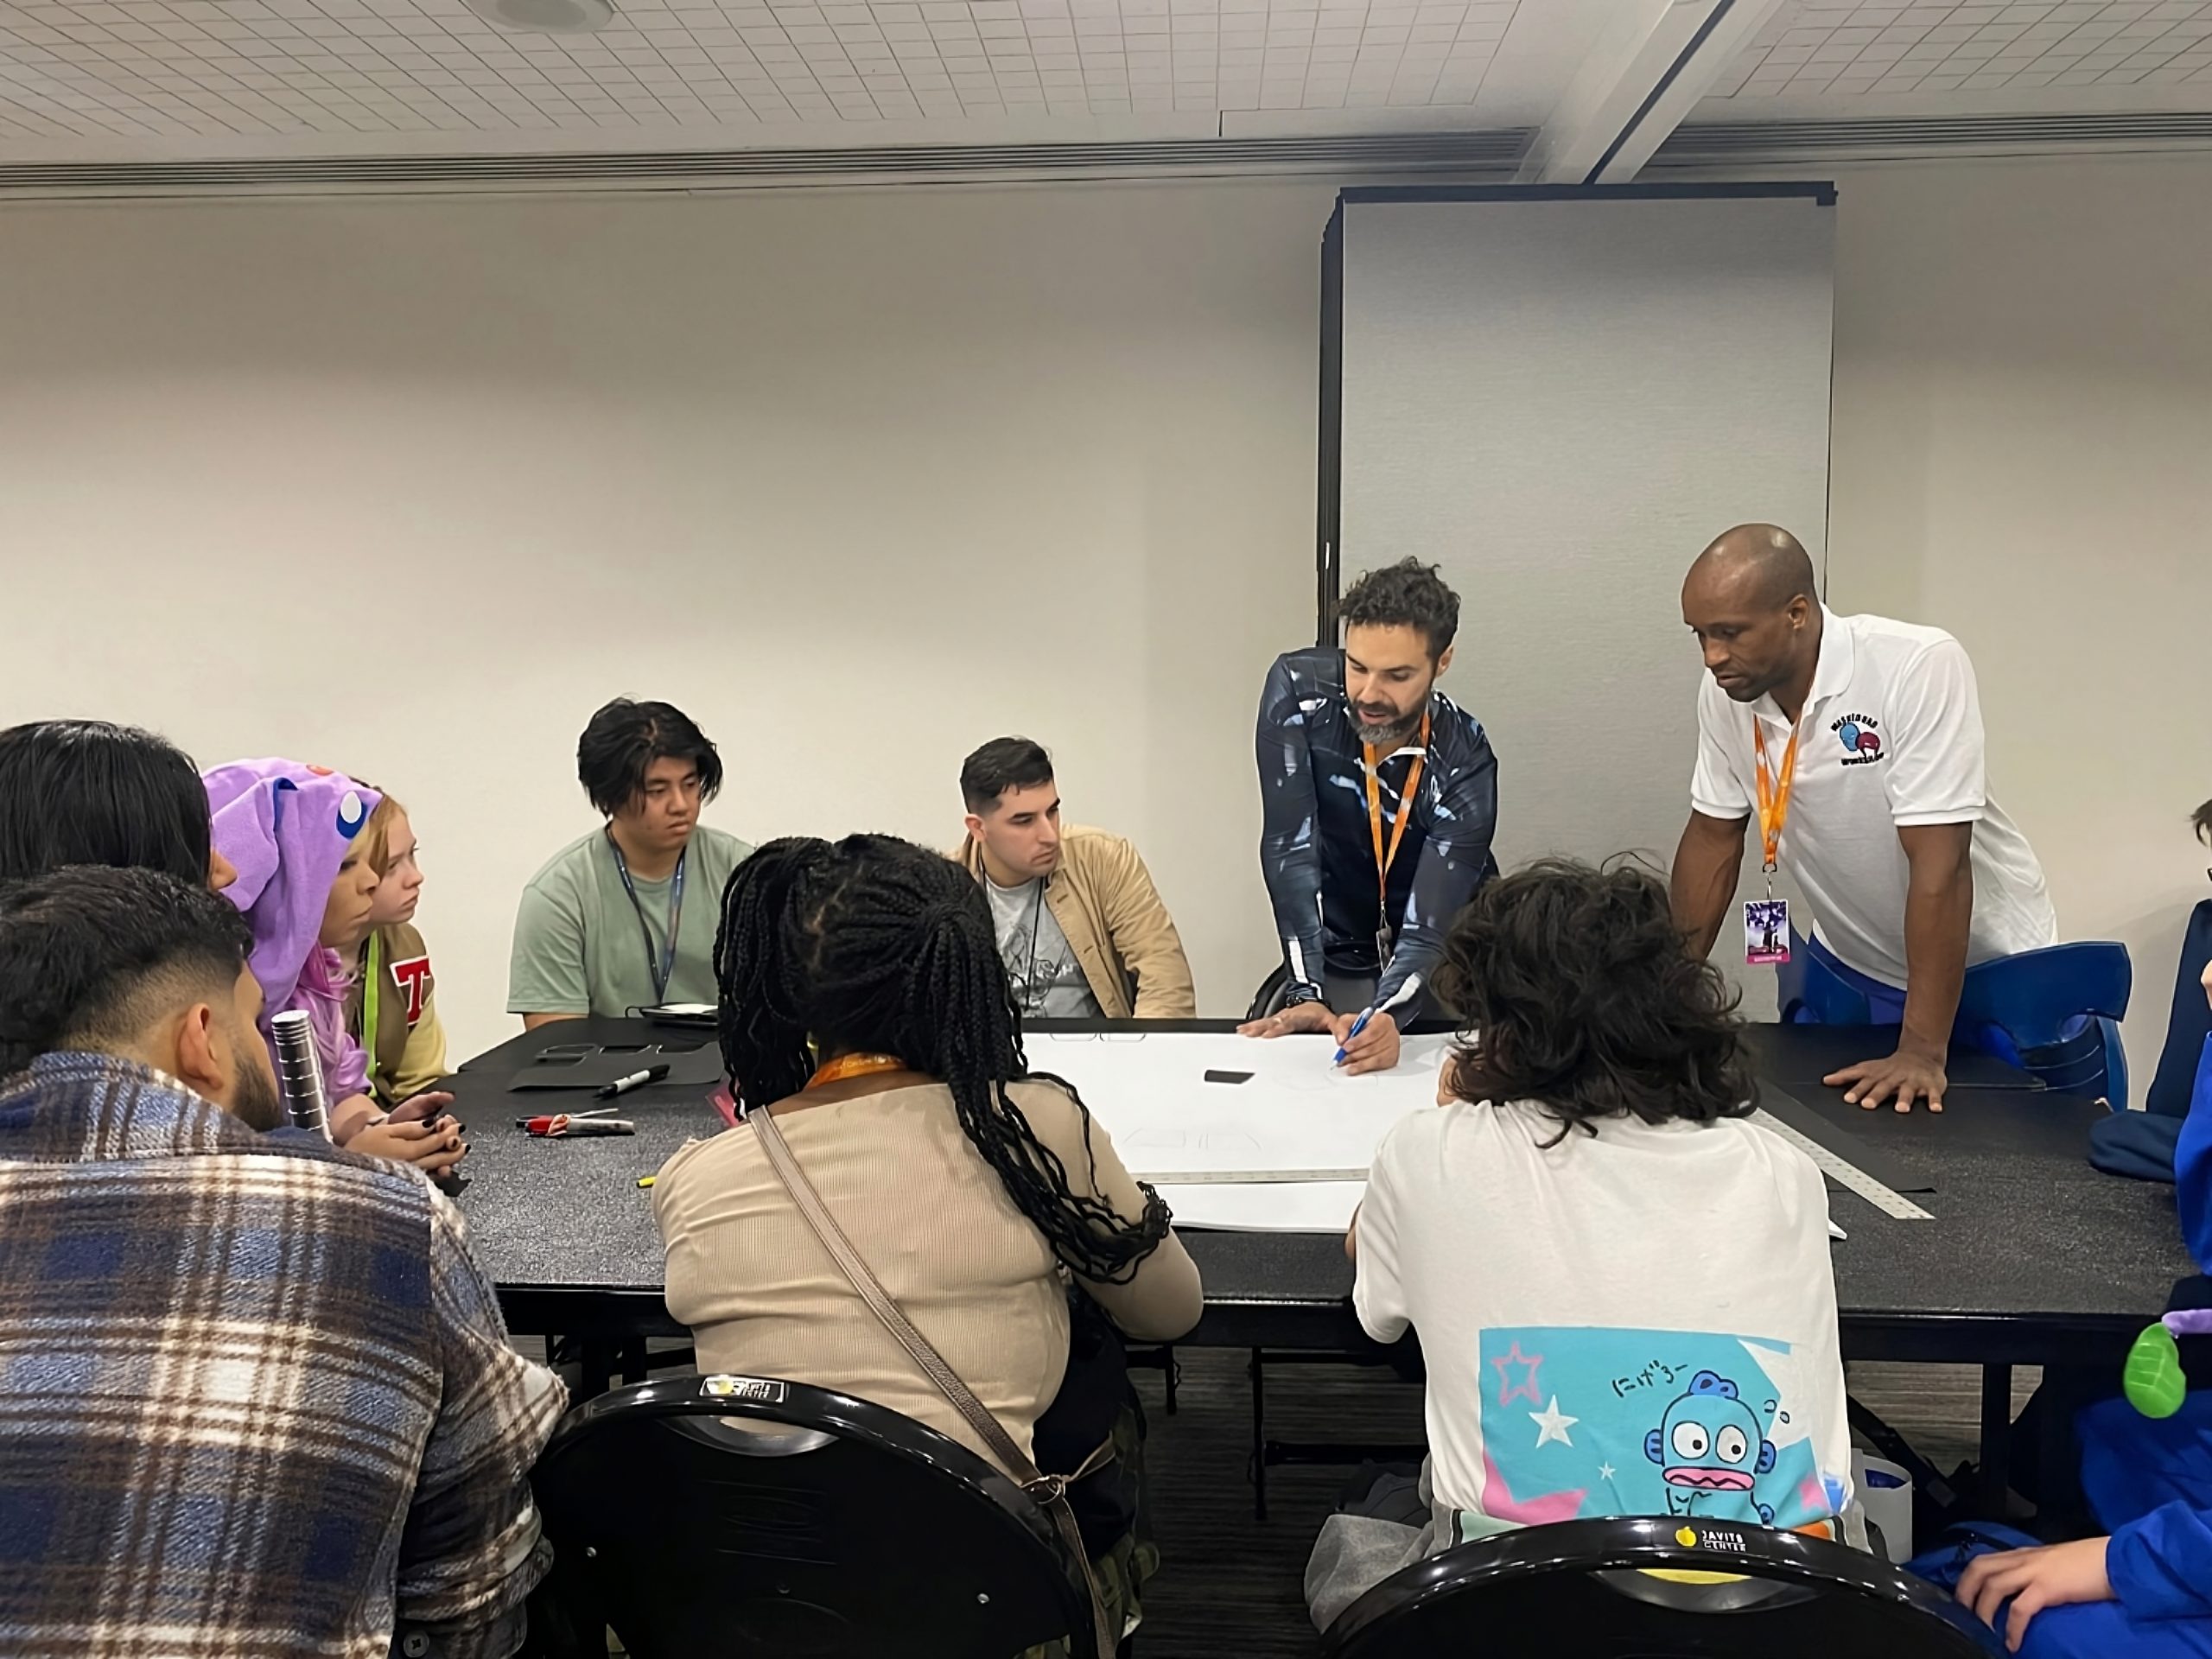
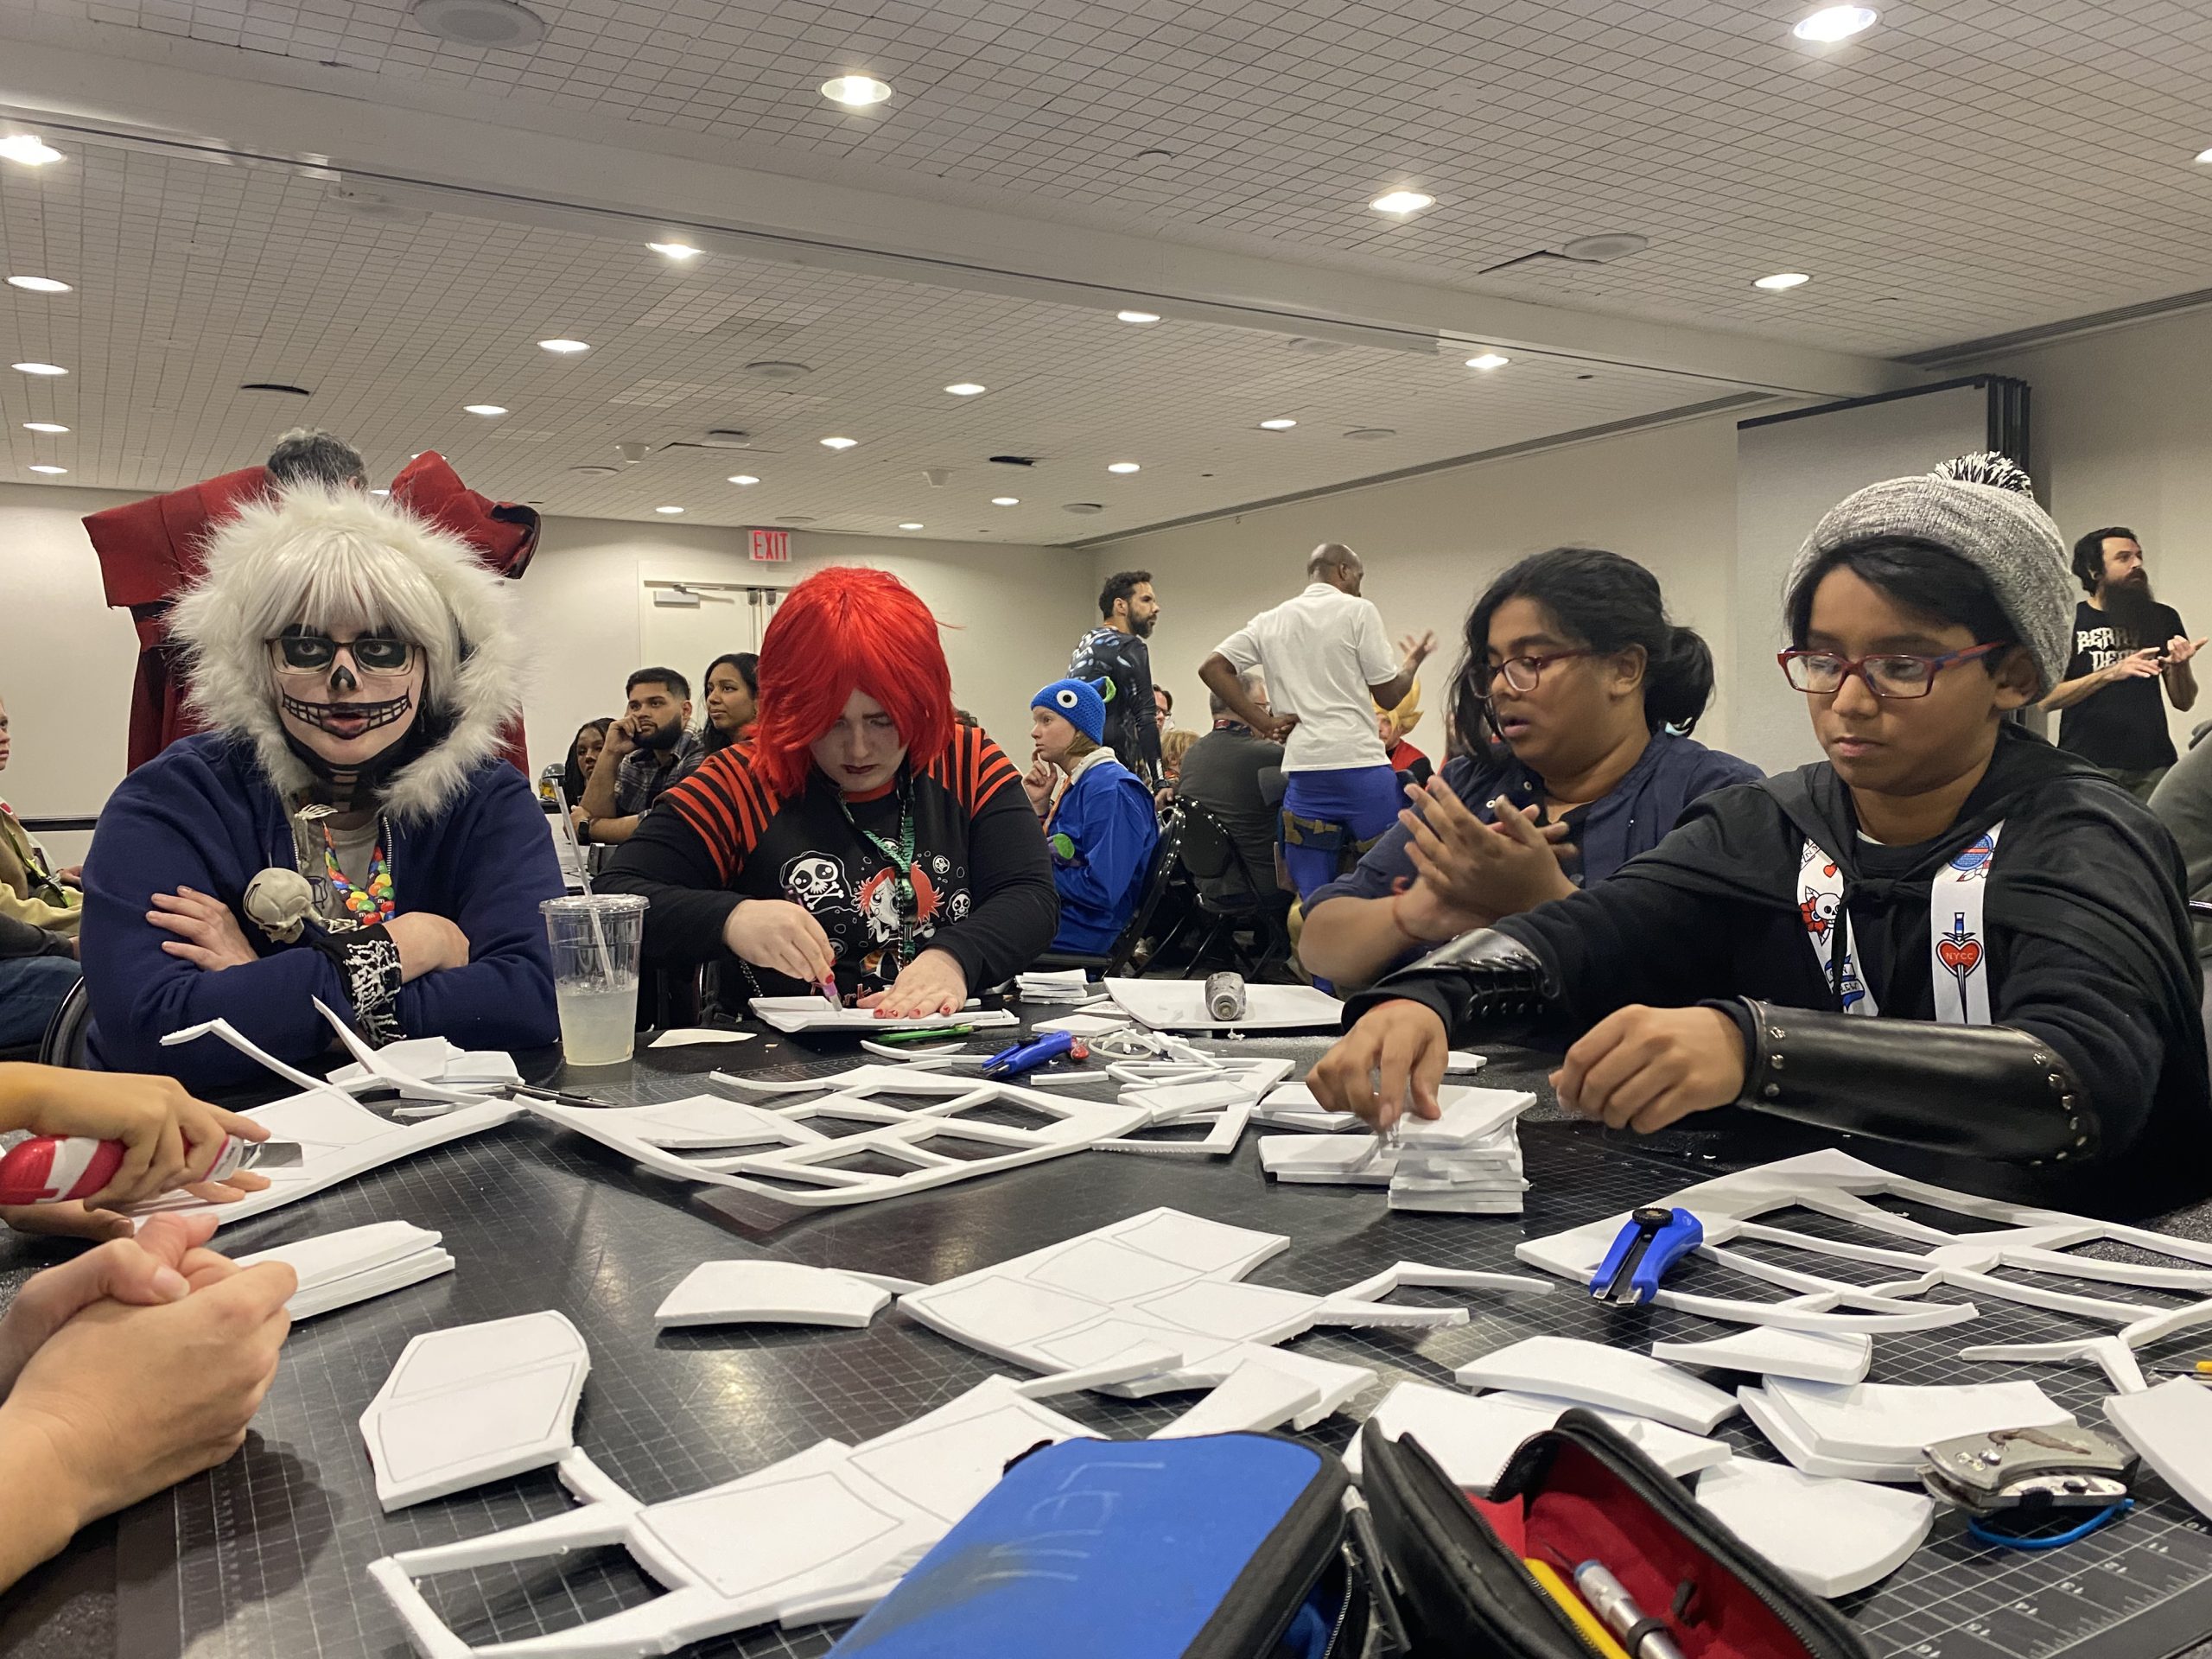
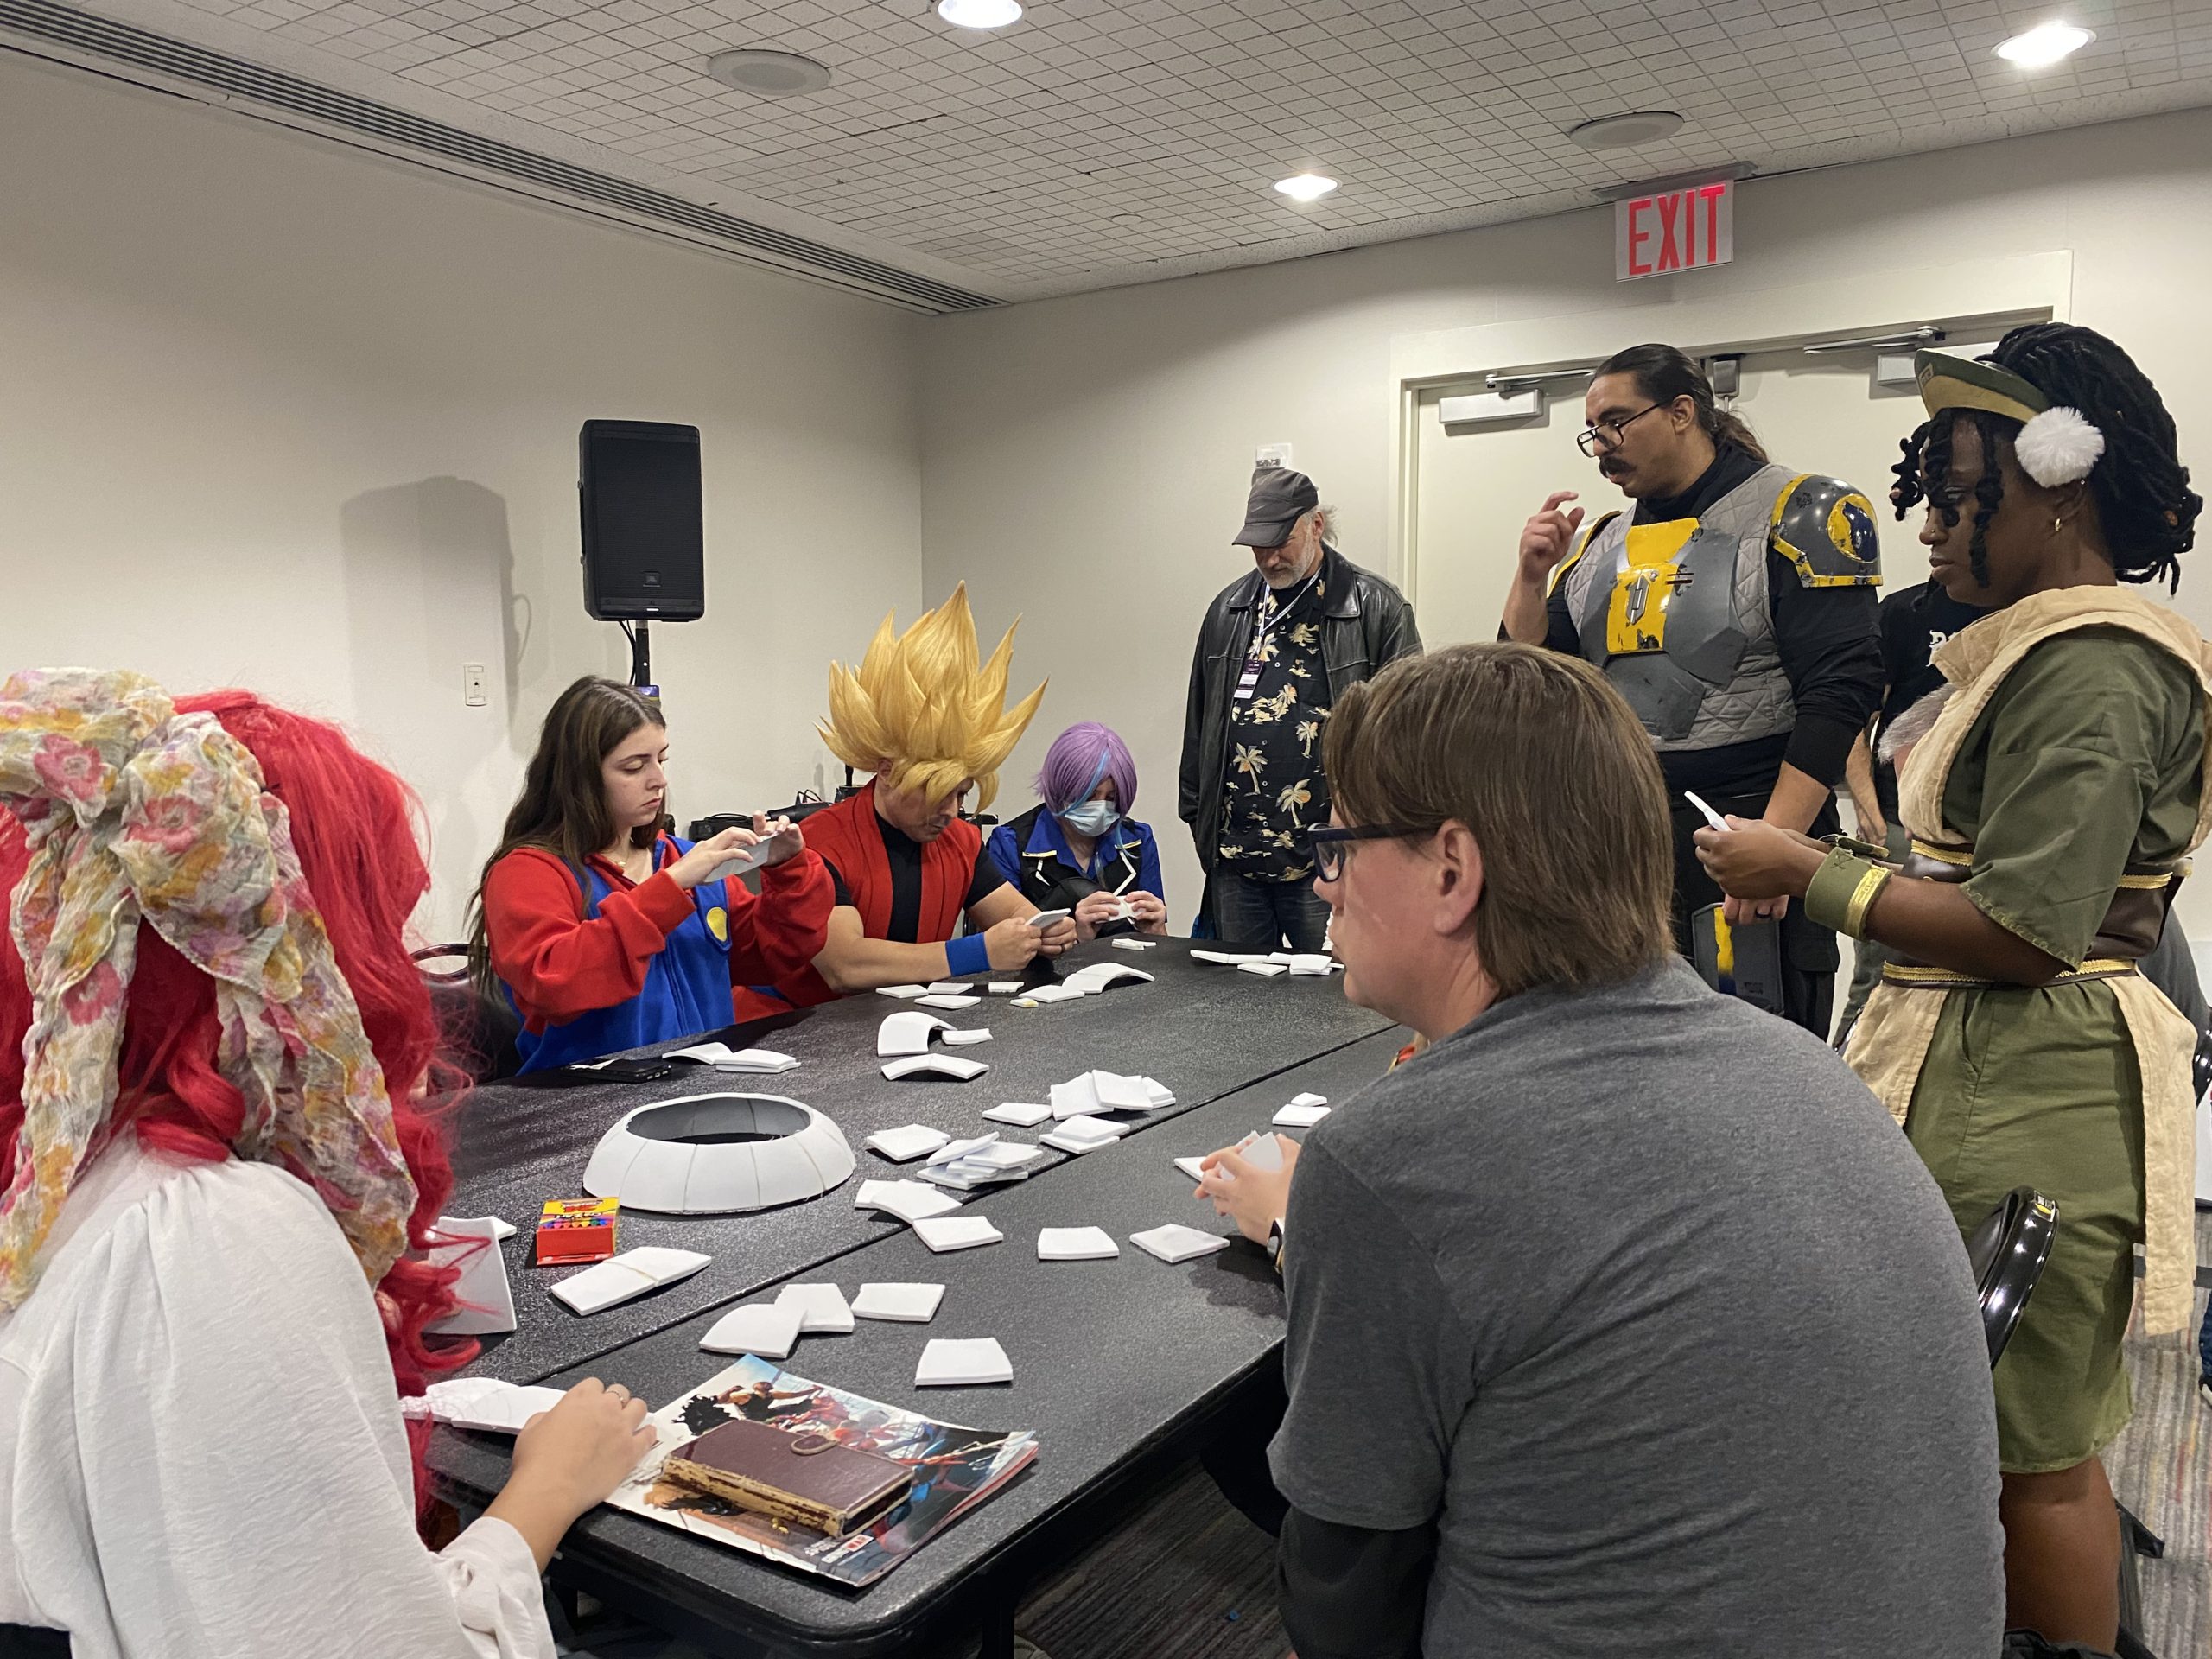
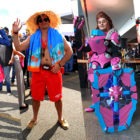
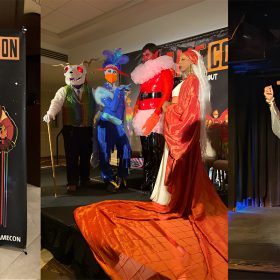
Masked Dad Workshop is a group of award-winning cosplayers and crafters specializing in EVA foam cosplay builds. On Thursday and Sunday of New York Comic Con 2023, they presented a workshop titled “Cosplay Building 101.”
The official programming advertises the workshop as a “guide through the basics of creating your dream cosplay, catering to all levels of experience…don’t miss out on this fun, educational, and hands on opportunity for cosplay enthusiasts and newcomers alike.”
Learning from the Pros
Michelle Foard (IG: michellefoard) described the workshop as an opportunity to “allow people to work hands on with material, sit down and practice” for an “interactive and educational experience.” She described its presentation as “non-intimidating, so they [participants] can feel more comfortable working by themselves at home.”
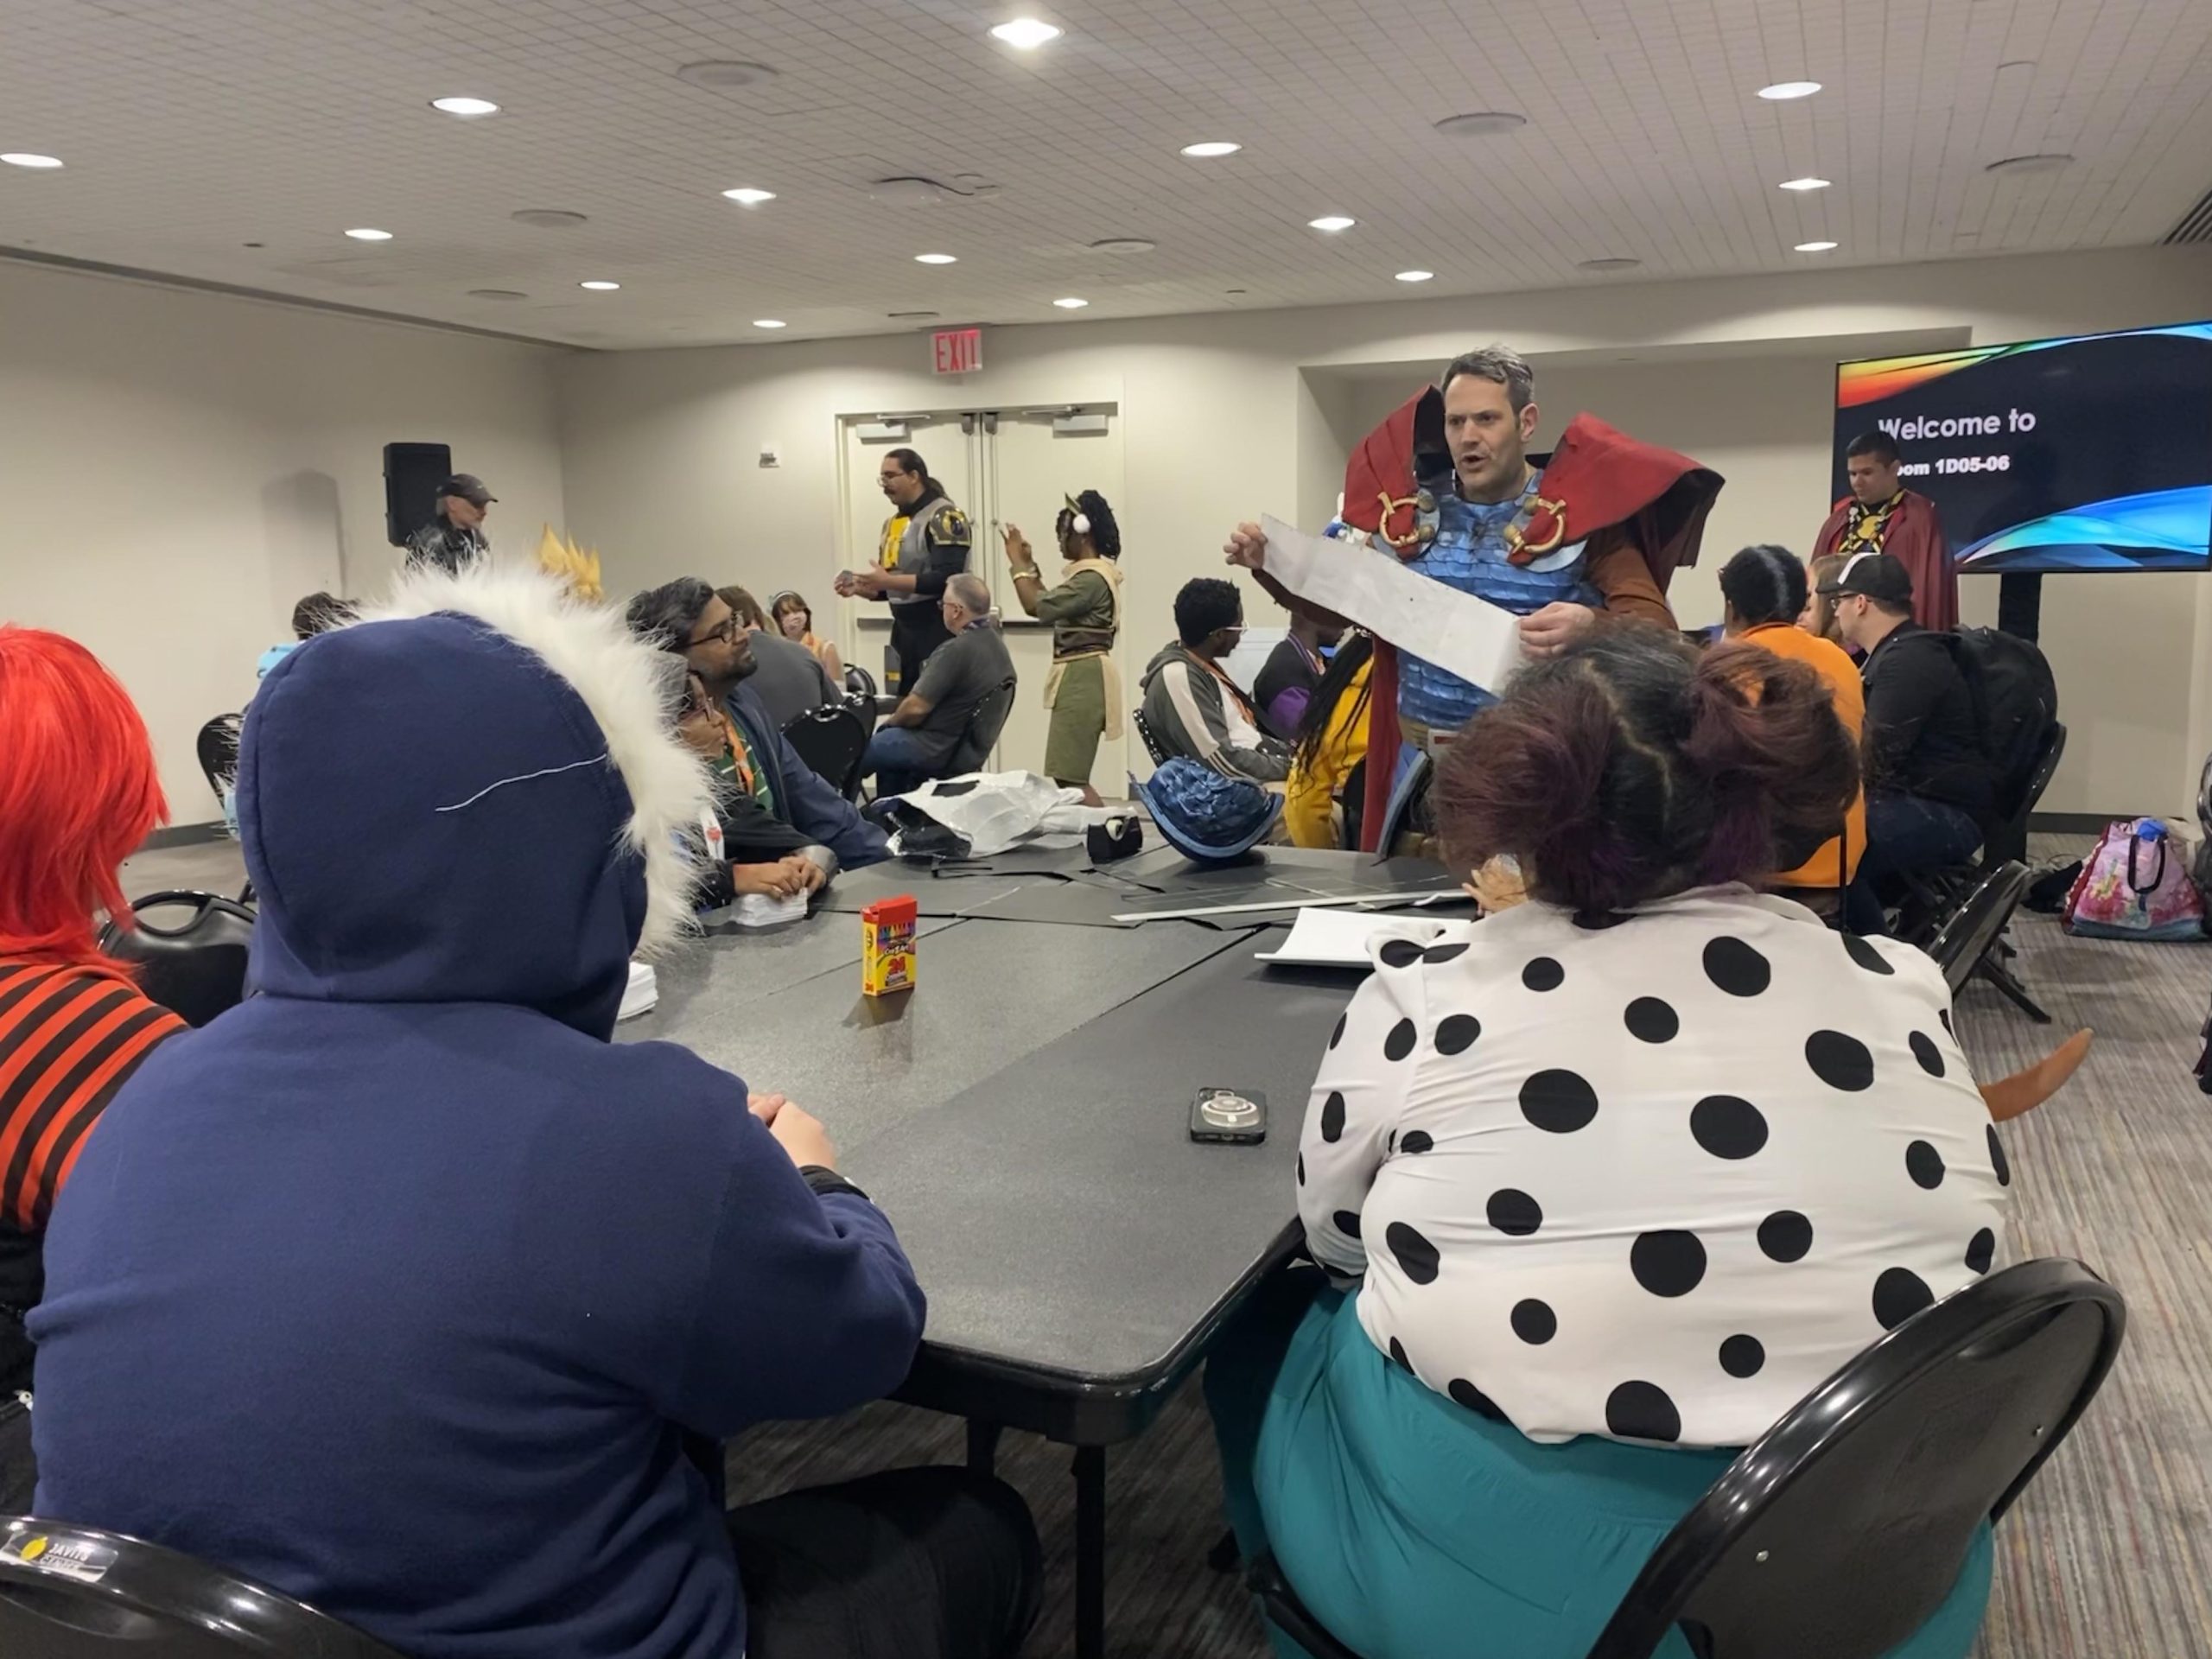
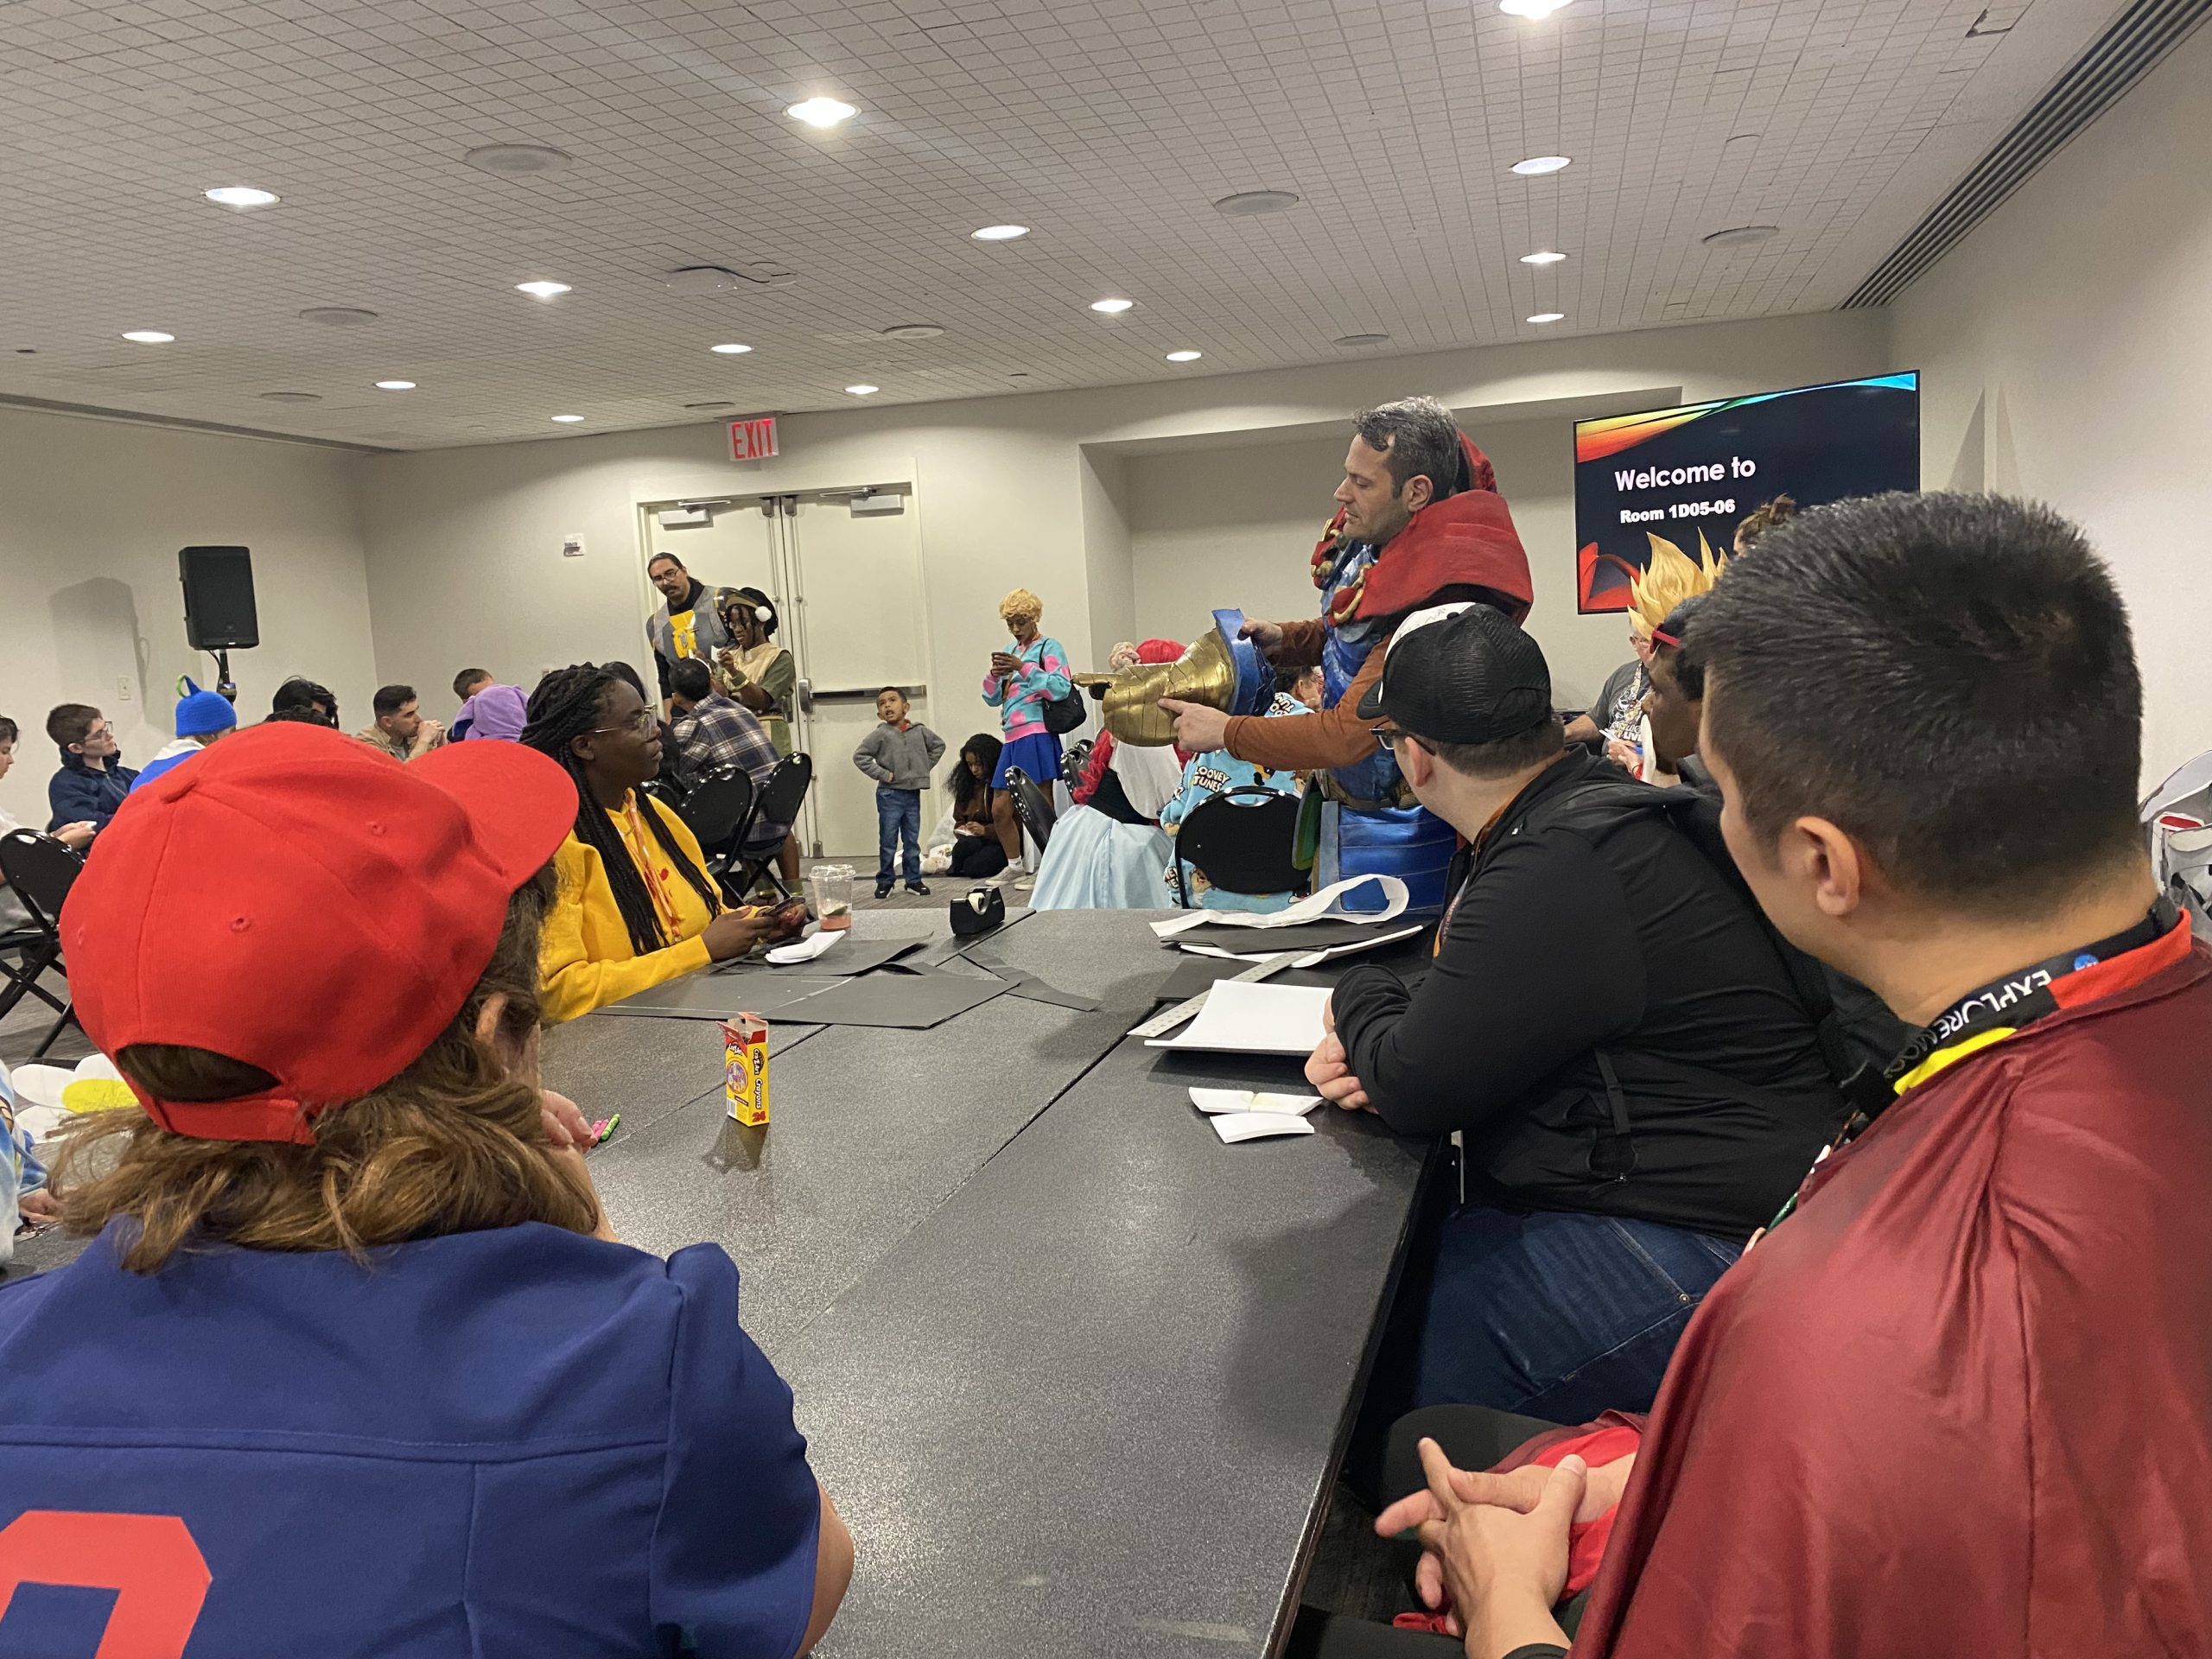
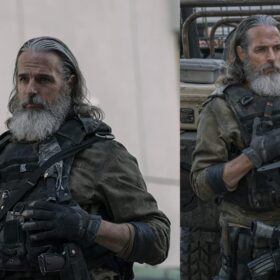
Another speaker featured in the workshop was Marc Kandel (IG: marc.kandel), known for his awesome comic book cosplay builds, such as Doctor Doom and Iron Man.
When asked about one must-know tip, Marc had a hard time thinking of just one! Ultimately, Marc said working with EVA foam can be intimidating, but now there’s so many resources to give an idea of what to do. He referenced Youtube and asking other builders for their input. His favorite part about foam builds is forming the foam – taking the idea out of your head and making it real.
See the full list of Sunday’s workshop presenters below:
- Marc Kandel
- Michelle Foard
- Timothy Tanco (IG: @timtanco)
- Levi James (IG: @misterabsfitness)
- Vanta Creates (IG: @vantacreates)
- Juan Pellot (IG: @urstrength)
- Ralph (IG: @rtmprops)
How to Work with EVA Foam
You will need:
- EVA Foam (Thicker foam works better for larger characters, such as Thor or Kratos. Thinner, delicate foam works better for more nuanced pieces, such as masks or brow pieces.)
- Paper or cardstock
- Duct Tape
- Saran Wrap
- Cutting tool, such as a craft knife or box cutter
- Sandpaper or rotary tool
- Primer (described in Step 3)
- Sharpie marker
- Contact cement
The Masked Dad Workshop actually sells their very own high density cosplay EVA foam & foam clay on their Etsy shop!
Step 1: Templating
Before you pick up your foam, you want to use a template, much like a sewing pattern. You can make this template with paper or cardstock to try on.
Label every template with left and right and body part. For instance, “R Bicep” can refer to your right bicep. Then flip for symmetry.
Marc explained how under direct light, you can see more contours of your muscles, which can help draft up more accurate templates.
Step 2: Tracing/patterning
Now it’s time to trace and pattern onto the foam. Think of the shape, then the drawing. Consider dimensionality – what you’re doing is reverse engineering from 2D to 3D.
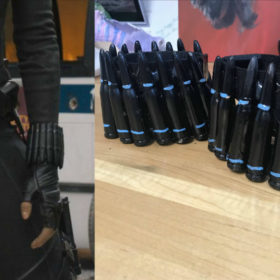
One technique for patterning a 3D form is to wrap your body in Saran wrap, then use duct tape over the body part for your foam piece. Then use surgical scissors to cut through the duct tape. Not only does this provide realistic patterns, but it’s custom fit to your proportions.
Step 3: Cutting
Safety first – wear gloves when cutting your foam! Use a cutting mat to protect the surface of your table.
Make sure the blades are nice and sharp. The blade should cut through the foam “like butter.” A dull blade may result in difficulty cutting or unclean edges. To smooth any rough or frayed edges, you can use sand paper or a rotary tool such as a Dremel.
Drag the blade towards you for the most control. Try to hold the blade as straight as possible unless you need to bevel. Cut flat with cuts to make curves.
Step 4: Priming
Since EVA foam is too coarse on its own for painting, you must prime the foam to receive paint.
Before you prime your foam, hit it with a heat gun. Heat seals the pores of the foam. Remember, thicker the foam, the more heat it needs. Don’t have a heat gun? Use a hair dryer!
Then you’ll want to coat the foam in a rubber coating, such as PlastiDip. You can find this at your local hardware store.
Step 5: Glueing
This is when you’ll need the contact cement. Apply the contact cement to the edge of the foam using the brush, and wait until it gets tacky. The instructors advised not to rush, but to instead ease into adhering.
Mold the foam with your fingers for the seam to meet. Open and pinch to bring the seams together.
Step 6: Refinements
Make refinements based on how you want things to look. For instance, you can use elastic attachments to slide on armor pieces over your arms and legs.
This was such an impressive presentation that certainly made an impact on its participants, now armed with new knowledge and inspiration for their next cosplay build. Thank you Masked Dad Workshop for allowing Carbon Costume to observe, photograph, and report on this awesome workshop!
Be sure to like Masked Dad Workshop on Facebook and follow them on Instagram.
About the Author
Mandy
Cosplayer, creative writer, cookie connoisseur. Pronouns: she/they.
Related Posts


There are no comments yet, add one below.
Stay connected. Don't miss out!
Get new costume guides in your inbox once a month.


Leave a Comment